Lab Weeks
Playful Interactions
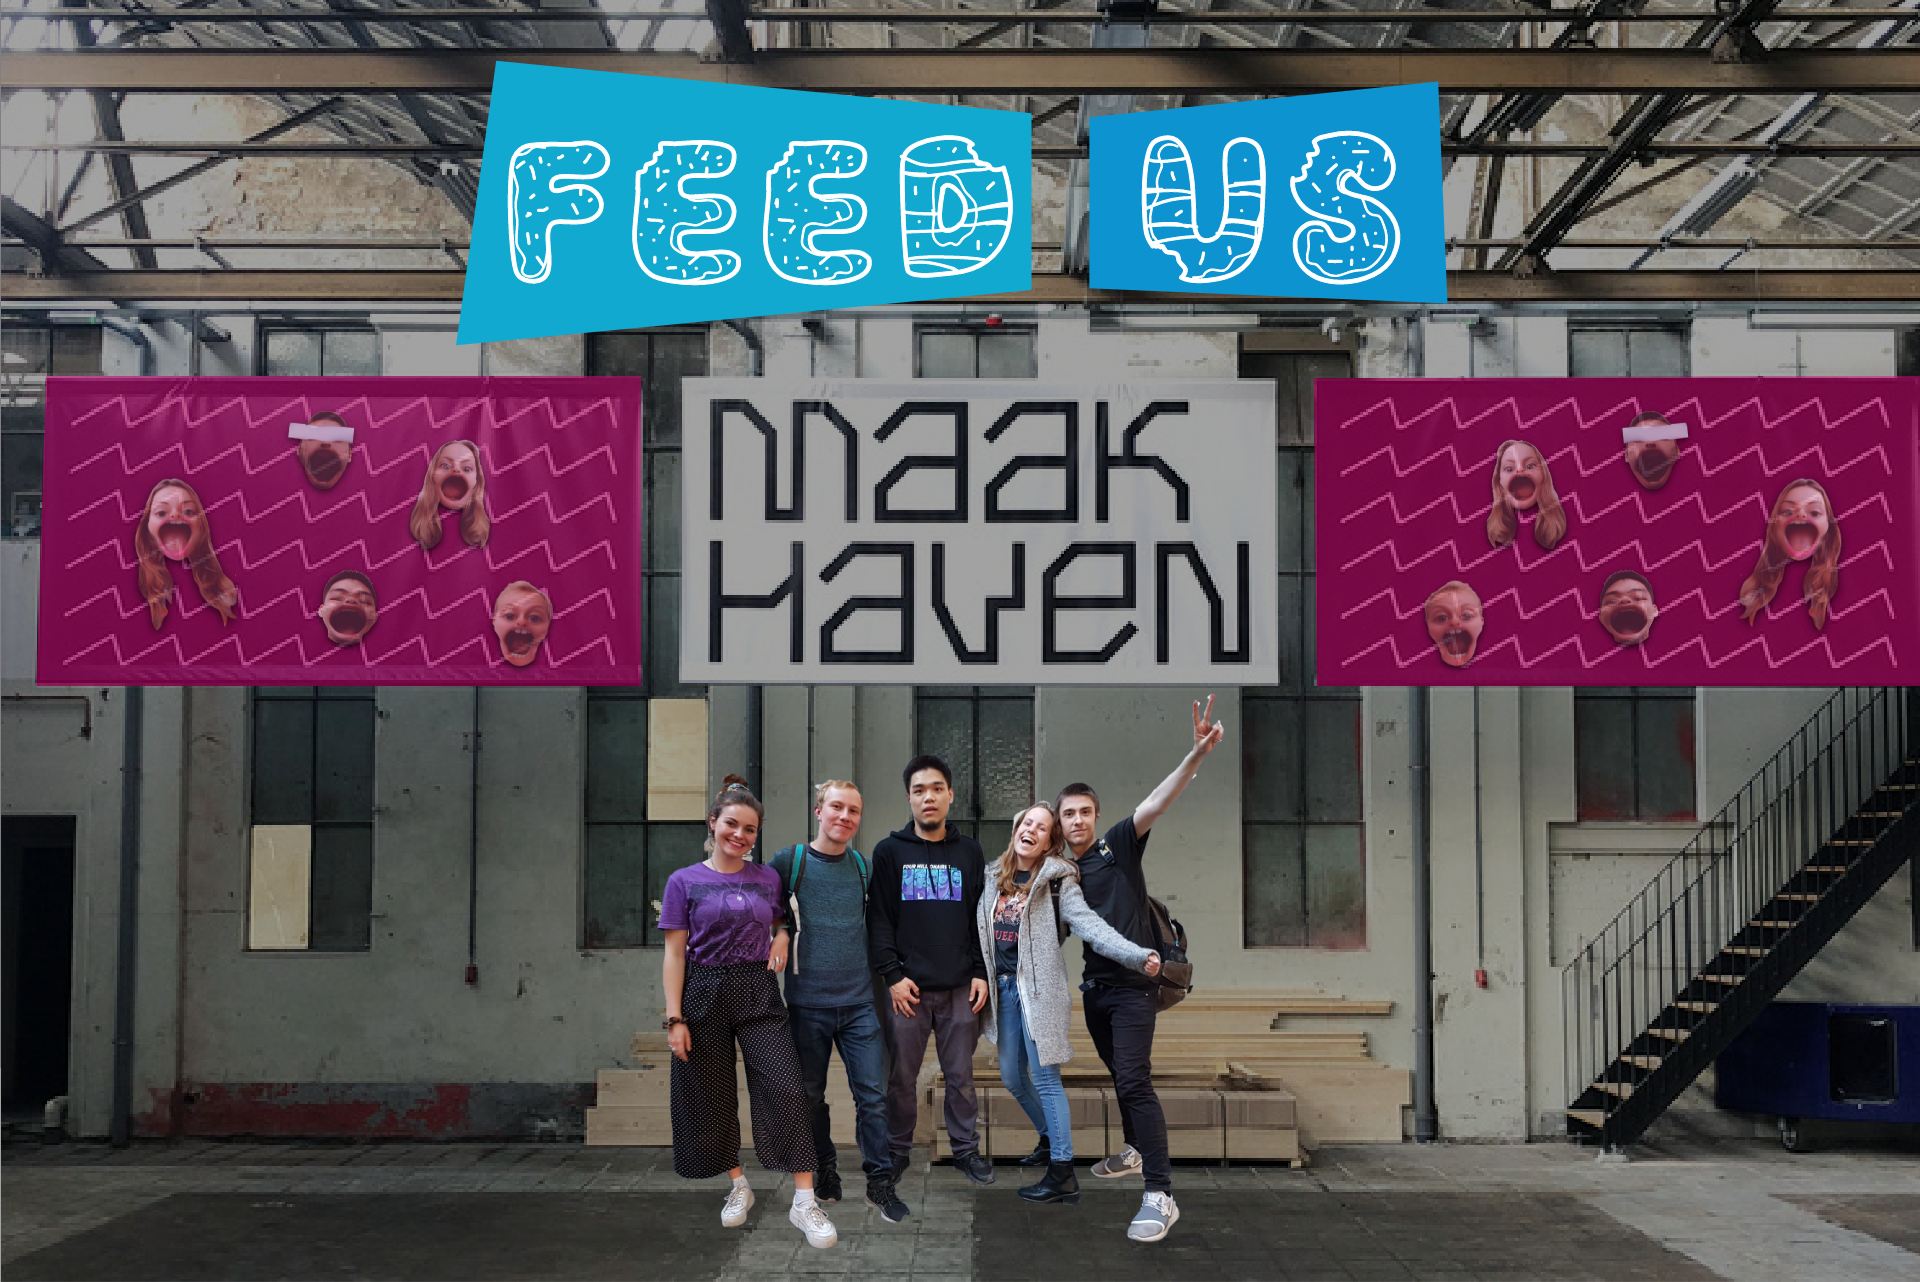
Lab weeks consist of 2 weeks of intense work. It was located at a old factory called Maakhaven. First we were divided in groups of each topic.
My first choice was playful interaction and luckily I got it too.
In these two weeks we have to build a prototype and showcase it in the exposition that is held at the end of the lab weeks.
During these weeks we will be brainstorming, concepting, designing, building, coding and test various prototypes.
The prototype needs to have a connection within the chosen topic. For me that was playful interaction, our prototype has to be playful and interactive during the exposition.
Down below you can find a recap of each day of the lab weeks and the end product we made with a brief reflection.
Meet my group
Playful interactions
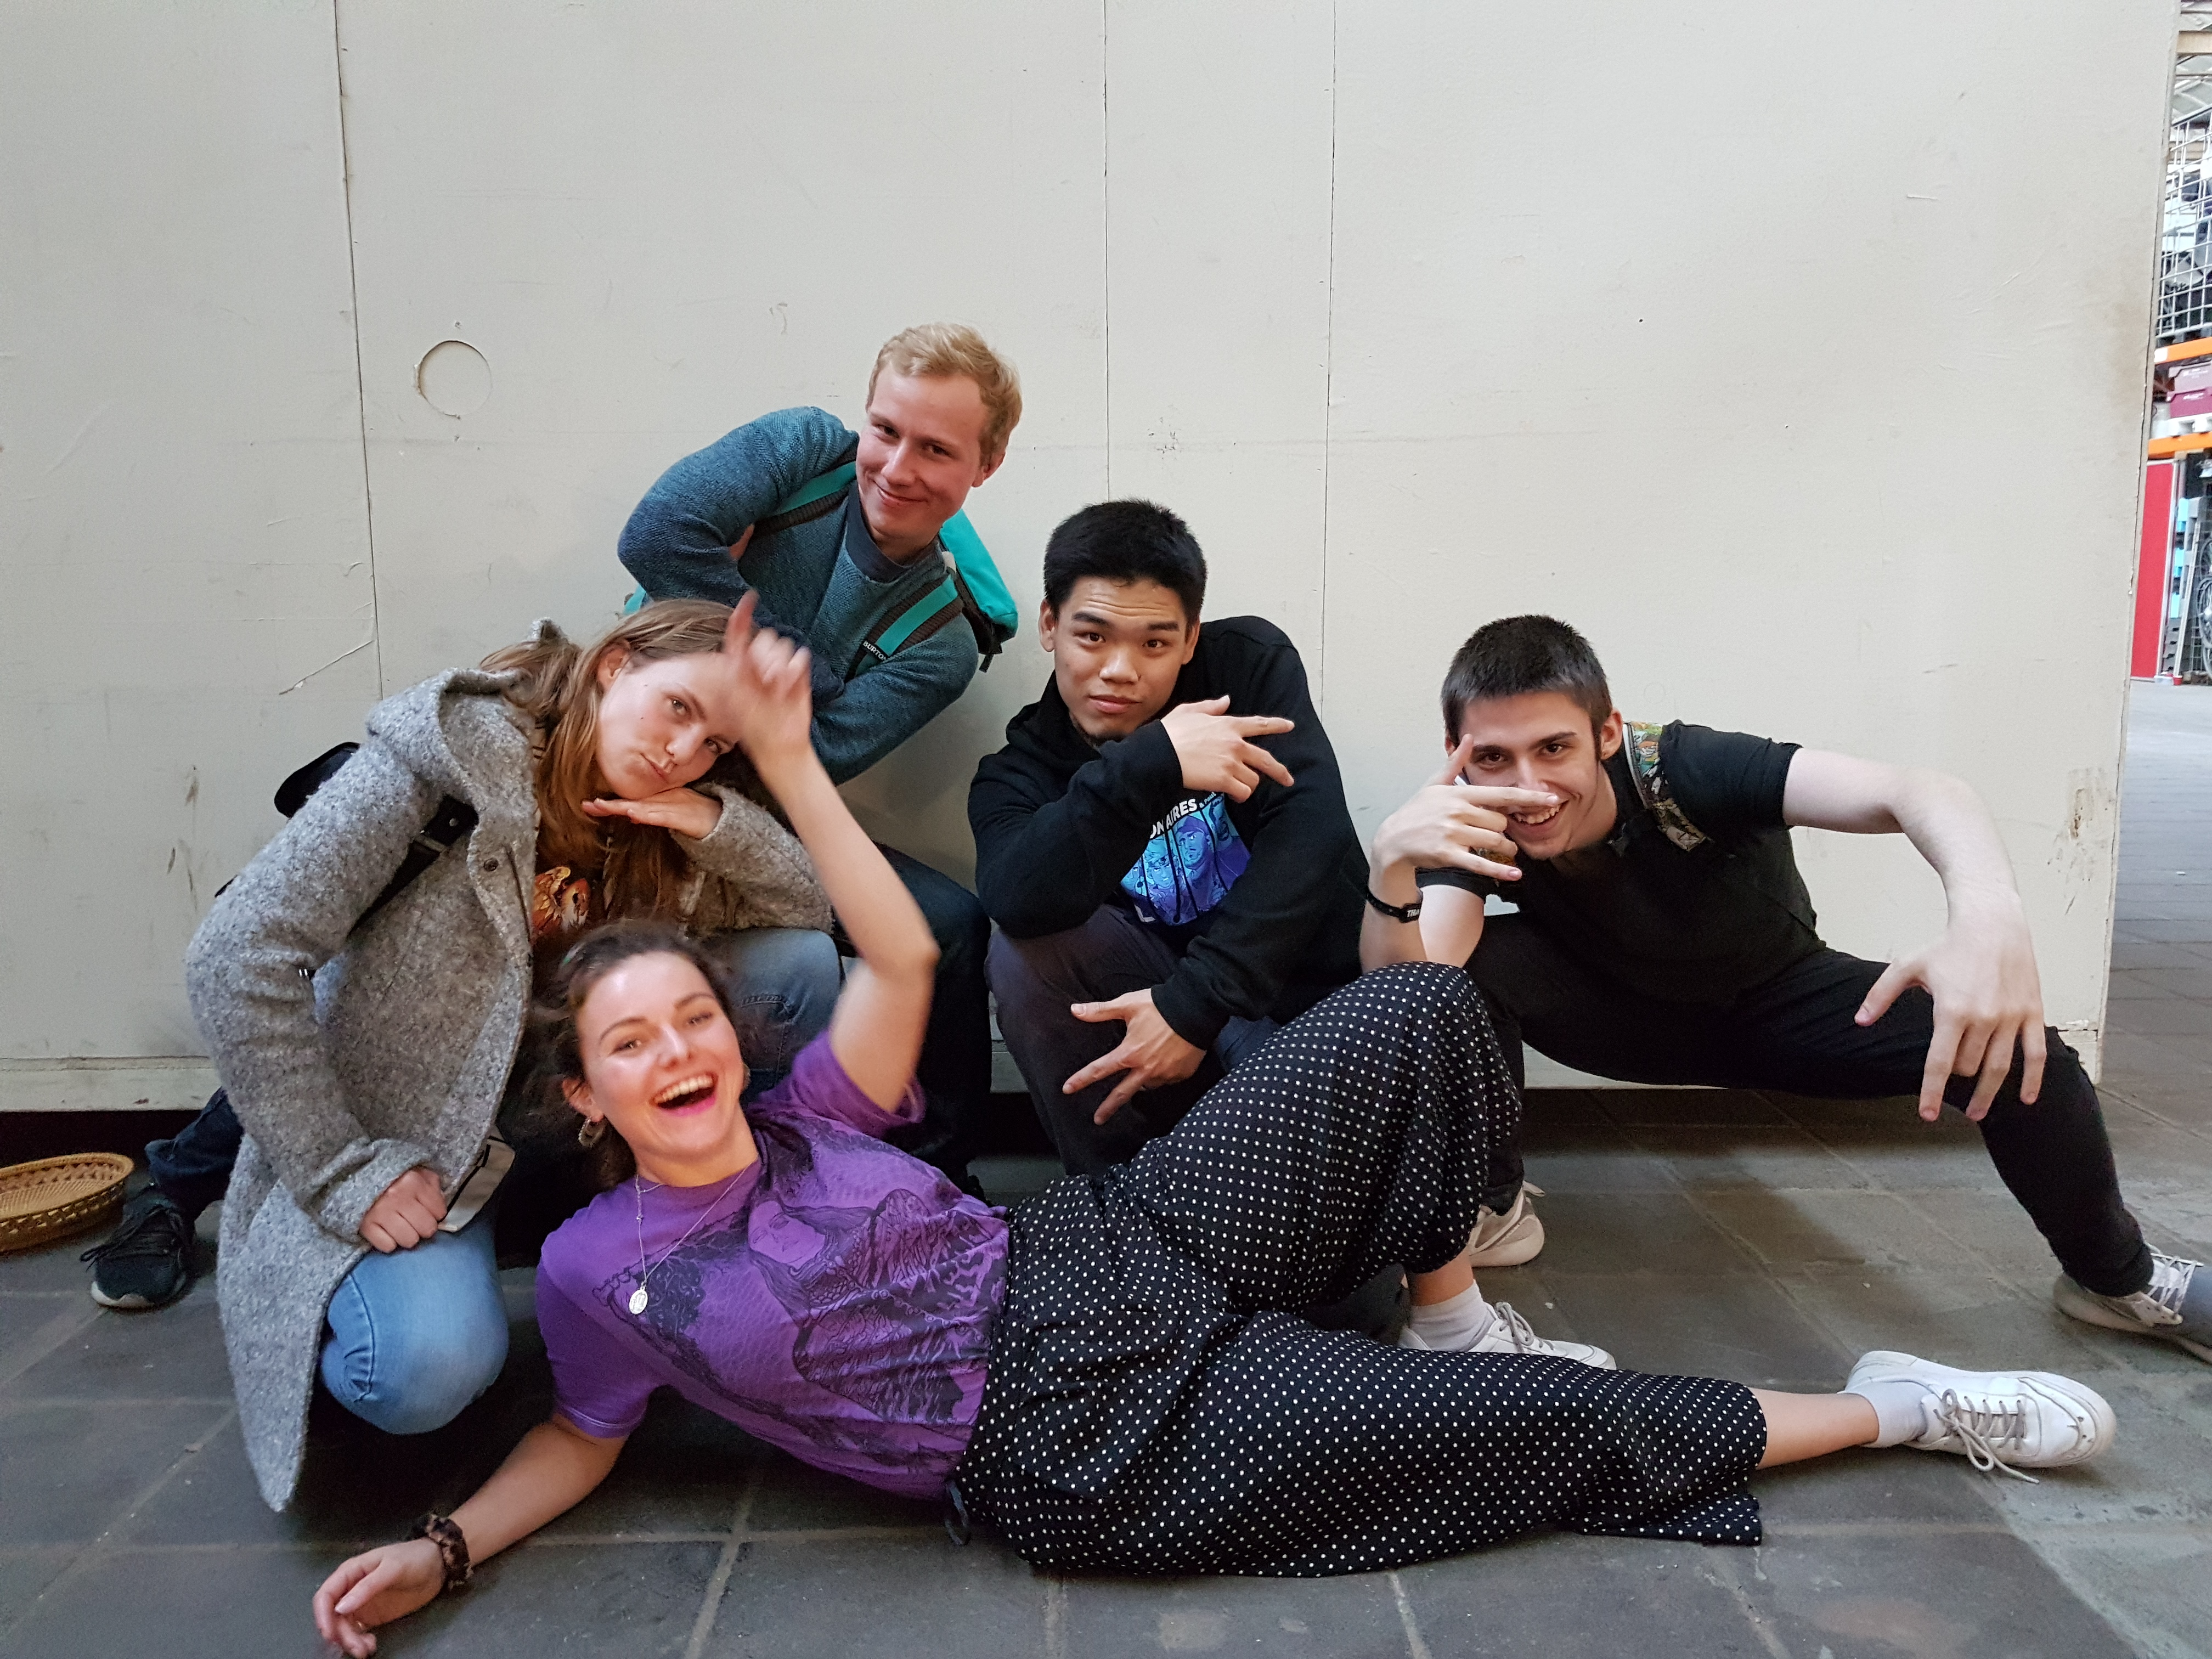
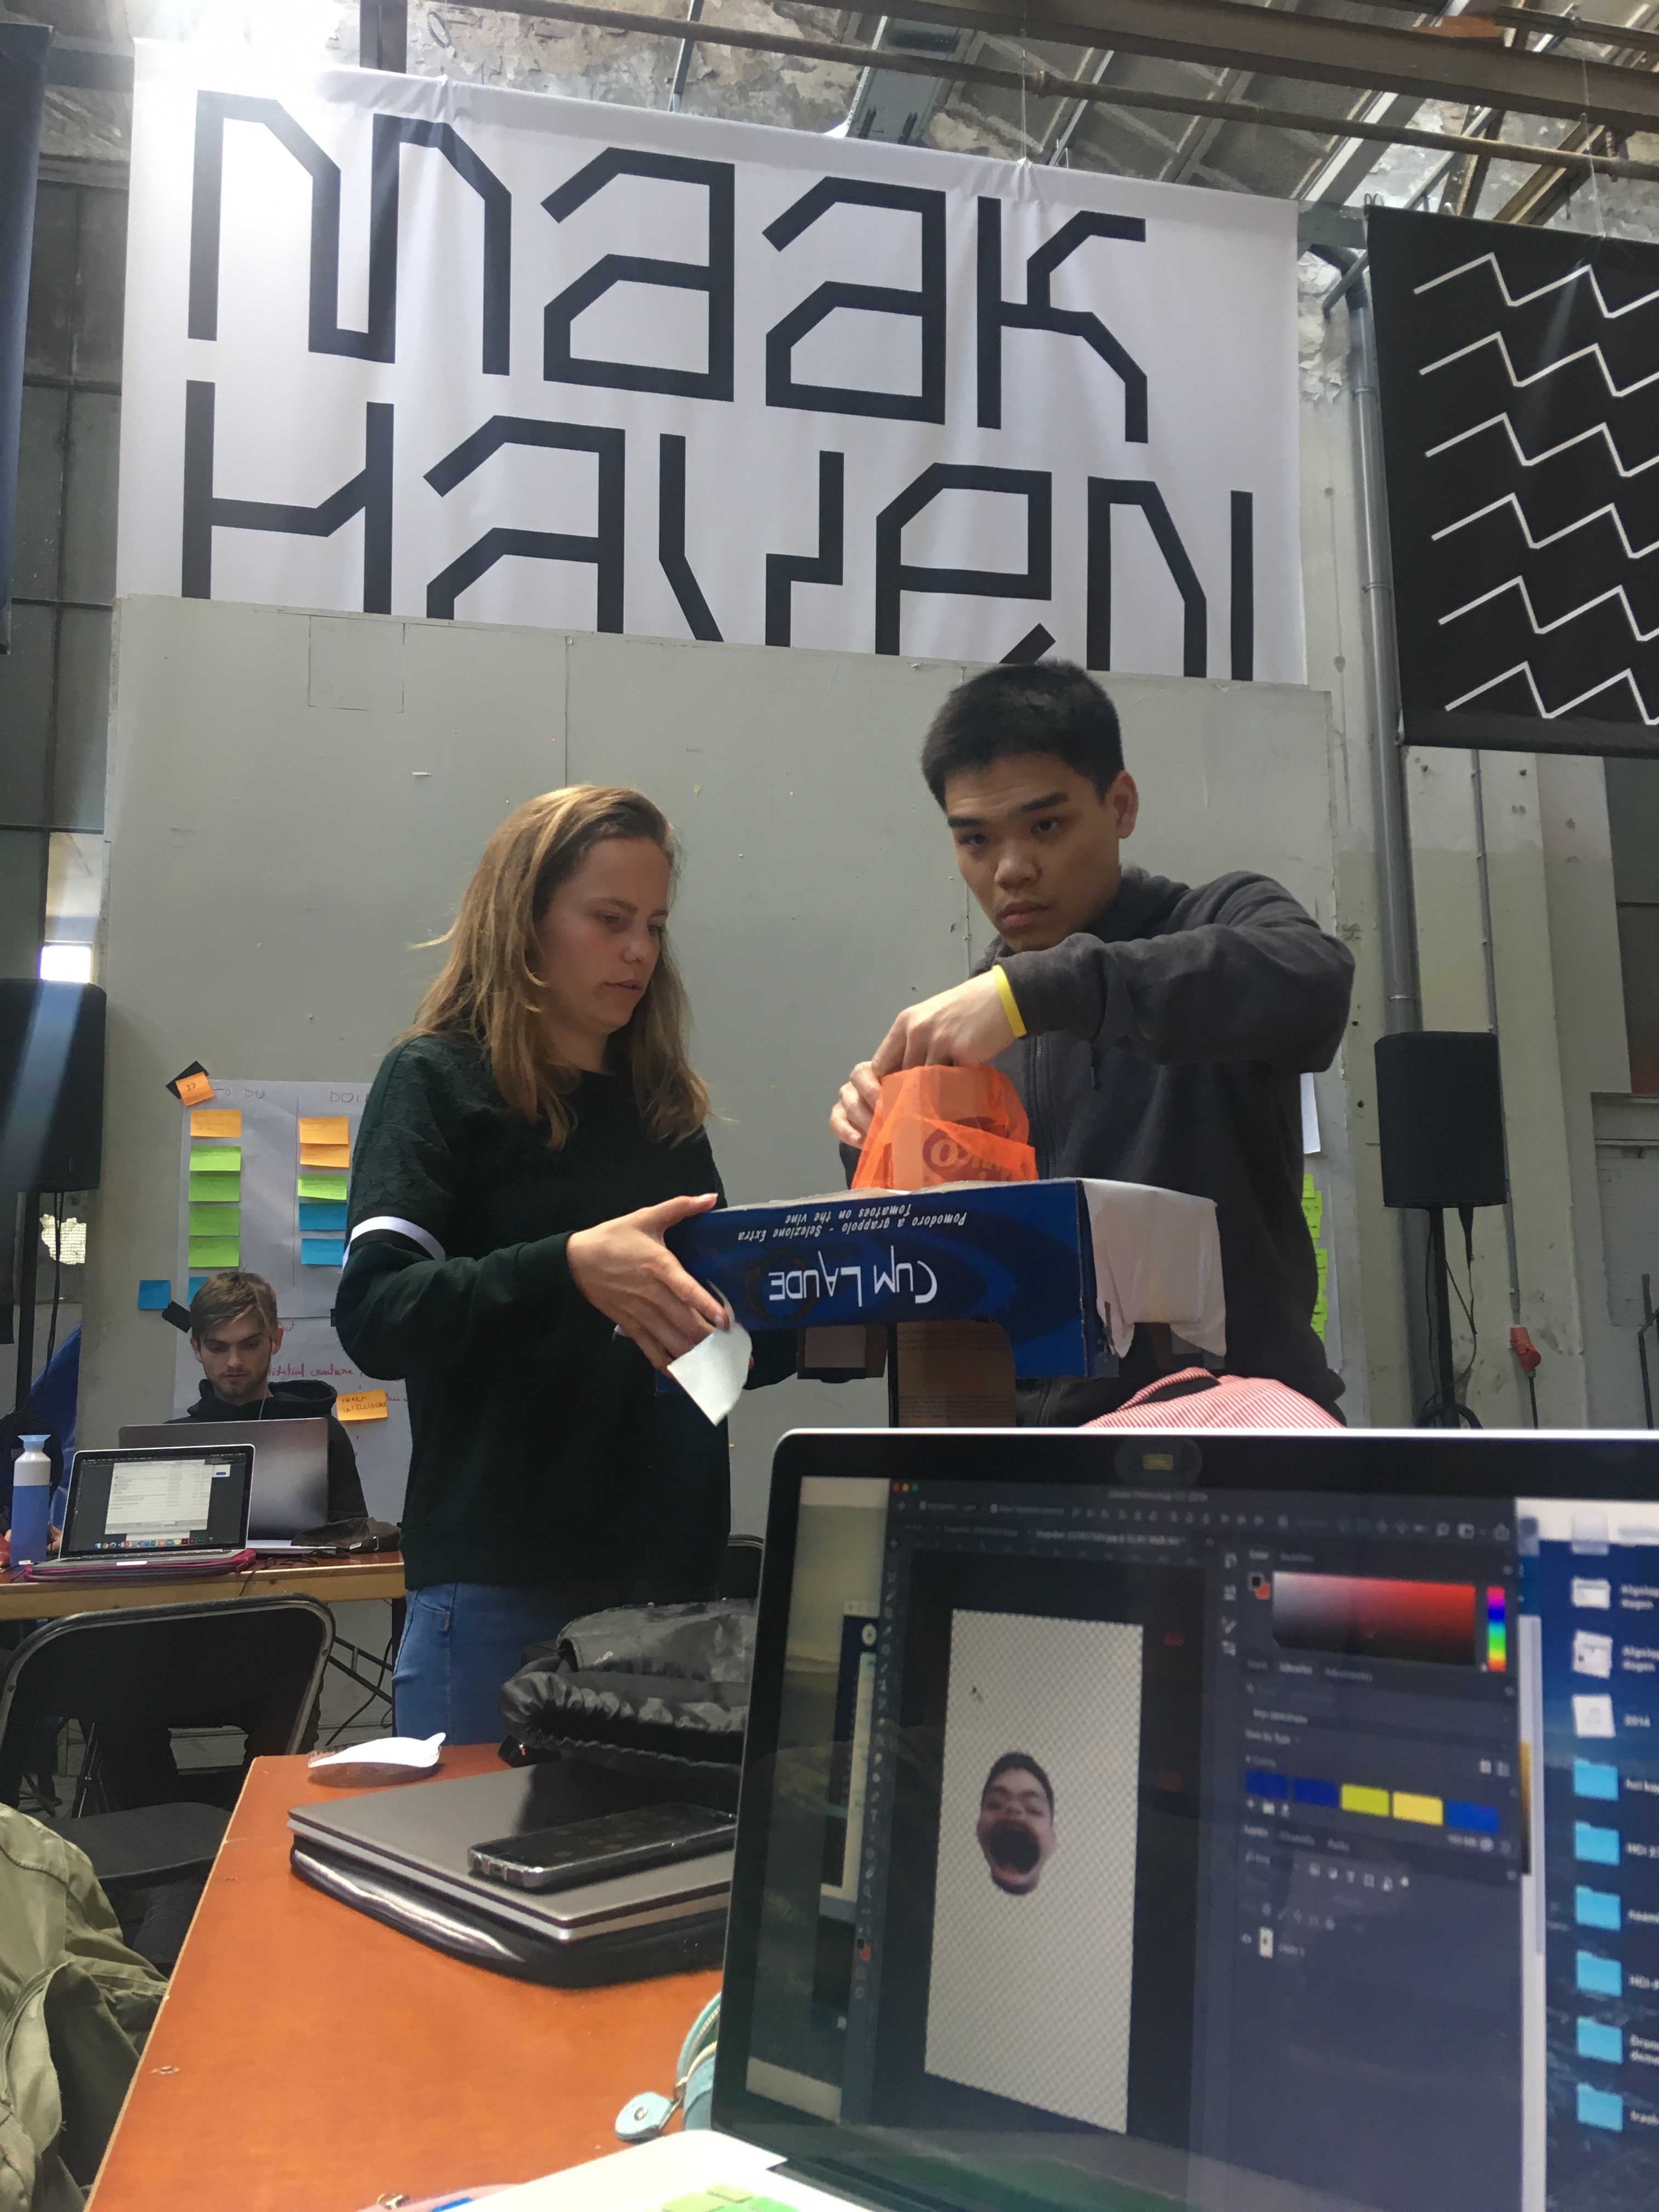
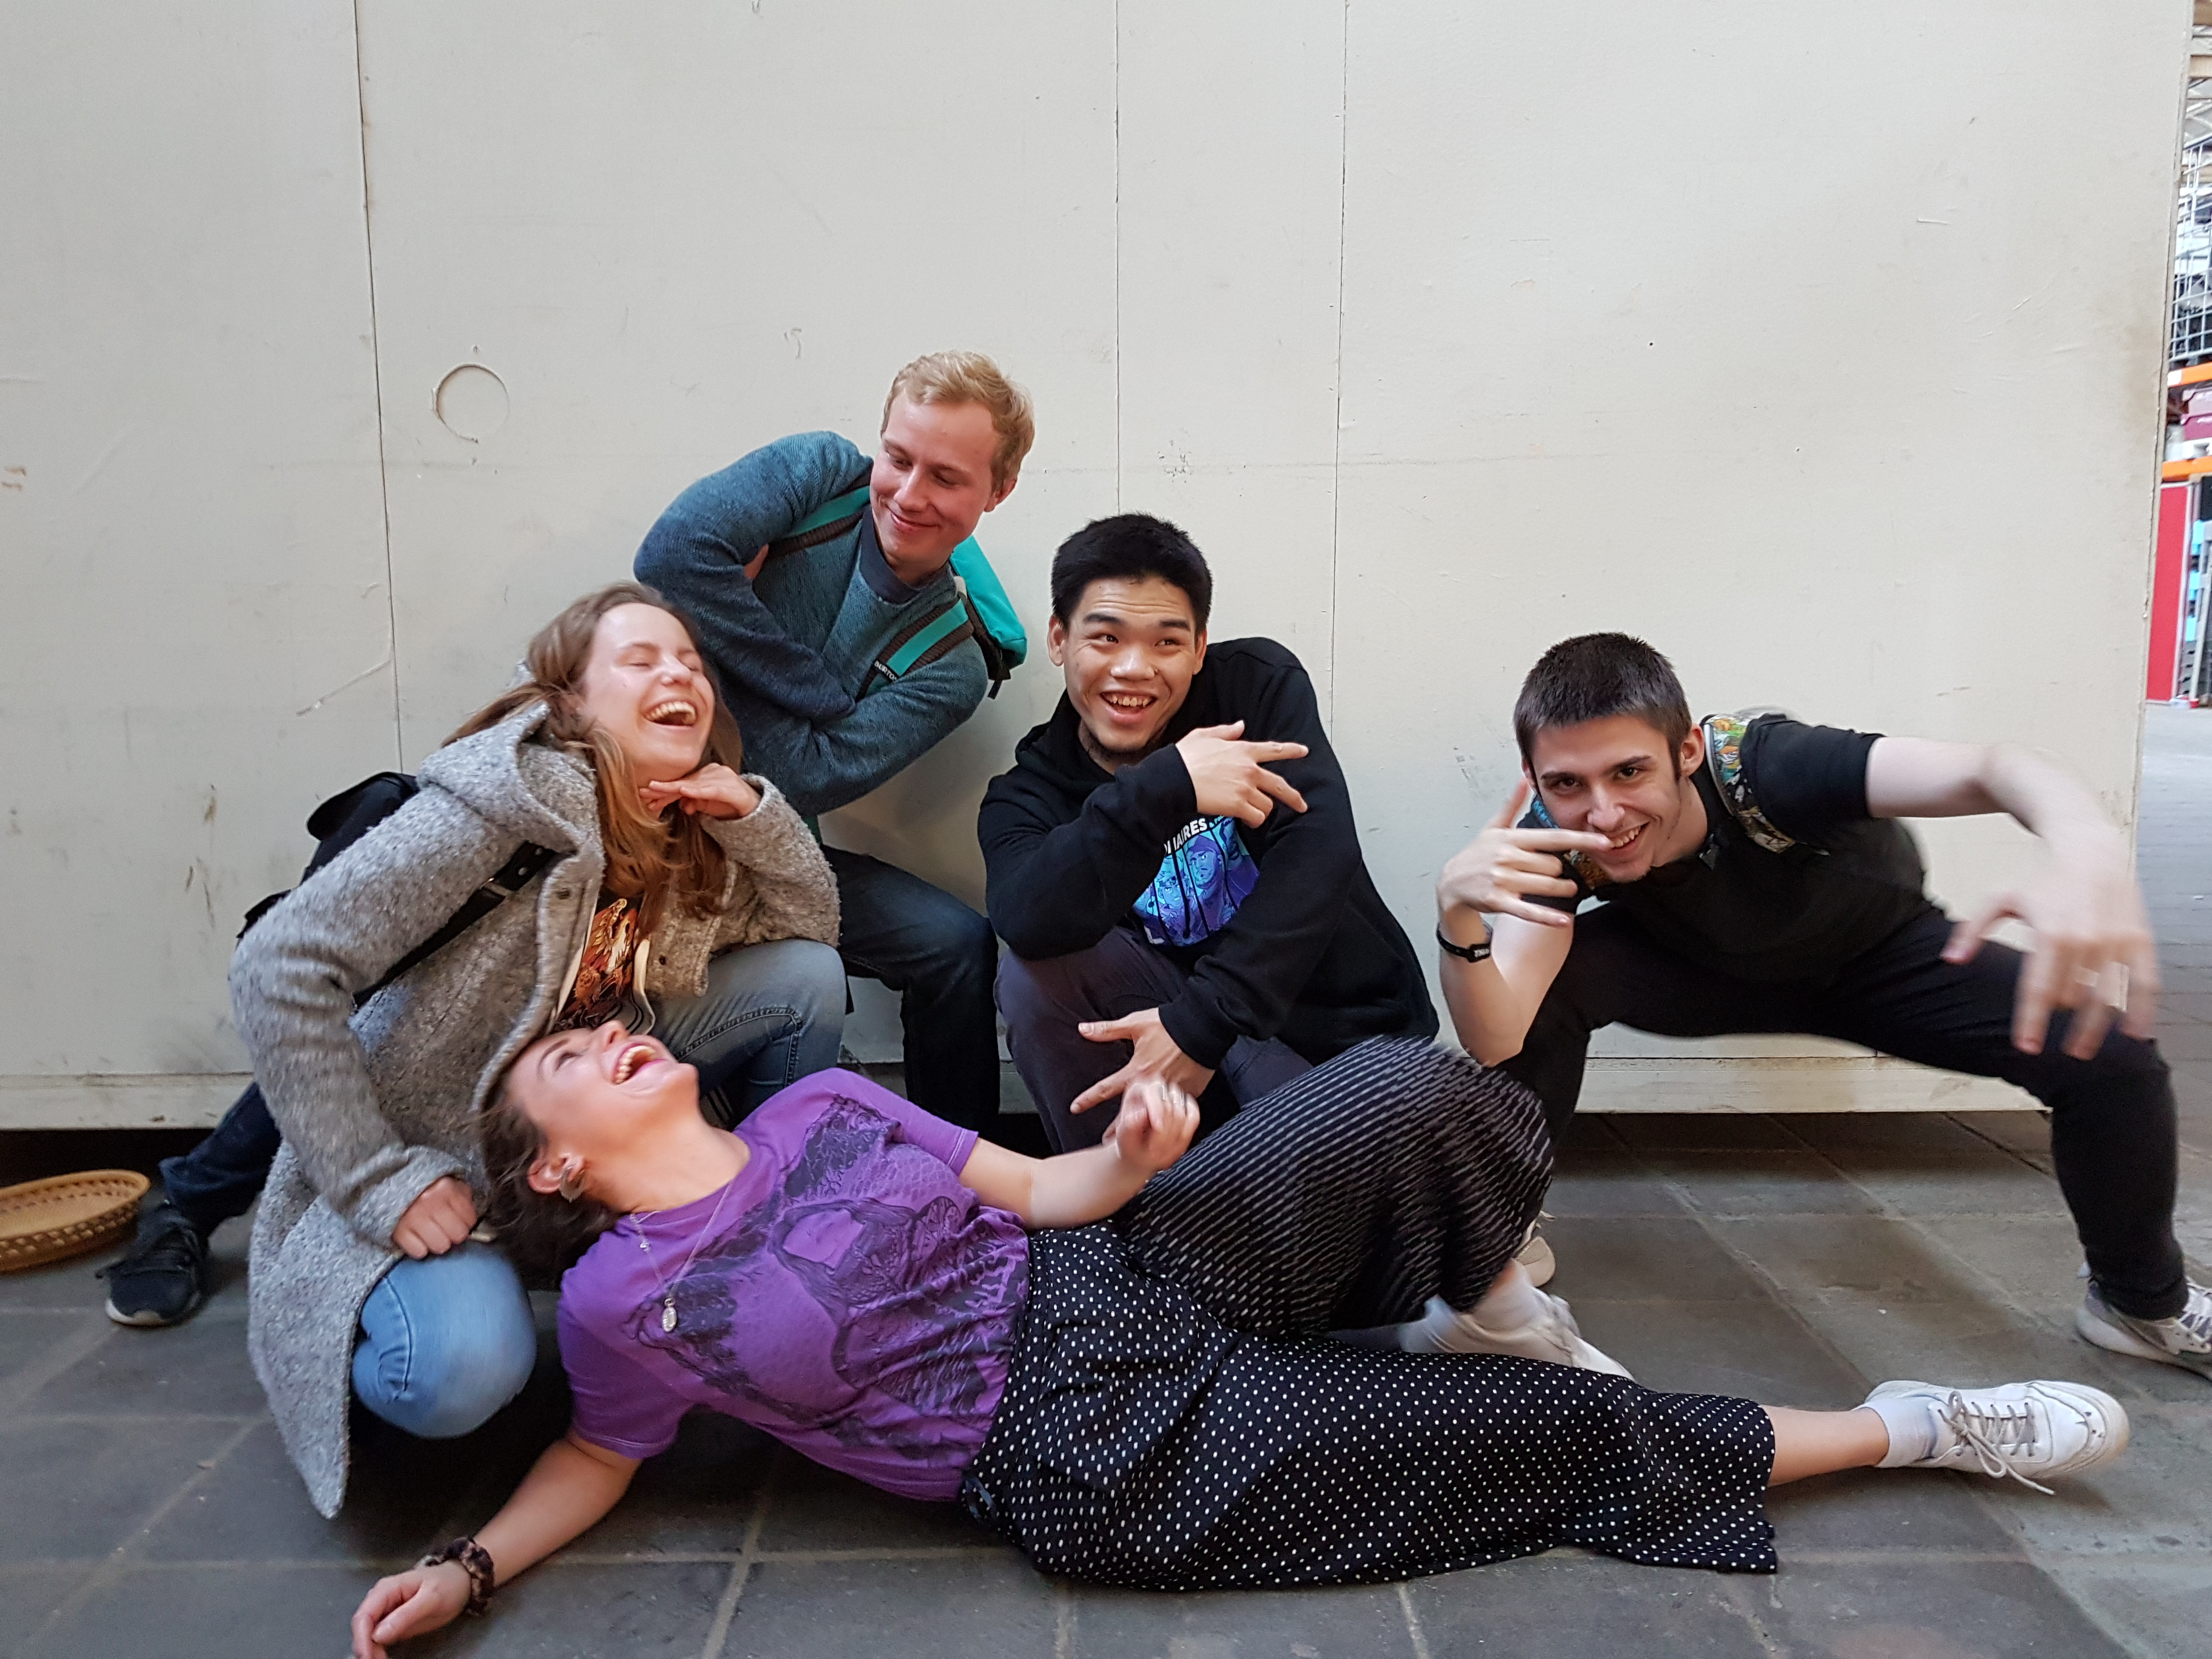
My teammates for the lab weeks were Konstantin (on the right), Lotte (on the left), Ondřej (guy on the left) and Sophia (laying on the ground) and I'm the one in the middle. We were grouped by the teachers and our portfolio which is what you are looking at right now had also an influence on the group making decision.

Day 1
Meeting Eachother
We started with only a table and chairs.
First thing we did was to get to know each other better.
Everyone had to tell something about themself and why they chose CMD or UX as a study.
Furthermore everyone mentioned what their field of expertise were so that we can divide the work efficiently.
For me that was coding and building.
We also discussed why we chose the topic playful interaction.
After that we started to brainstorm ideas for our concept.
We used the examples that we discussed in our lectures as an inspiration.
For most of teammates including me found that changing behaviour a important factor was during the brainstorm session.
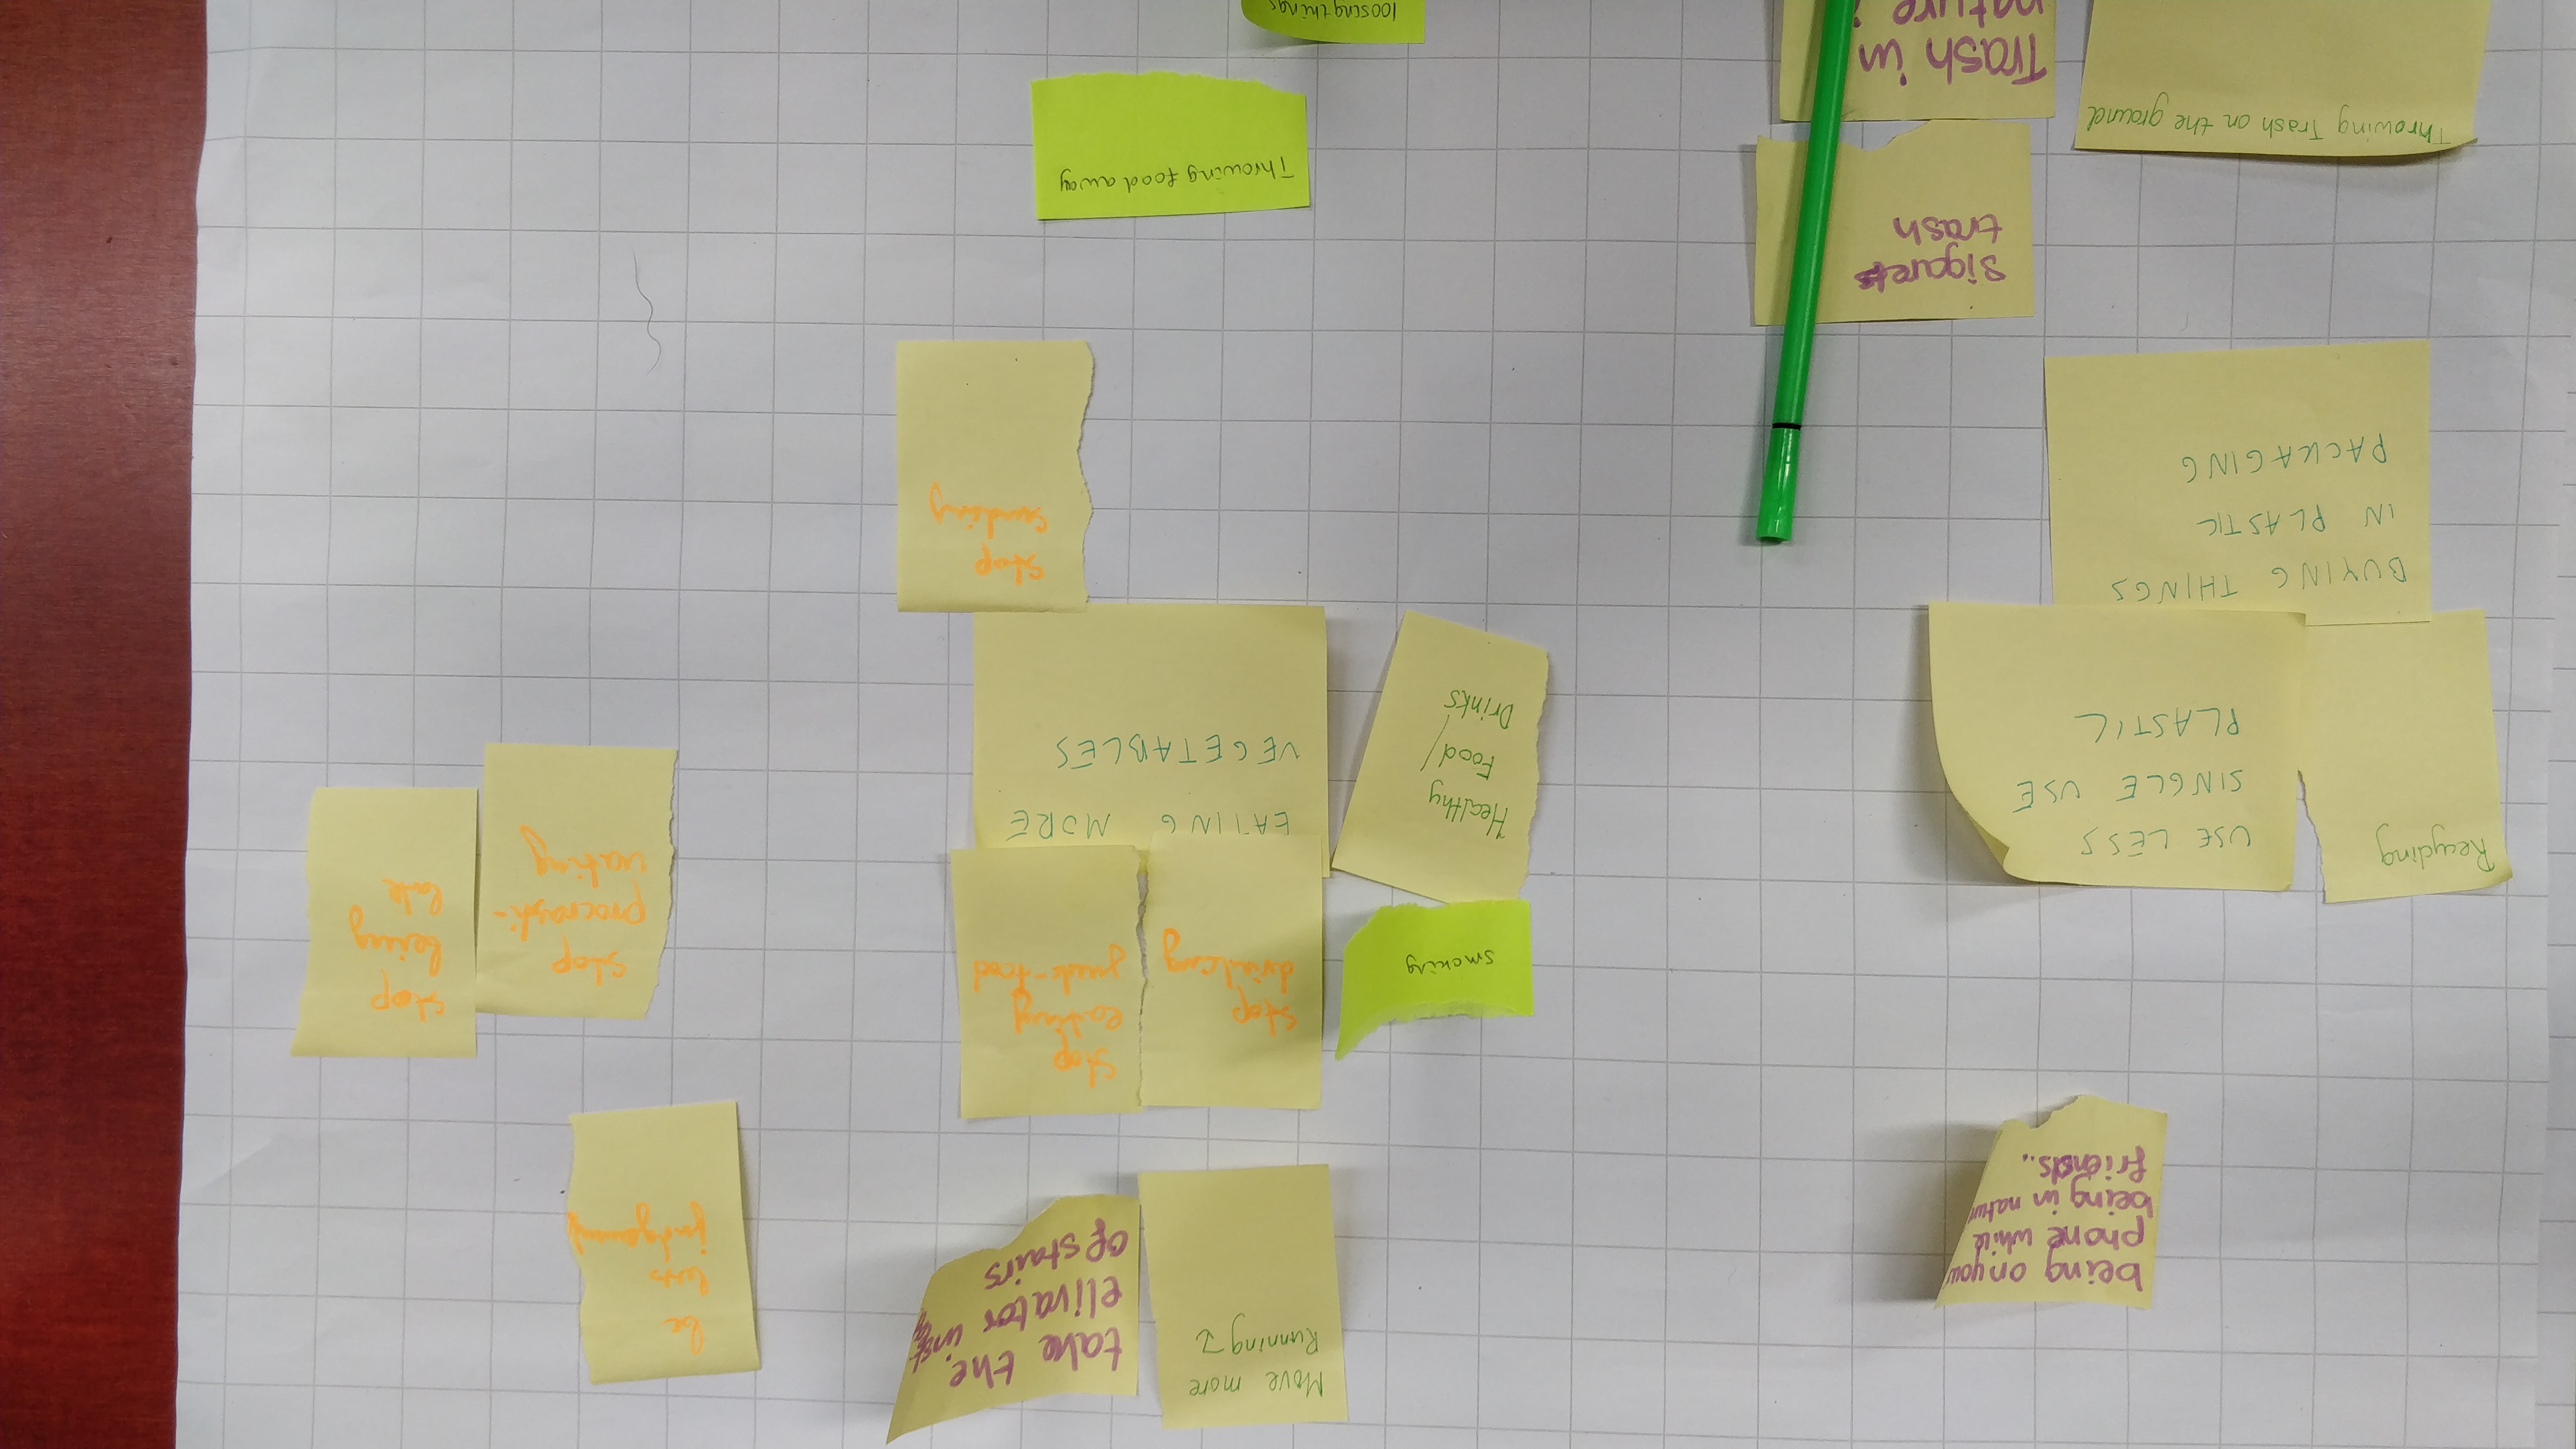
So we decided to brainstorm on different types of bad behaviour that we want to change.
Our most common bad behaviour were throwing stuff and food away and to have a lot of stress.
We thought of 2 good concepts which were screaming booth where you can release stress by screaming into it and other concept was to throwing stuff in the corresponding bin.
Day 1
Trying Technologies
After the brainstorm session we decided to try different available technologies.
By doing this we are getting new ideas for our concepts.
We tried different technologies and sensors such as the leap motion, proximity sensor and the touch board from Bare Conductive.
I tried the leap motion and I dont think we can use it for our concept. But it was a cool technology though.
Most of the existing project for leap motion are build on a windows machine which we didn't have at the time.
Later on me and Ondřej tried to get the touch board Bare Conductive to work but we couldn't figure it out.
It was at end of our day one.
Day 2
Technology to Concepts
Me and Sophia decided that we are going to try to get the touch board to work.
We followed the online instruction to the teeth but it wasn't working. I even tried to redownload every files that were missing in the SD card.
We asked our teacher for help.
Apparently the touch board that we got was modified into a midi board which is technically a controller for sounds.
I found another tutorial specifically for the midi board.
By following that specific tutorial we finally got it to work and it played a sound everytime we touch an input.
We didn't get any photos or videos from the touch board because it wasn't working before.
When we got it to work we got so excited that it worked that we forget to take photos.
By figuring the touch board we could of think endless possibilities that we can apply into our own concepts.
Day 2
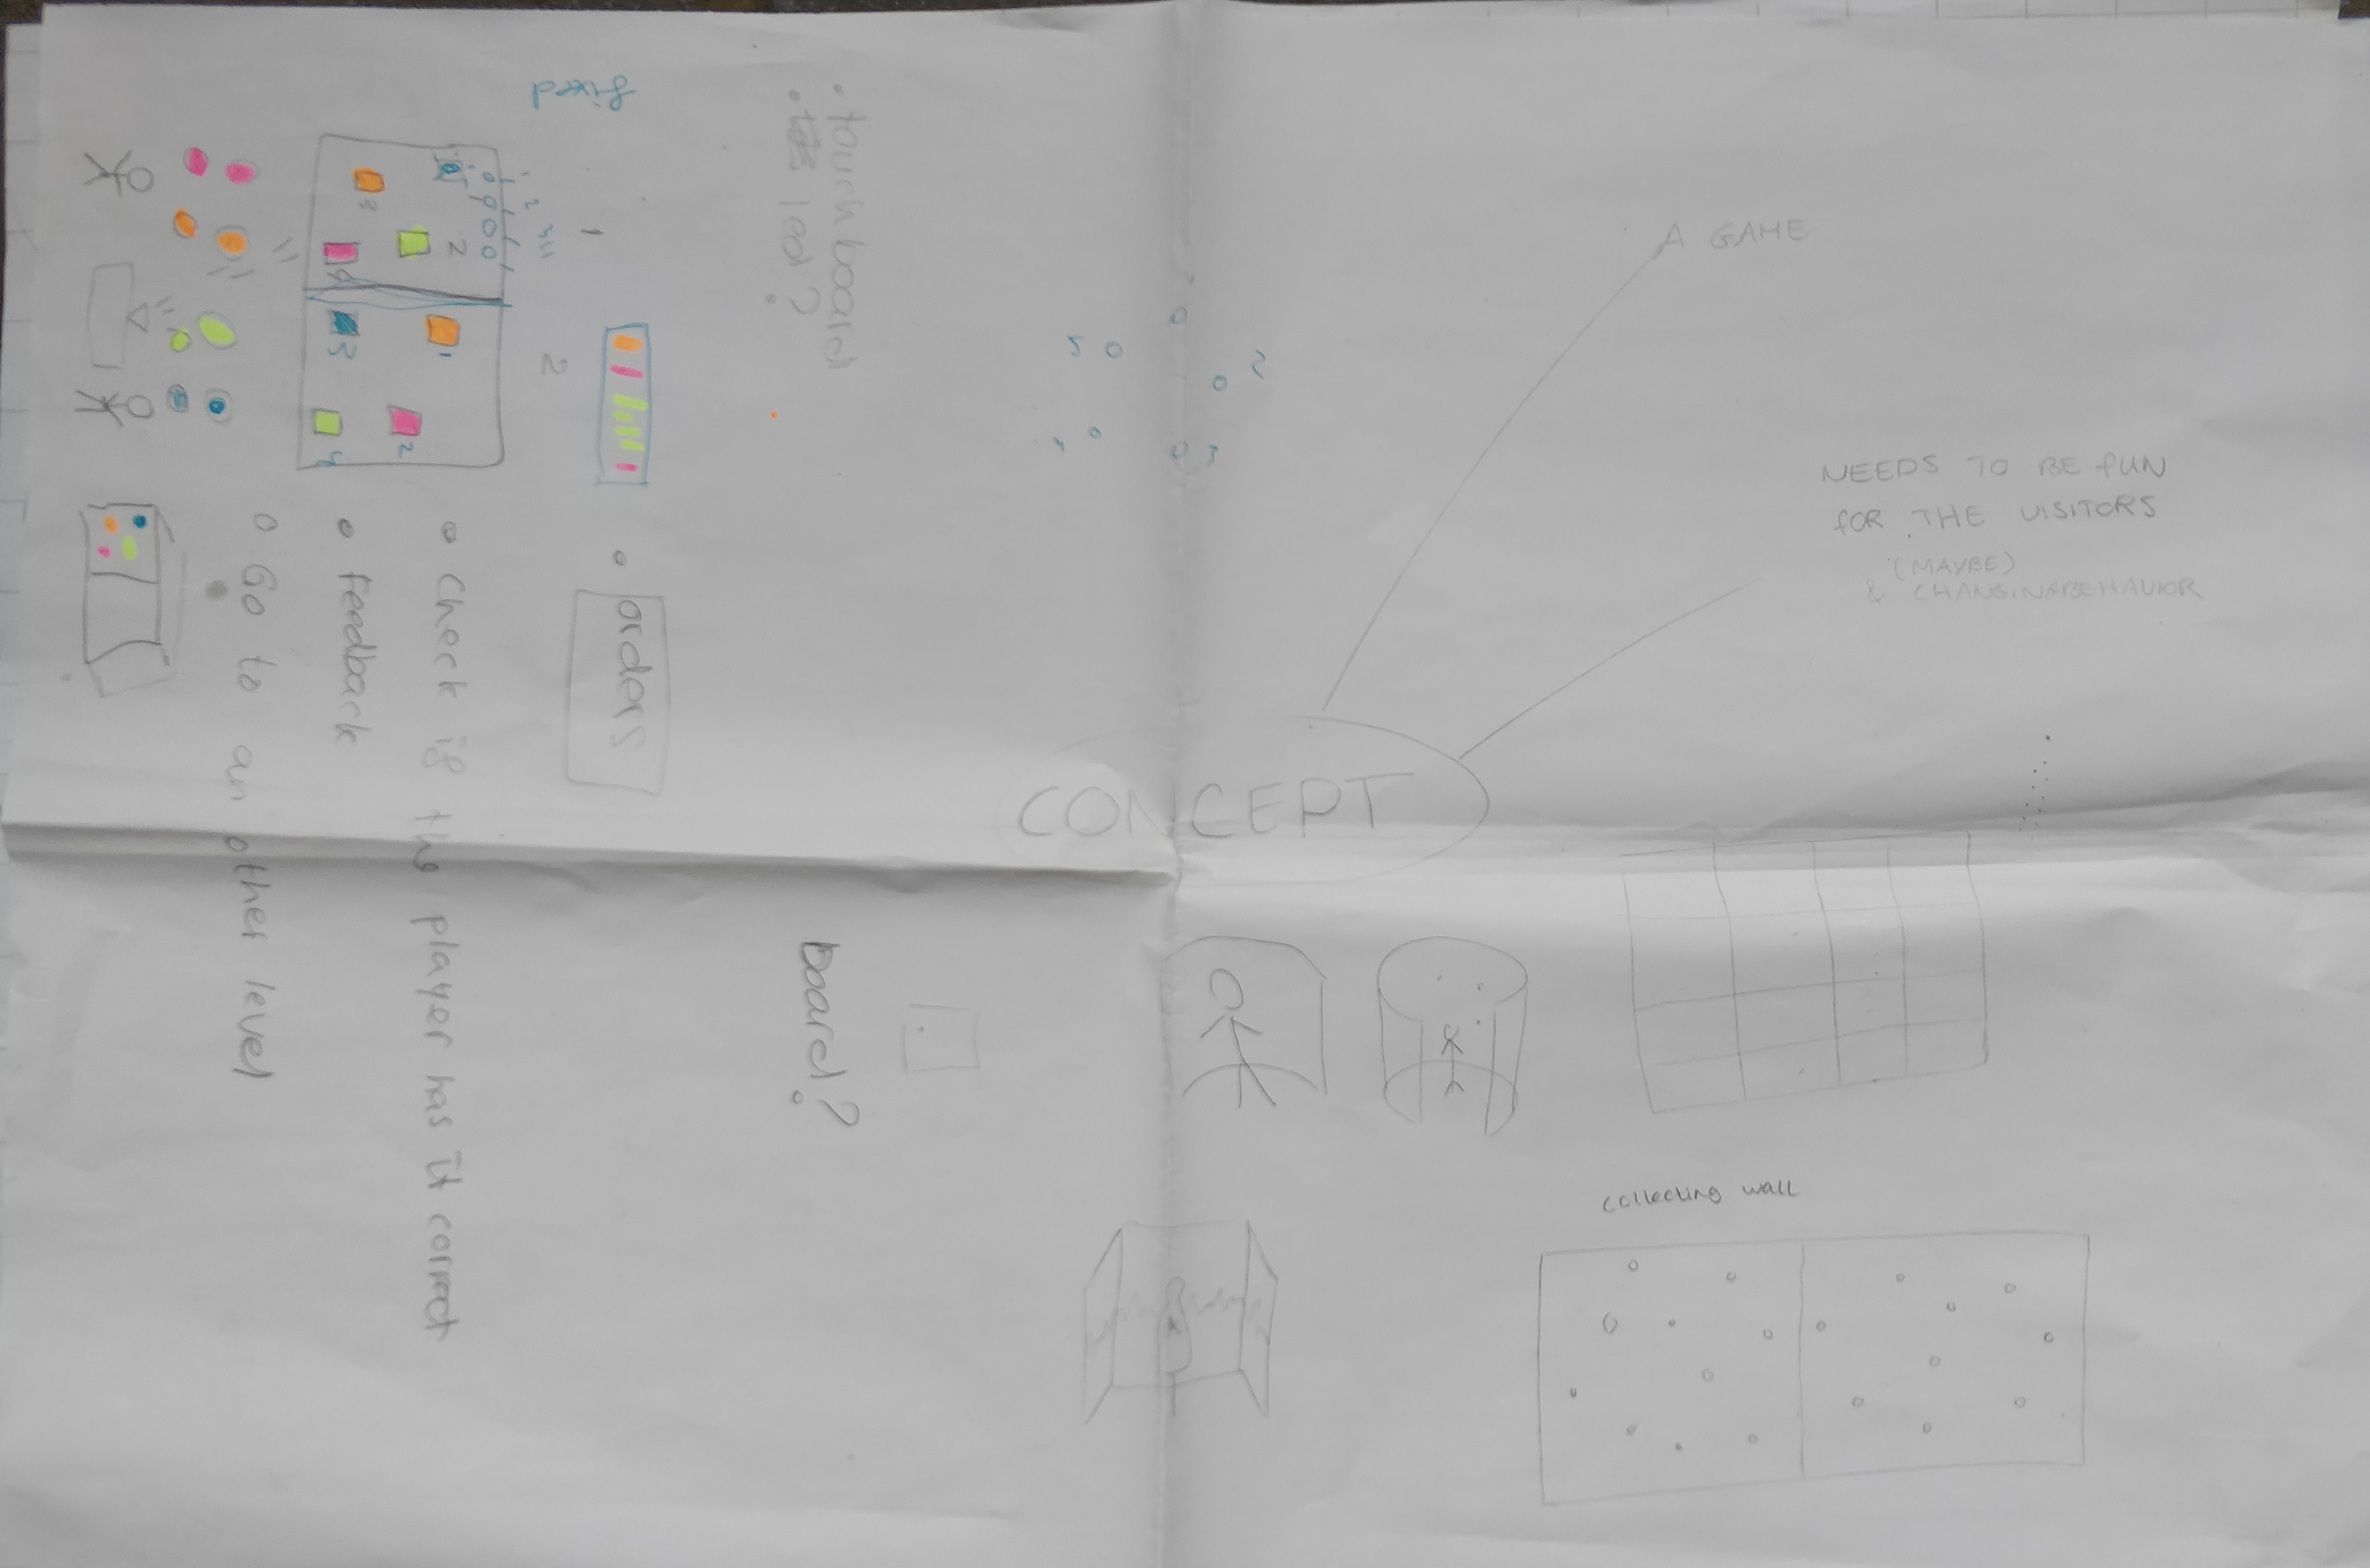
Concept on paper
After testing some of the technologies we decided to do another concepting.
We decided to add a extra feature that you can touch on the wall in the scream booth to hear relaxing sounds.
This idea came from touch board experiment.
We wanted to project sound waves in the booth that reacts to the sound coming from the microphone.
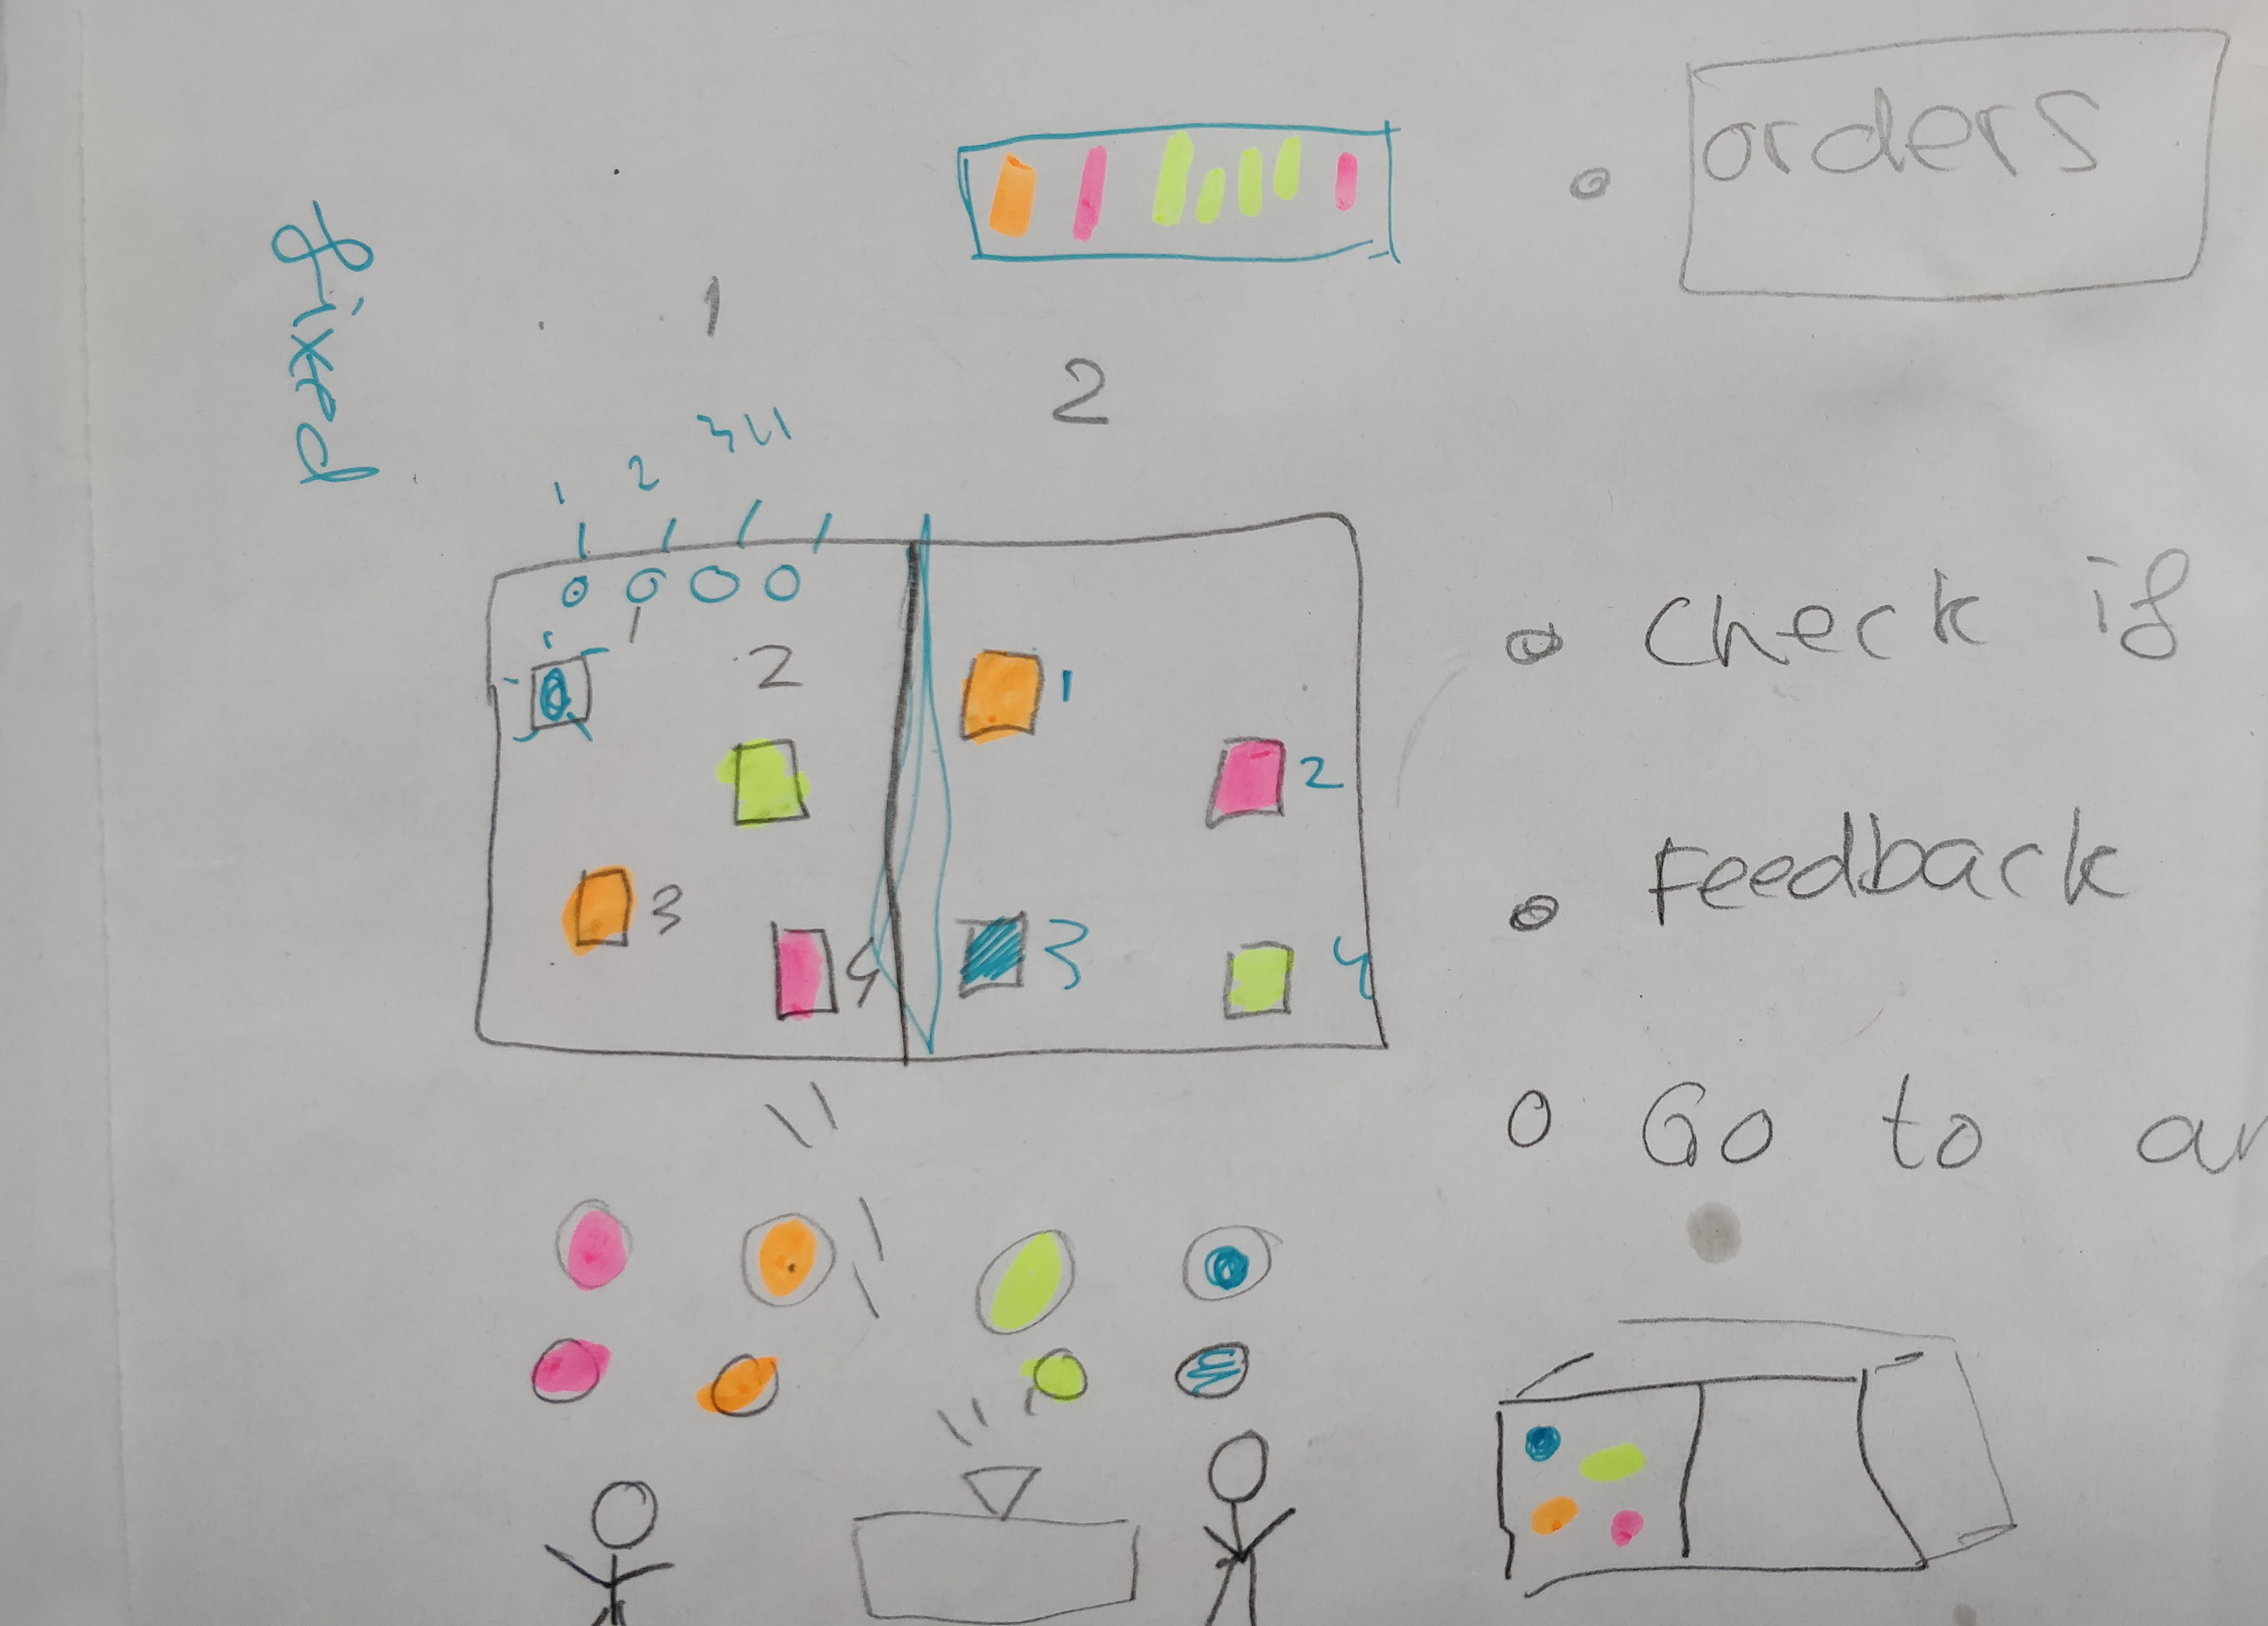
We also changed our recycling game to a touch board game where there is a huge wall where you have to touch in certain pattern that is shown on the board.
It's combination of whack-a-mole and memory.
Due to experimenting with different technologies we added more features to our concept.
Konstantin, Lotte and Ondřej worked on the code for proximity with LED strips which was also added to our concept: the screaming booth.
The LED strips is for when someone enters the booth, it wil turn on.
Later on that day we got a presentation about thinkering as a job.
He showed us his work and the process behind it.
He started just like us, experimenting with techology and after that he started making prototypes and publish them online.
Company like Coca Cola, Efteling saw his work and hire him for a job.
It was very inspirational and I like how he made a living out of just thinkering with technologies.
I had to leave early for my dutch resit.
We got an idea from one of HCI assistant who had this course last year. He said that we could of do a join effort concept during the expo where visitors have to scream in the booth to keep the projected lungs working.
After I left, my group tried to project the lungs on a mannequin for our concept: the screaming booth.
Day 3
Definitive concept
After 2 days of concepting and trying stuff out we decided to focus on getting one concept that we want to work towards to.
We had 2 concept in mind which were the screaming booth with LED strips and sound waves on the wall and the interactive whack-a-mole memory wall game.
We decide to go with the interactive wall game instead of the screaming booth because the wall was doable in 2 weeks.
Beside that I think wall game is going to be more interactive and fun for the people visiting.
Our concept is a interactive wall where you have to touch in a certain given sequence of color.
So you have a pattern of colors shown on the wall.
You have as a player have to follow that pattern.
It gets harder and harder each time with more colors.
We want to make multiplayer too because the competitive aspect makes it more interactive
We heard from other groups that they want to use the touch board too.
Since we had it for 2 days straight, we had to give other groups the chance test it.
We didn't want to buy one because it was very price, it was around 120 euro as a starter kit.
So we decided to contact a teacher and ask what we can do instead. Tim told us instead of touching we can use throwing.
Since it's wall. He told us to make holes and use sensor to detect something going through.
We found that a better solution and it's also a lot cheaper so we went with it.
We started by making some sketches and after that me and Ondřej tried the proximity sensor for detecting objects going through.
Konstantin, Lotte and Sophia worked on the storyline for our concept.
The story that we like the most was to use the holes as our mouths and that the player has to feed us by throwing food through the holes. Which is technically throwing food in our mouths.
Day 3
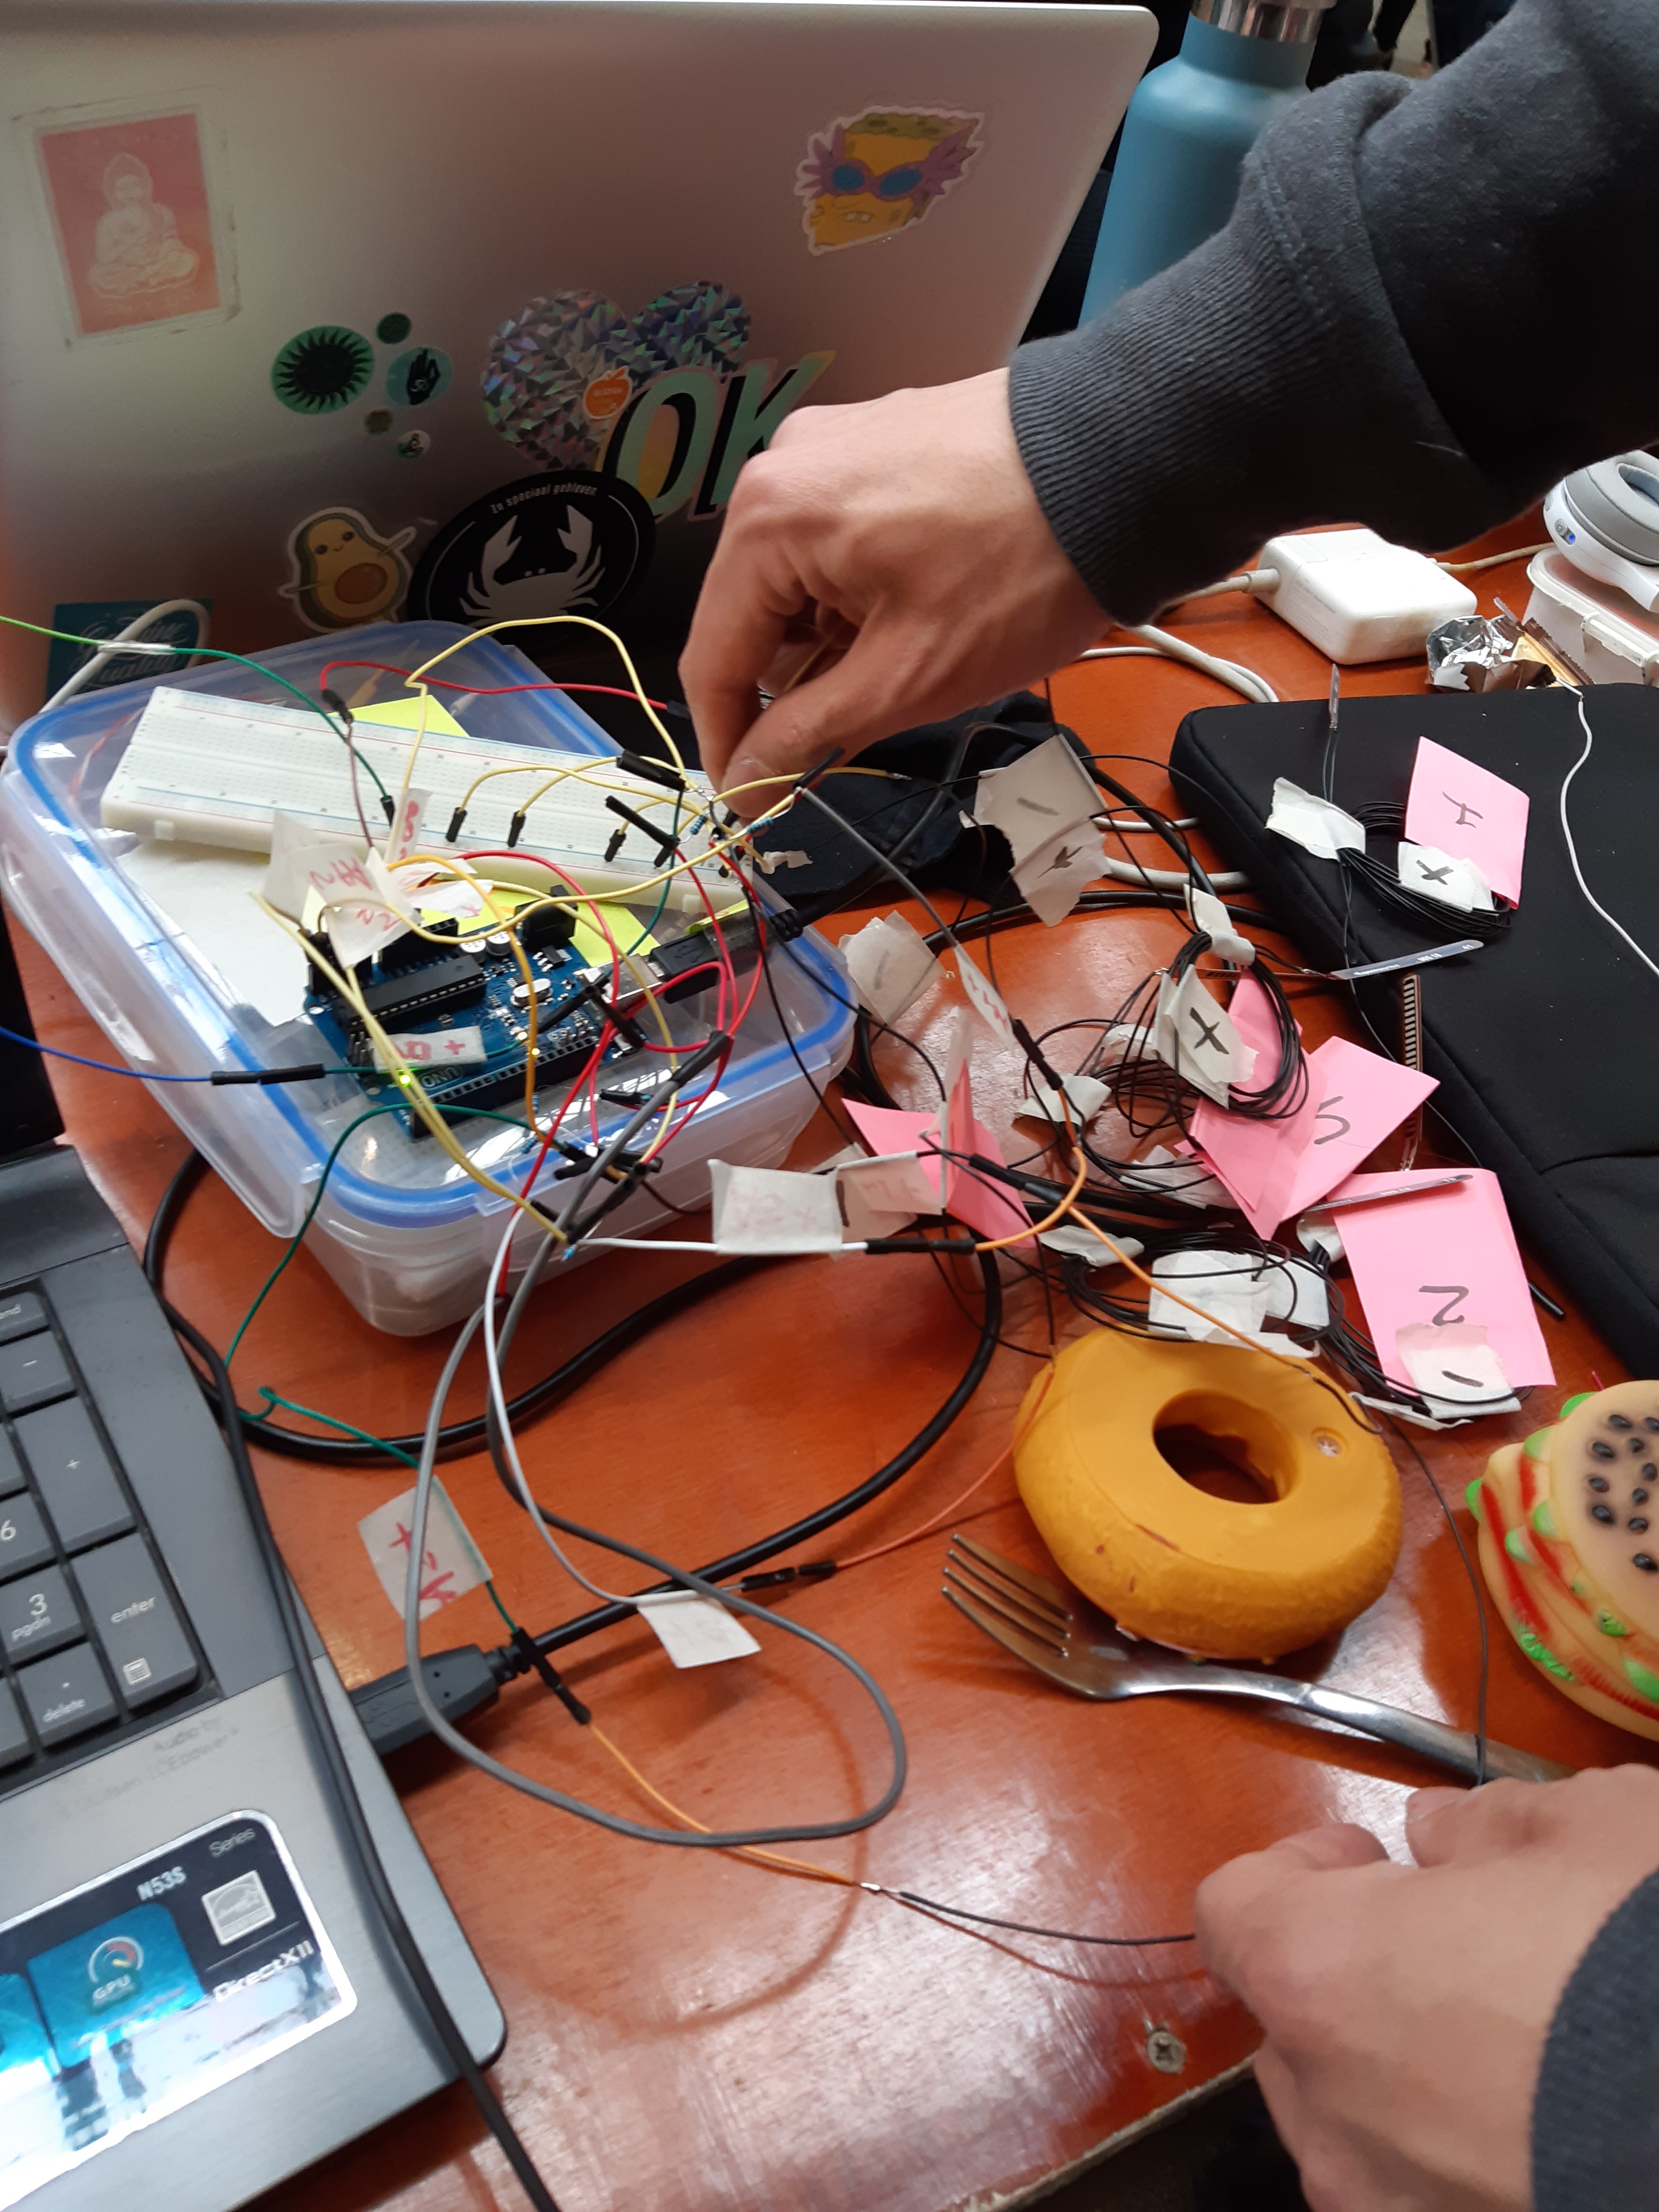
Proximity sensors
Me and Ondřej researched the proximity sensor.
We wanted to test the data that was coming through when a object is closer to the sensor.
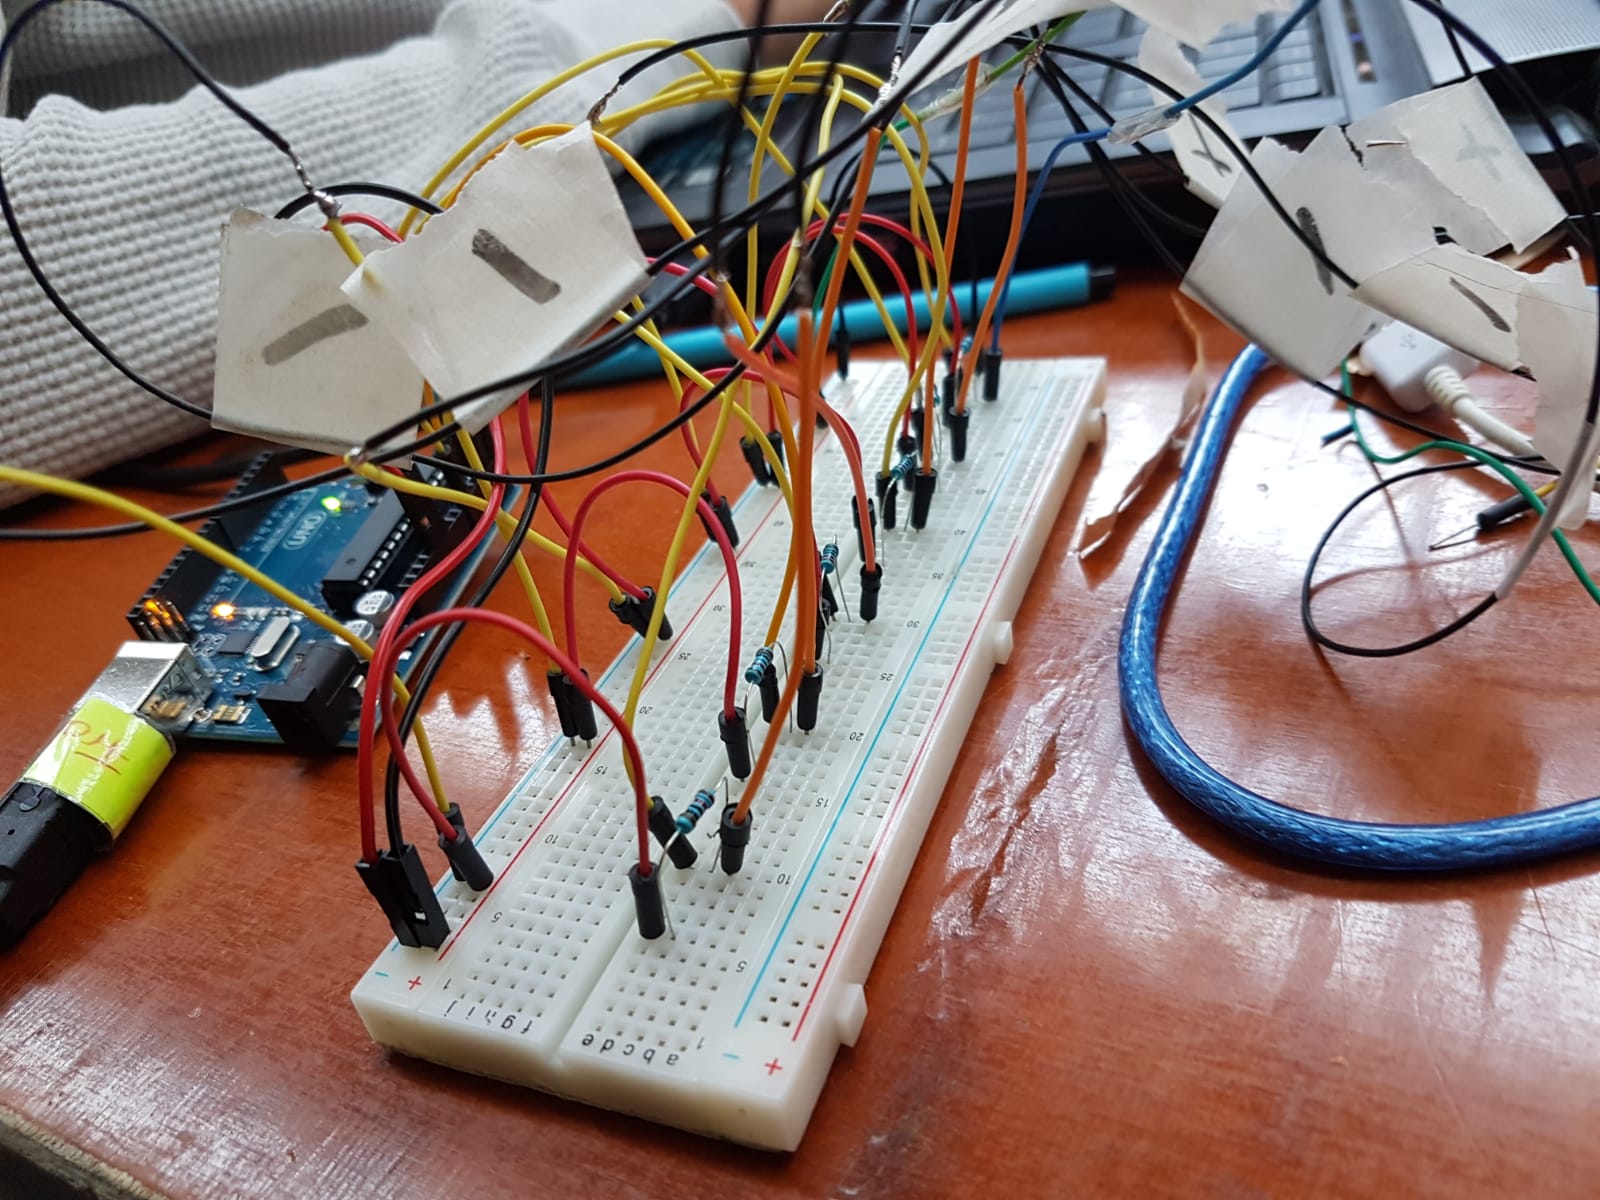
I built the circuitry and Ondřej worked on the code.
We wanted to get the data from Arduino to Processing because the game is going to be build in Processing.
We tried one, it works, but the challenge was to get two works without interfering with each other.
I installed the second proximity sensor on the opposite side.
Our idea was if two works then adding more will be easy to do because we only have to update the code.
In the video you can see the value change to be lower when my hand is in front of the sensor.
Ondřej figure how to draw data on the screen.
The left numbers are for the left sensor and right number are for the right sensor.
Day 4
Object Detection
Our first task was to come up with promise that we are going work towards to.
Our promise was "We promise you to train your aim".
Since it's you have to precise when throwing food at our mouths, you will train your aim in the process of playing the game.
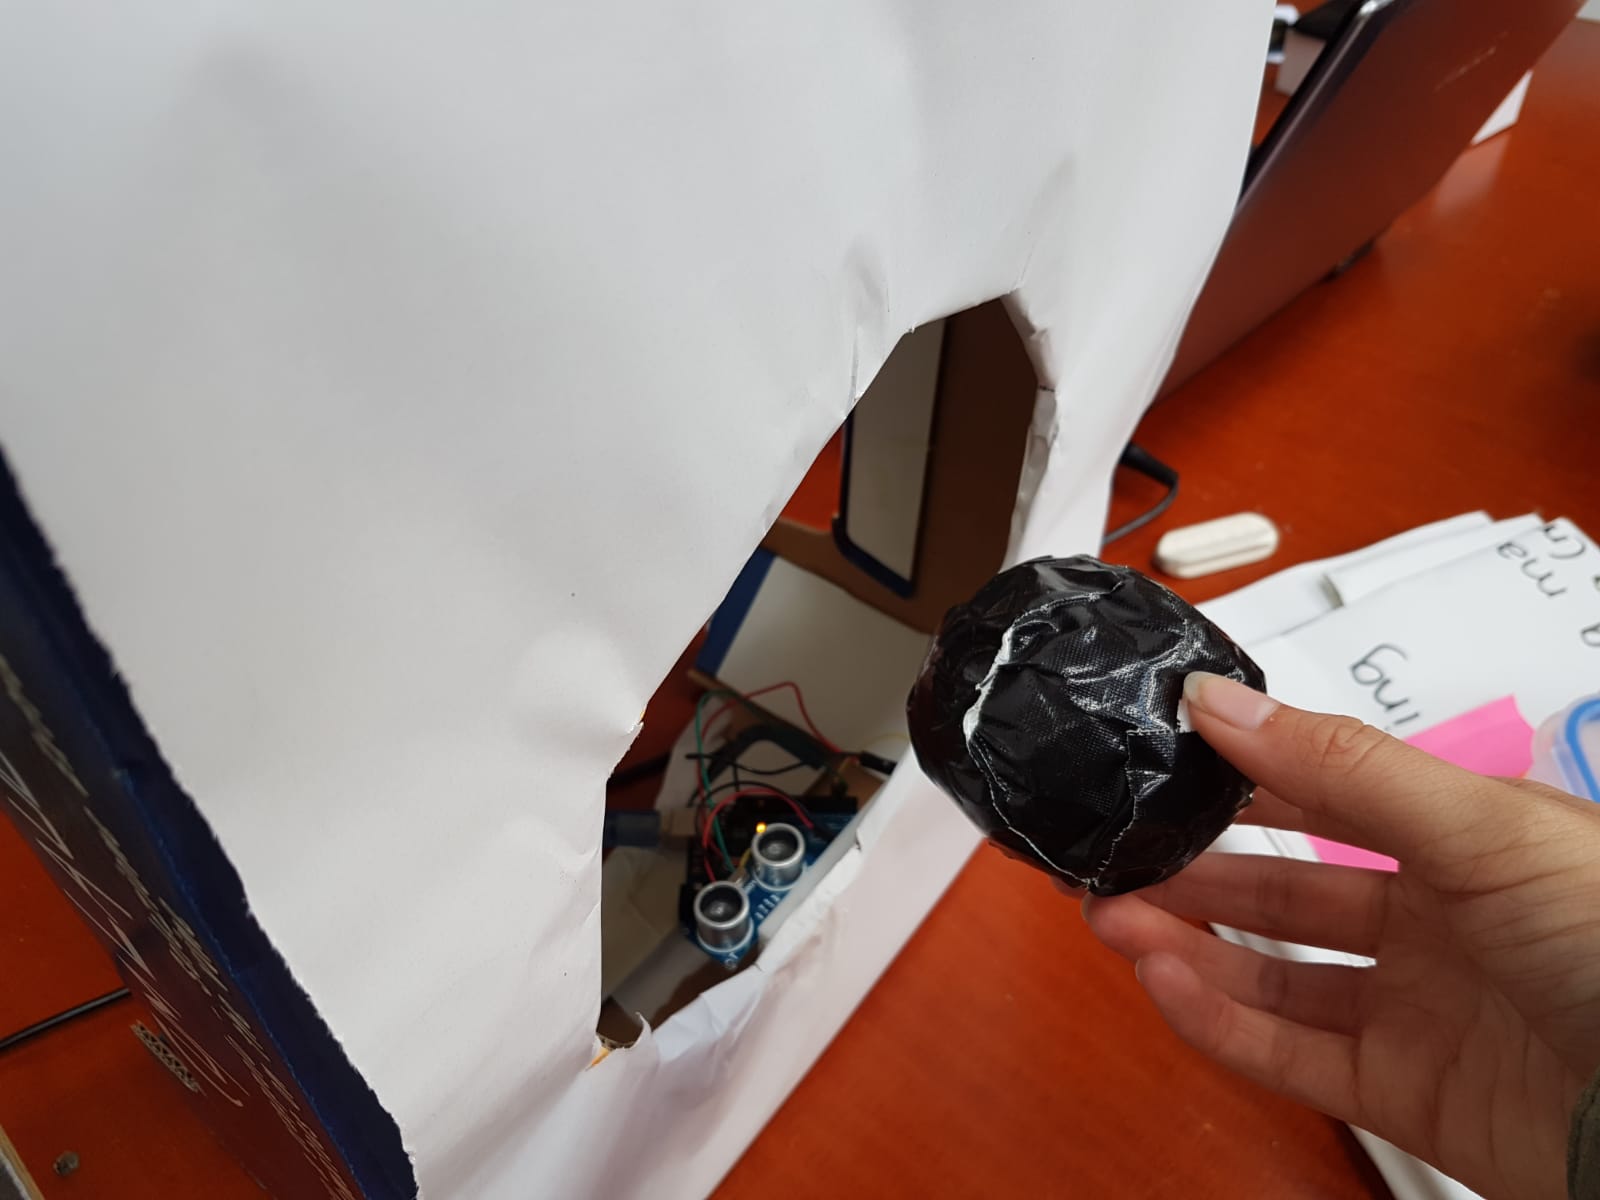
I attached the proximity sensor on the back of the hole in our concept wall which was a cardboard box to test if we can detect an object going through.
Sadly was the ball to fast and sensor wont able to catch the ball going through.
We came up with a solution to make a tunnel for the ball to through and detect there.
In front of the tunnel we want to put a net to slow the down the ball.
So me and Lotte went looking for a net.
After we came back me and Lotte built the tunnel and test it out.
I attached the sensor on the tunnel and it's ready to test. Still with the net and tunnel the ball was too fast.
Day 4
Other possibilities
We concluded that the proximity won't work for our concept.
The object is going to fast and the sensor won't able to detect it on time.
So we have to come with another solution for the detecting moving objects.
We brainstormed together for a solution and we even ask for help from other groups and teachers.
During our brainstorm session we realised that a tunnel is not a solution at all since people will be throwing food and that we can have shapes that won't roll at all.
We also thought of using IR(infra red) sensor that can detect fast moving object but it won't still work because the detection area is so narrow that objects can pass through without even getting detected.
Lotte came up with an idea to use flex sensor on a paper that is attached to back of the hole.
When a ball through it bends the paper which bend the flex sensor that will send a signal that we can measure.
We never used the flex sensor before. I borrow one from my friend that was also working with flex sensors.
looked up for the start up code for the flex sensors and test the flex sensor.
Now we know that the flex sensor is working.
Day 5
Flex sensor
I removed the old concept of the tunnels and replace with it the flex sensor.
Me and Ondřej tested the sensor on our prototype wall.
I had to move to the sensor up and down on back of the hole to get the right values from the sensor.
I didn't code the game but me and Ondřej who basically code the whole game exchanges ideas on how we can best approach our game.
I also created a Hole class that contains data like x and y of the hole and a function to show the face on the hole.
The Hole class also has a state that we can check if the is selected.
Ondřej wasn't aware of classes and objects in Java. So I explained to him how classes and object works.
I also did a lot of testing as in throwing balls into the hole when needed for code testing. We need finally got a score counting system.
Day 5
Board setup
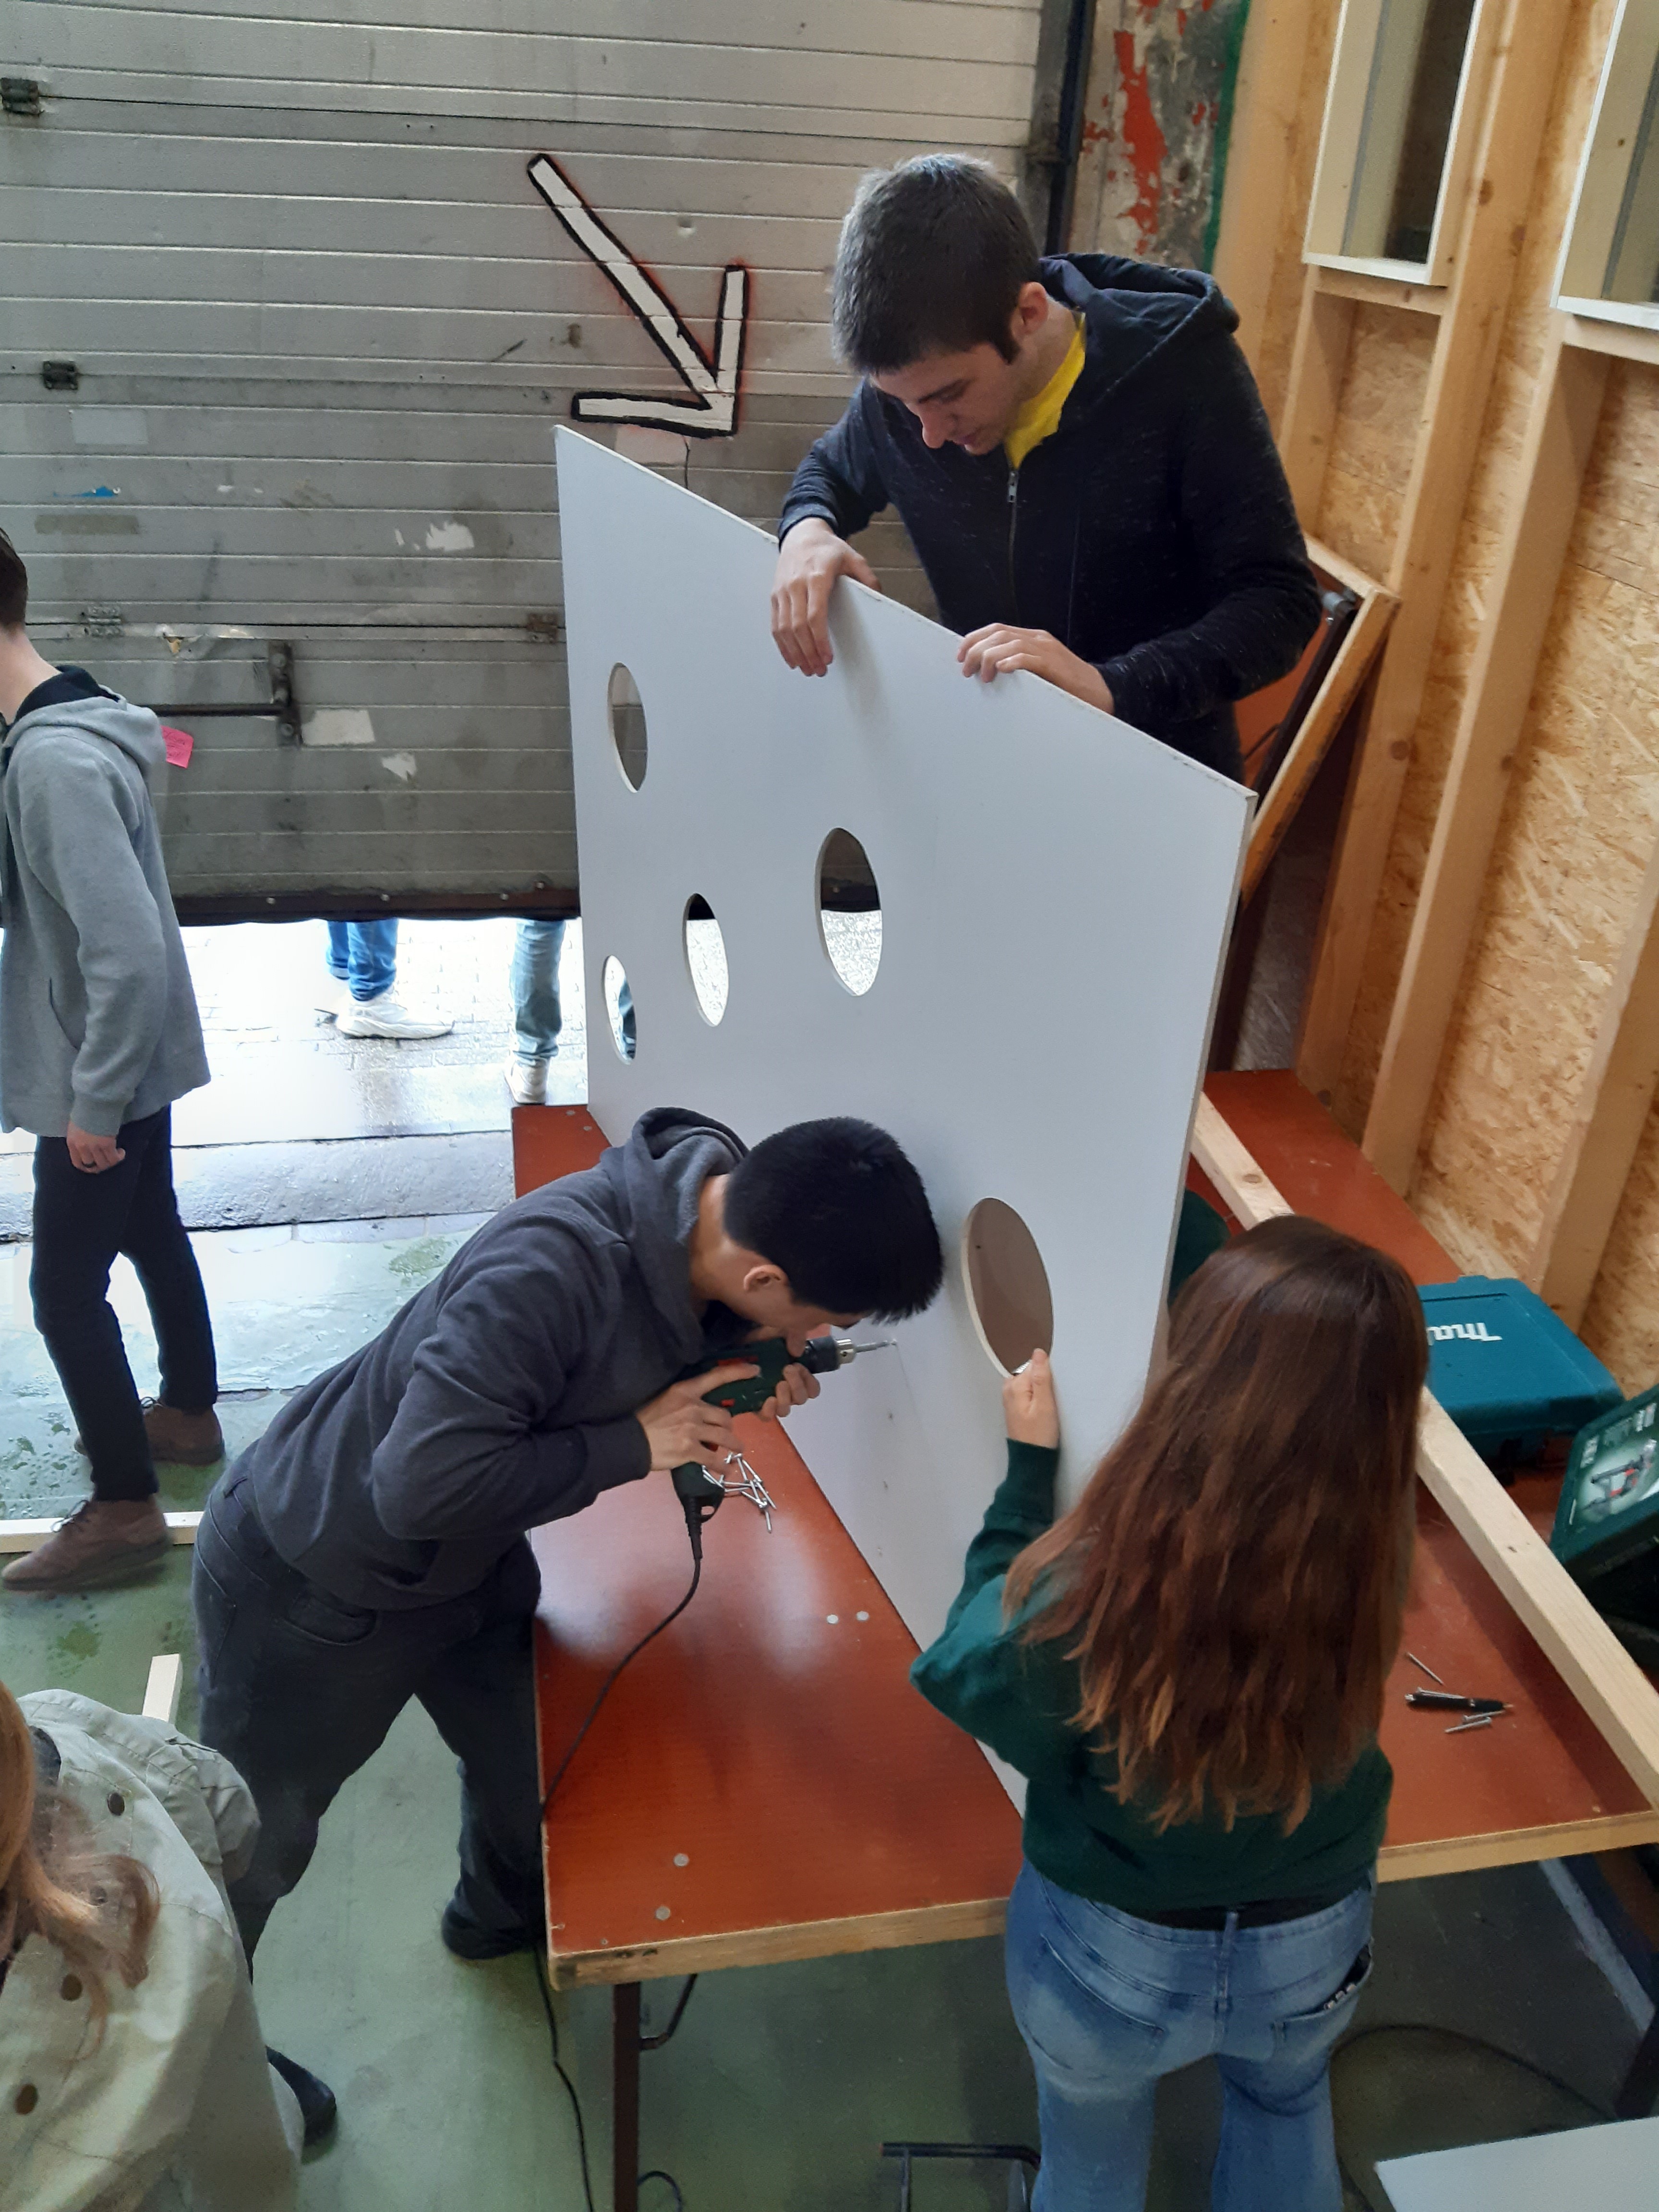
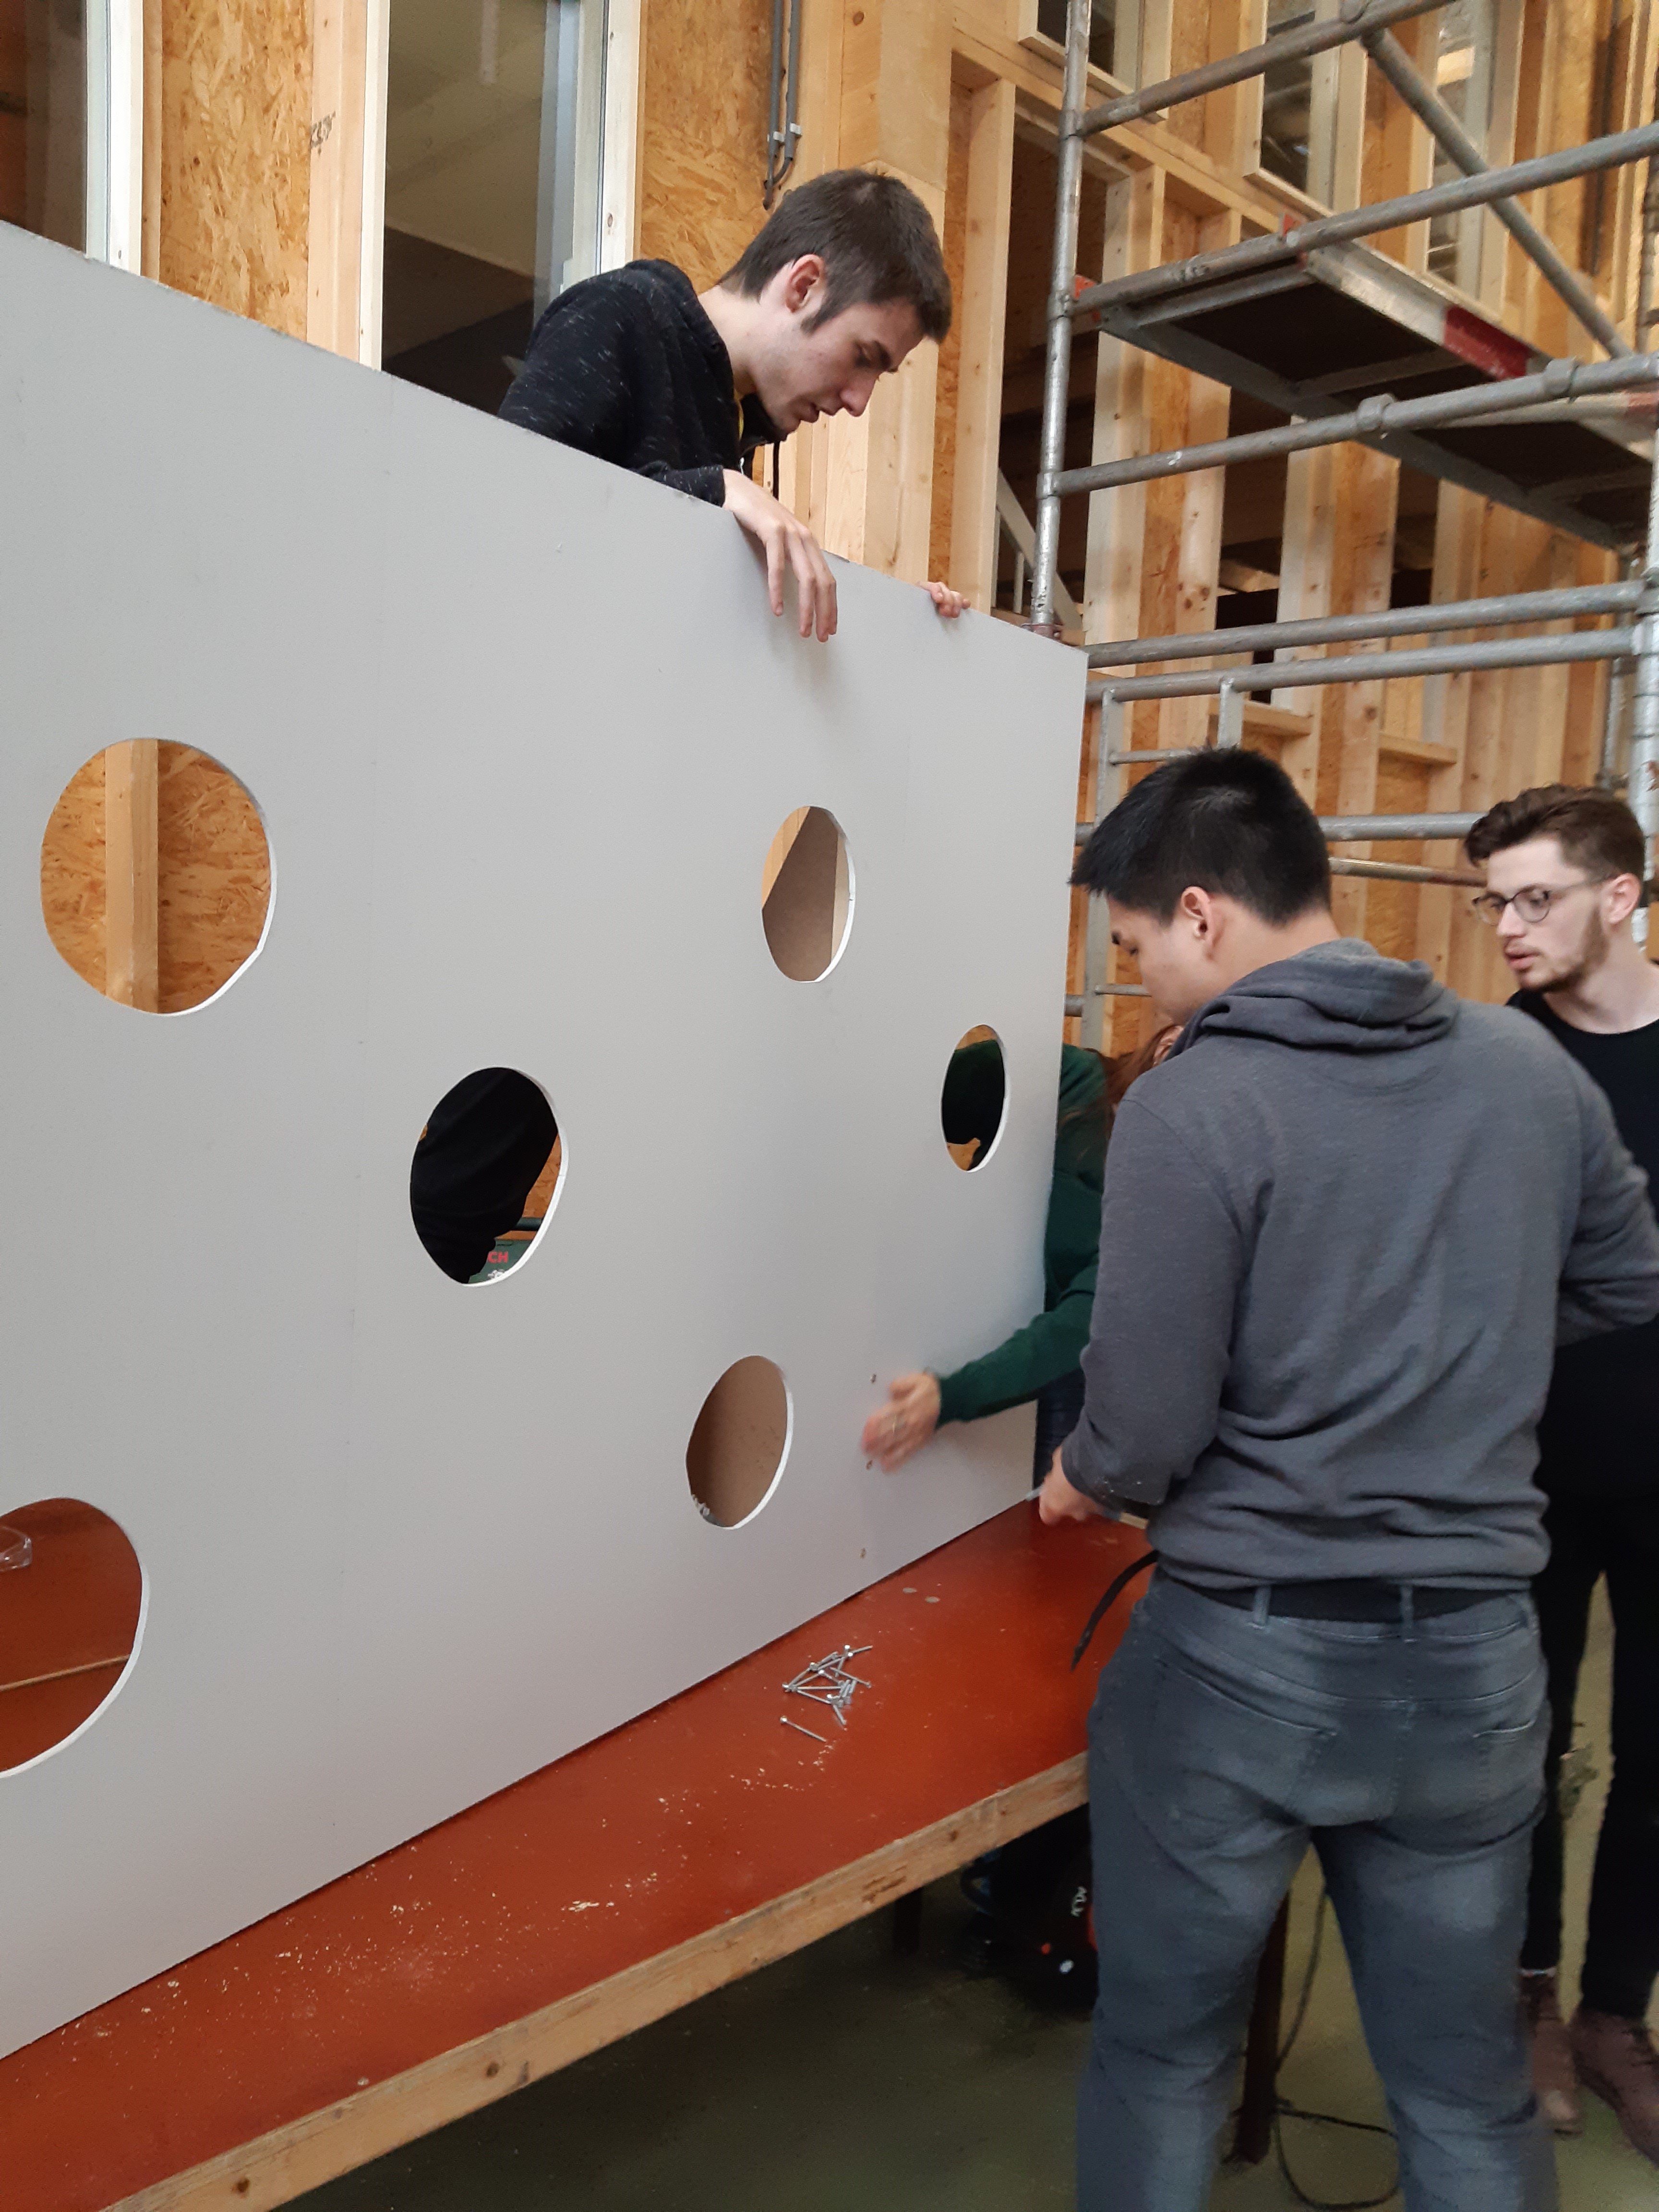
The rest of the team went out and bought a huge wood panel for our wall. They came back and measure it and cut holes into it. They also painted it.
The wall that we made was pretty big and heavy. We decided to put our wall on the table to elevate our wall.
We brainstormed how to stabilize our wall and made sure that it will stay up during the exposition.
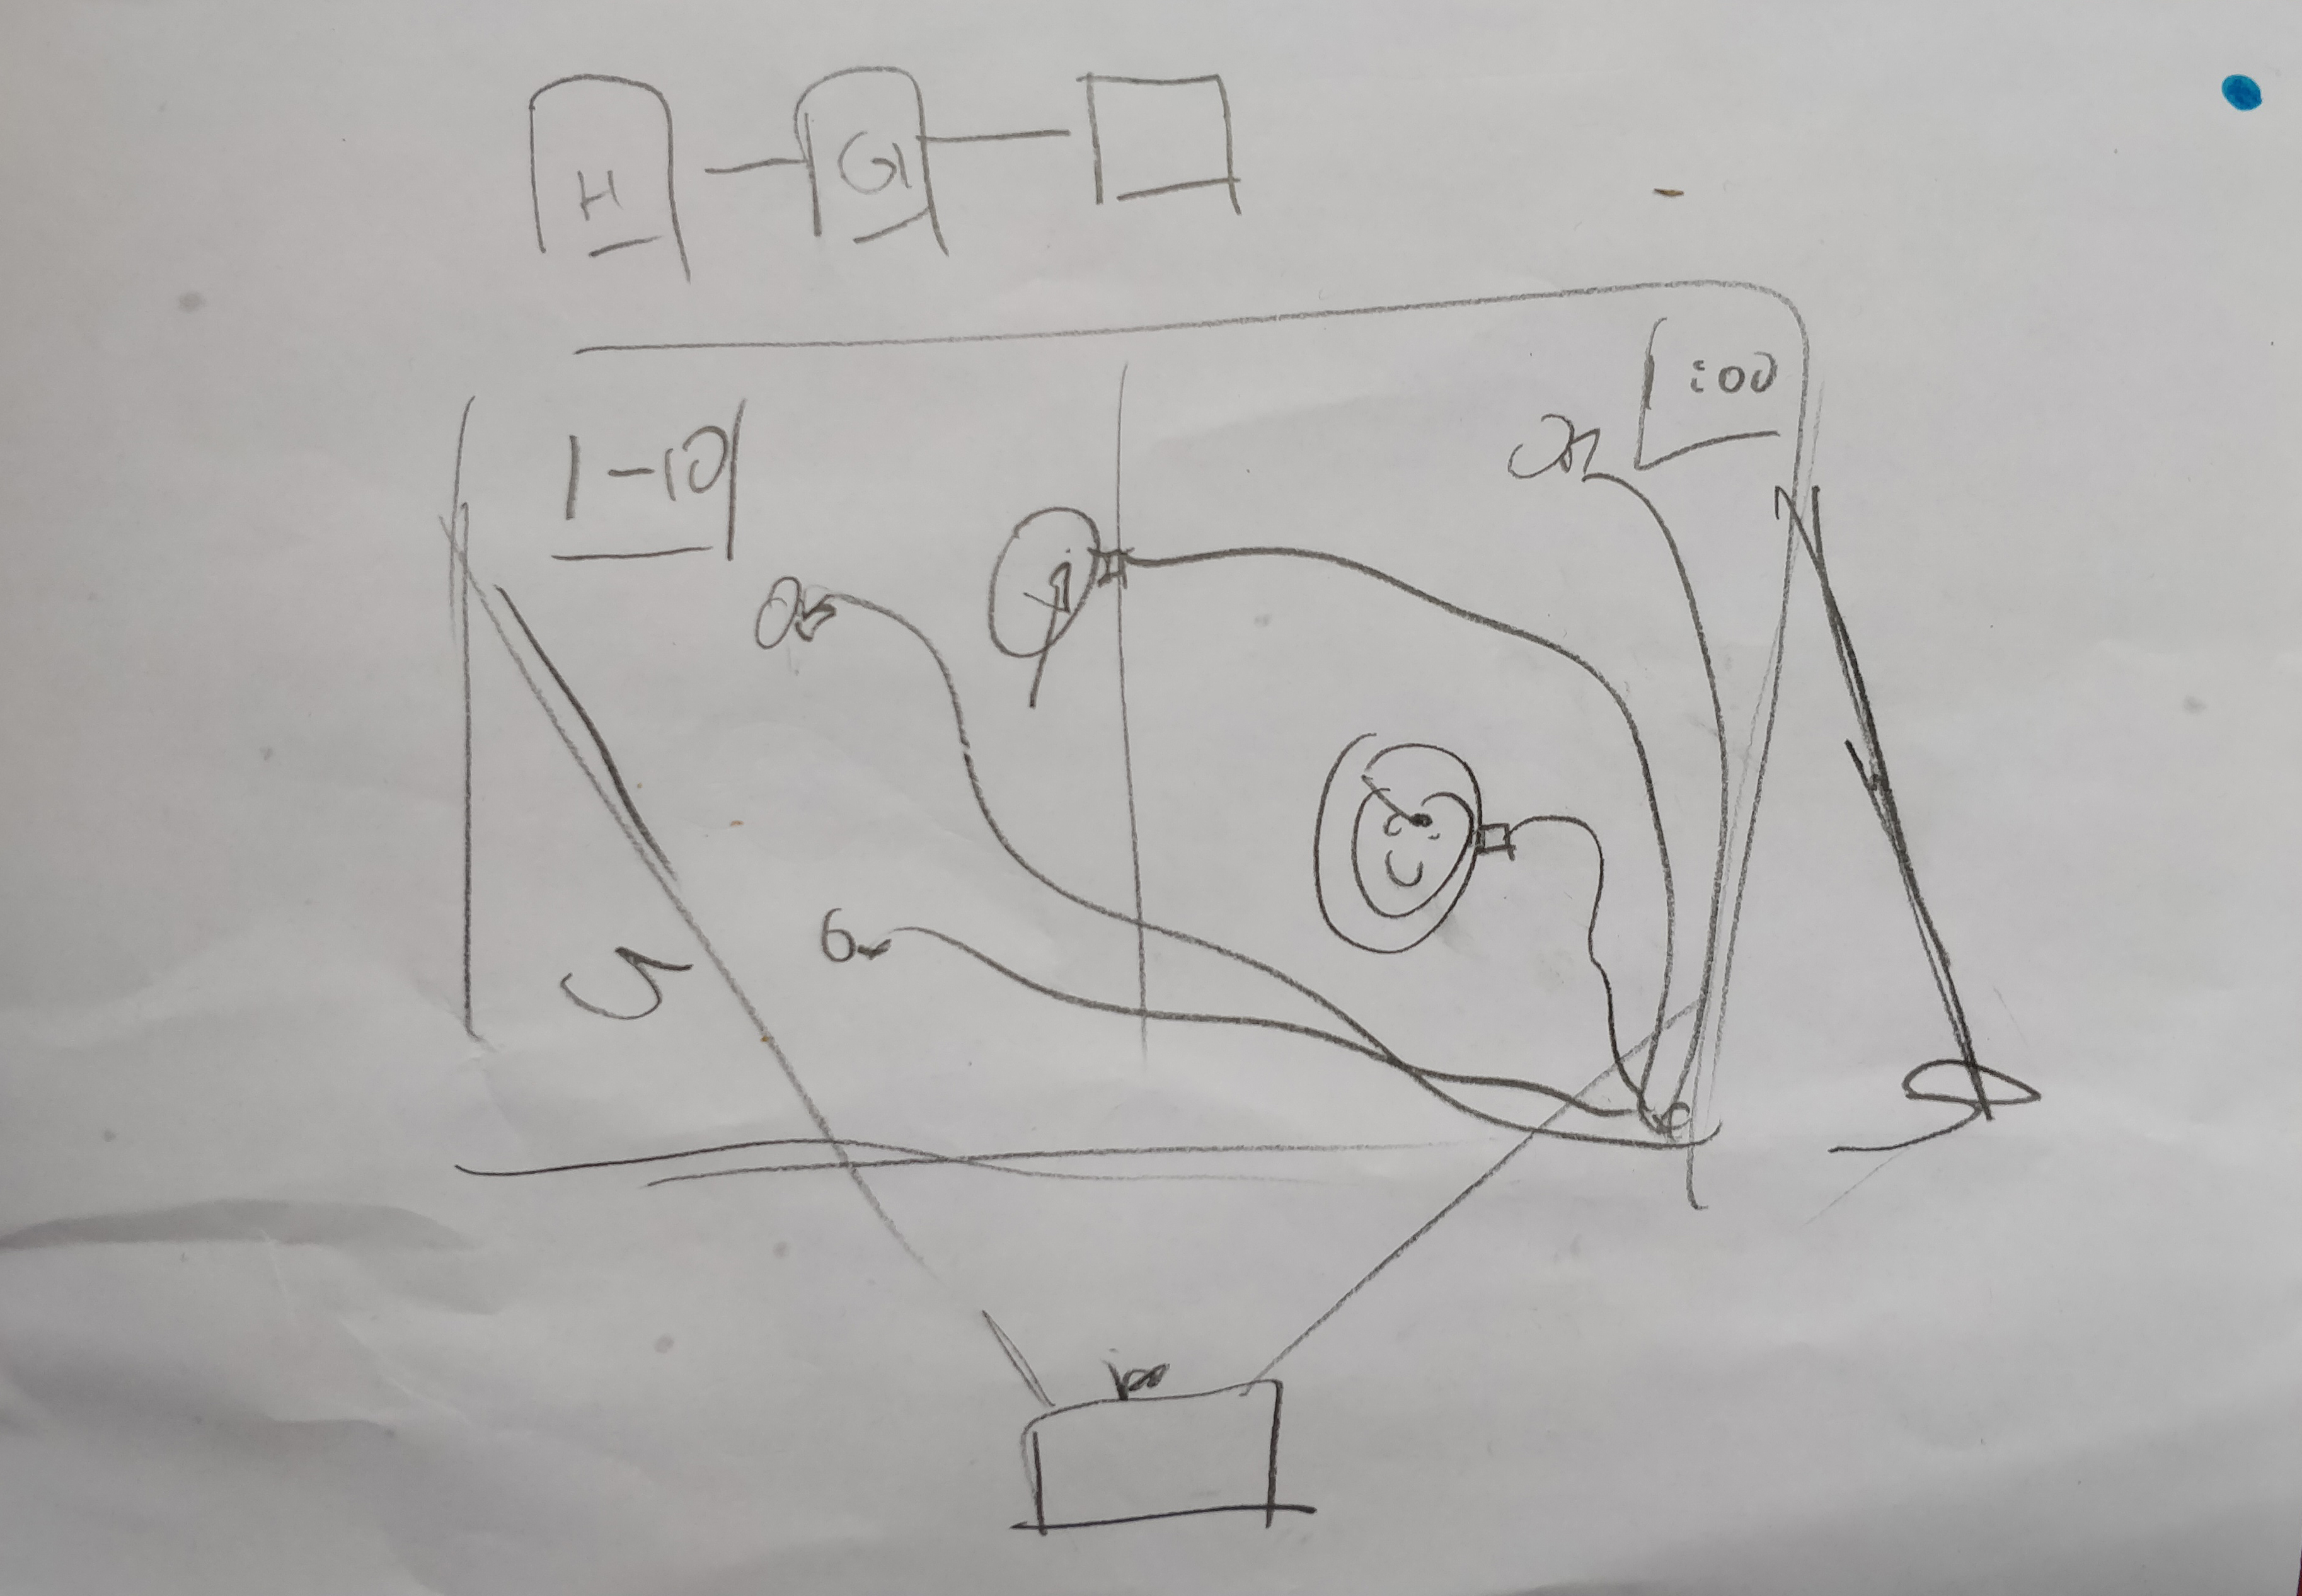
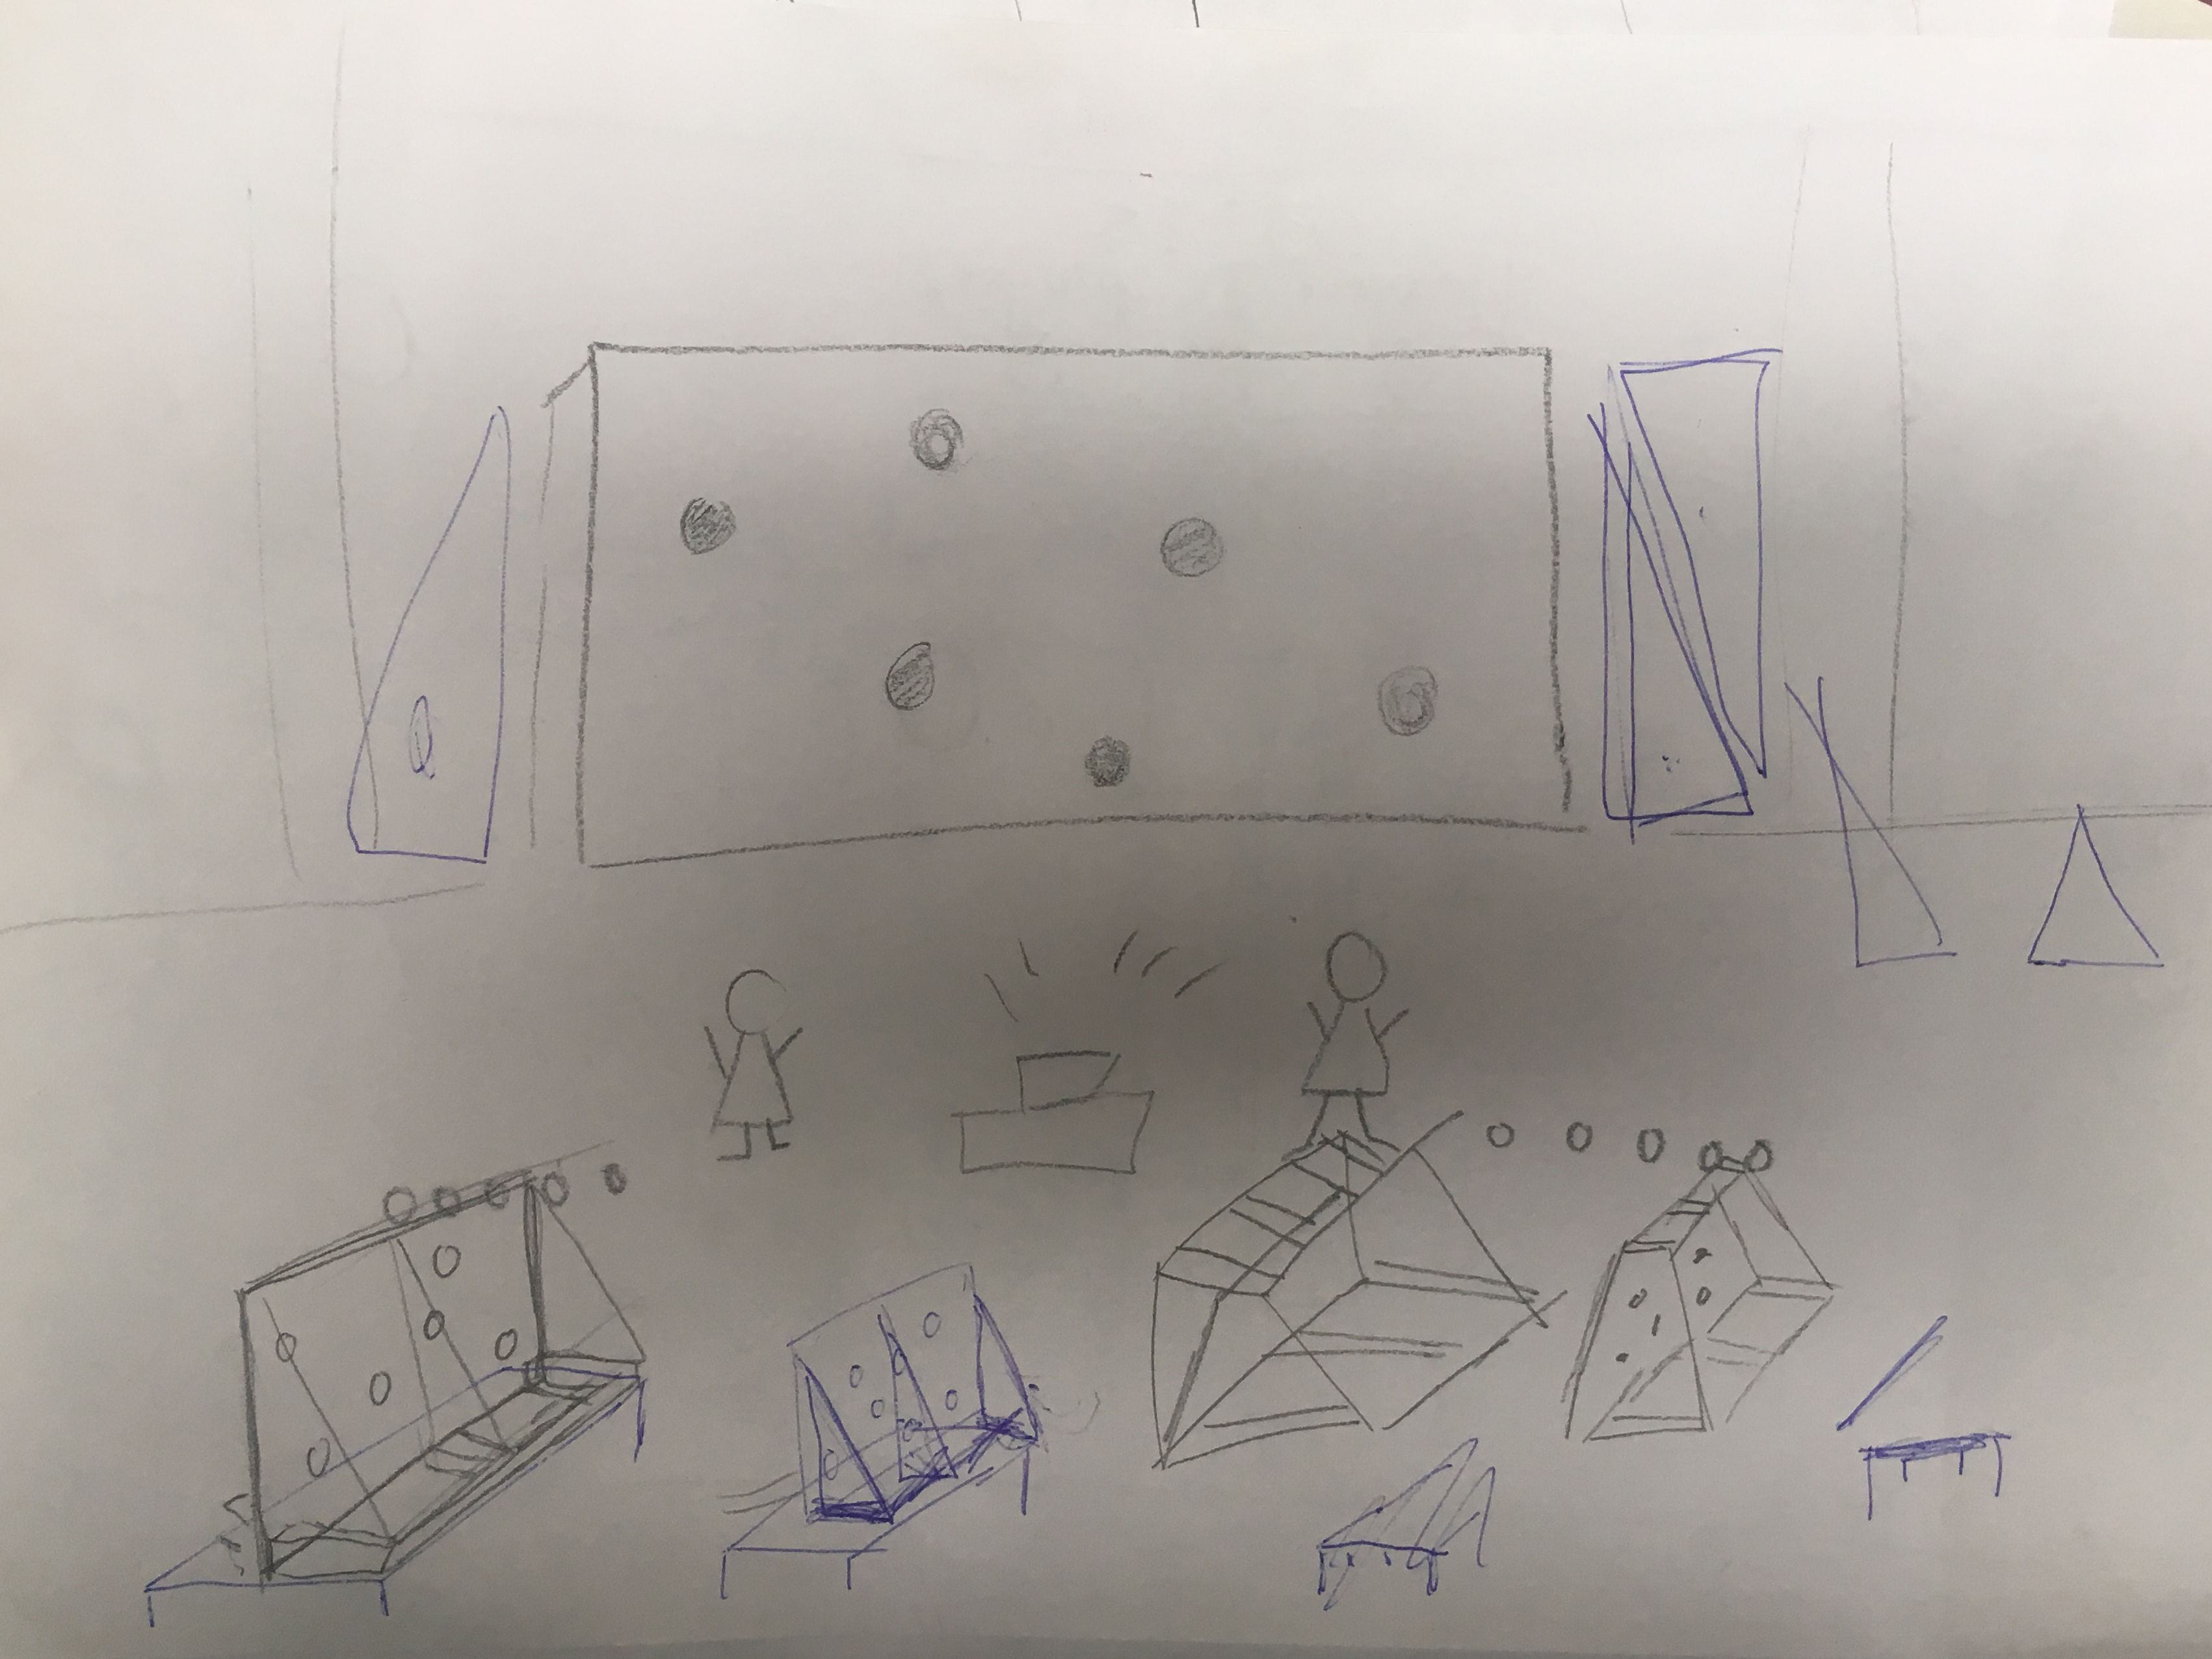
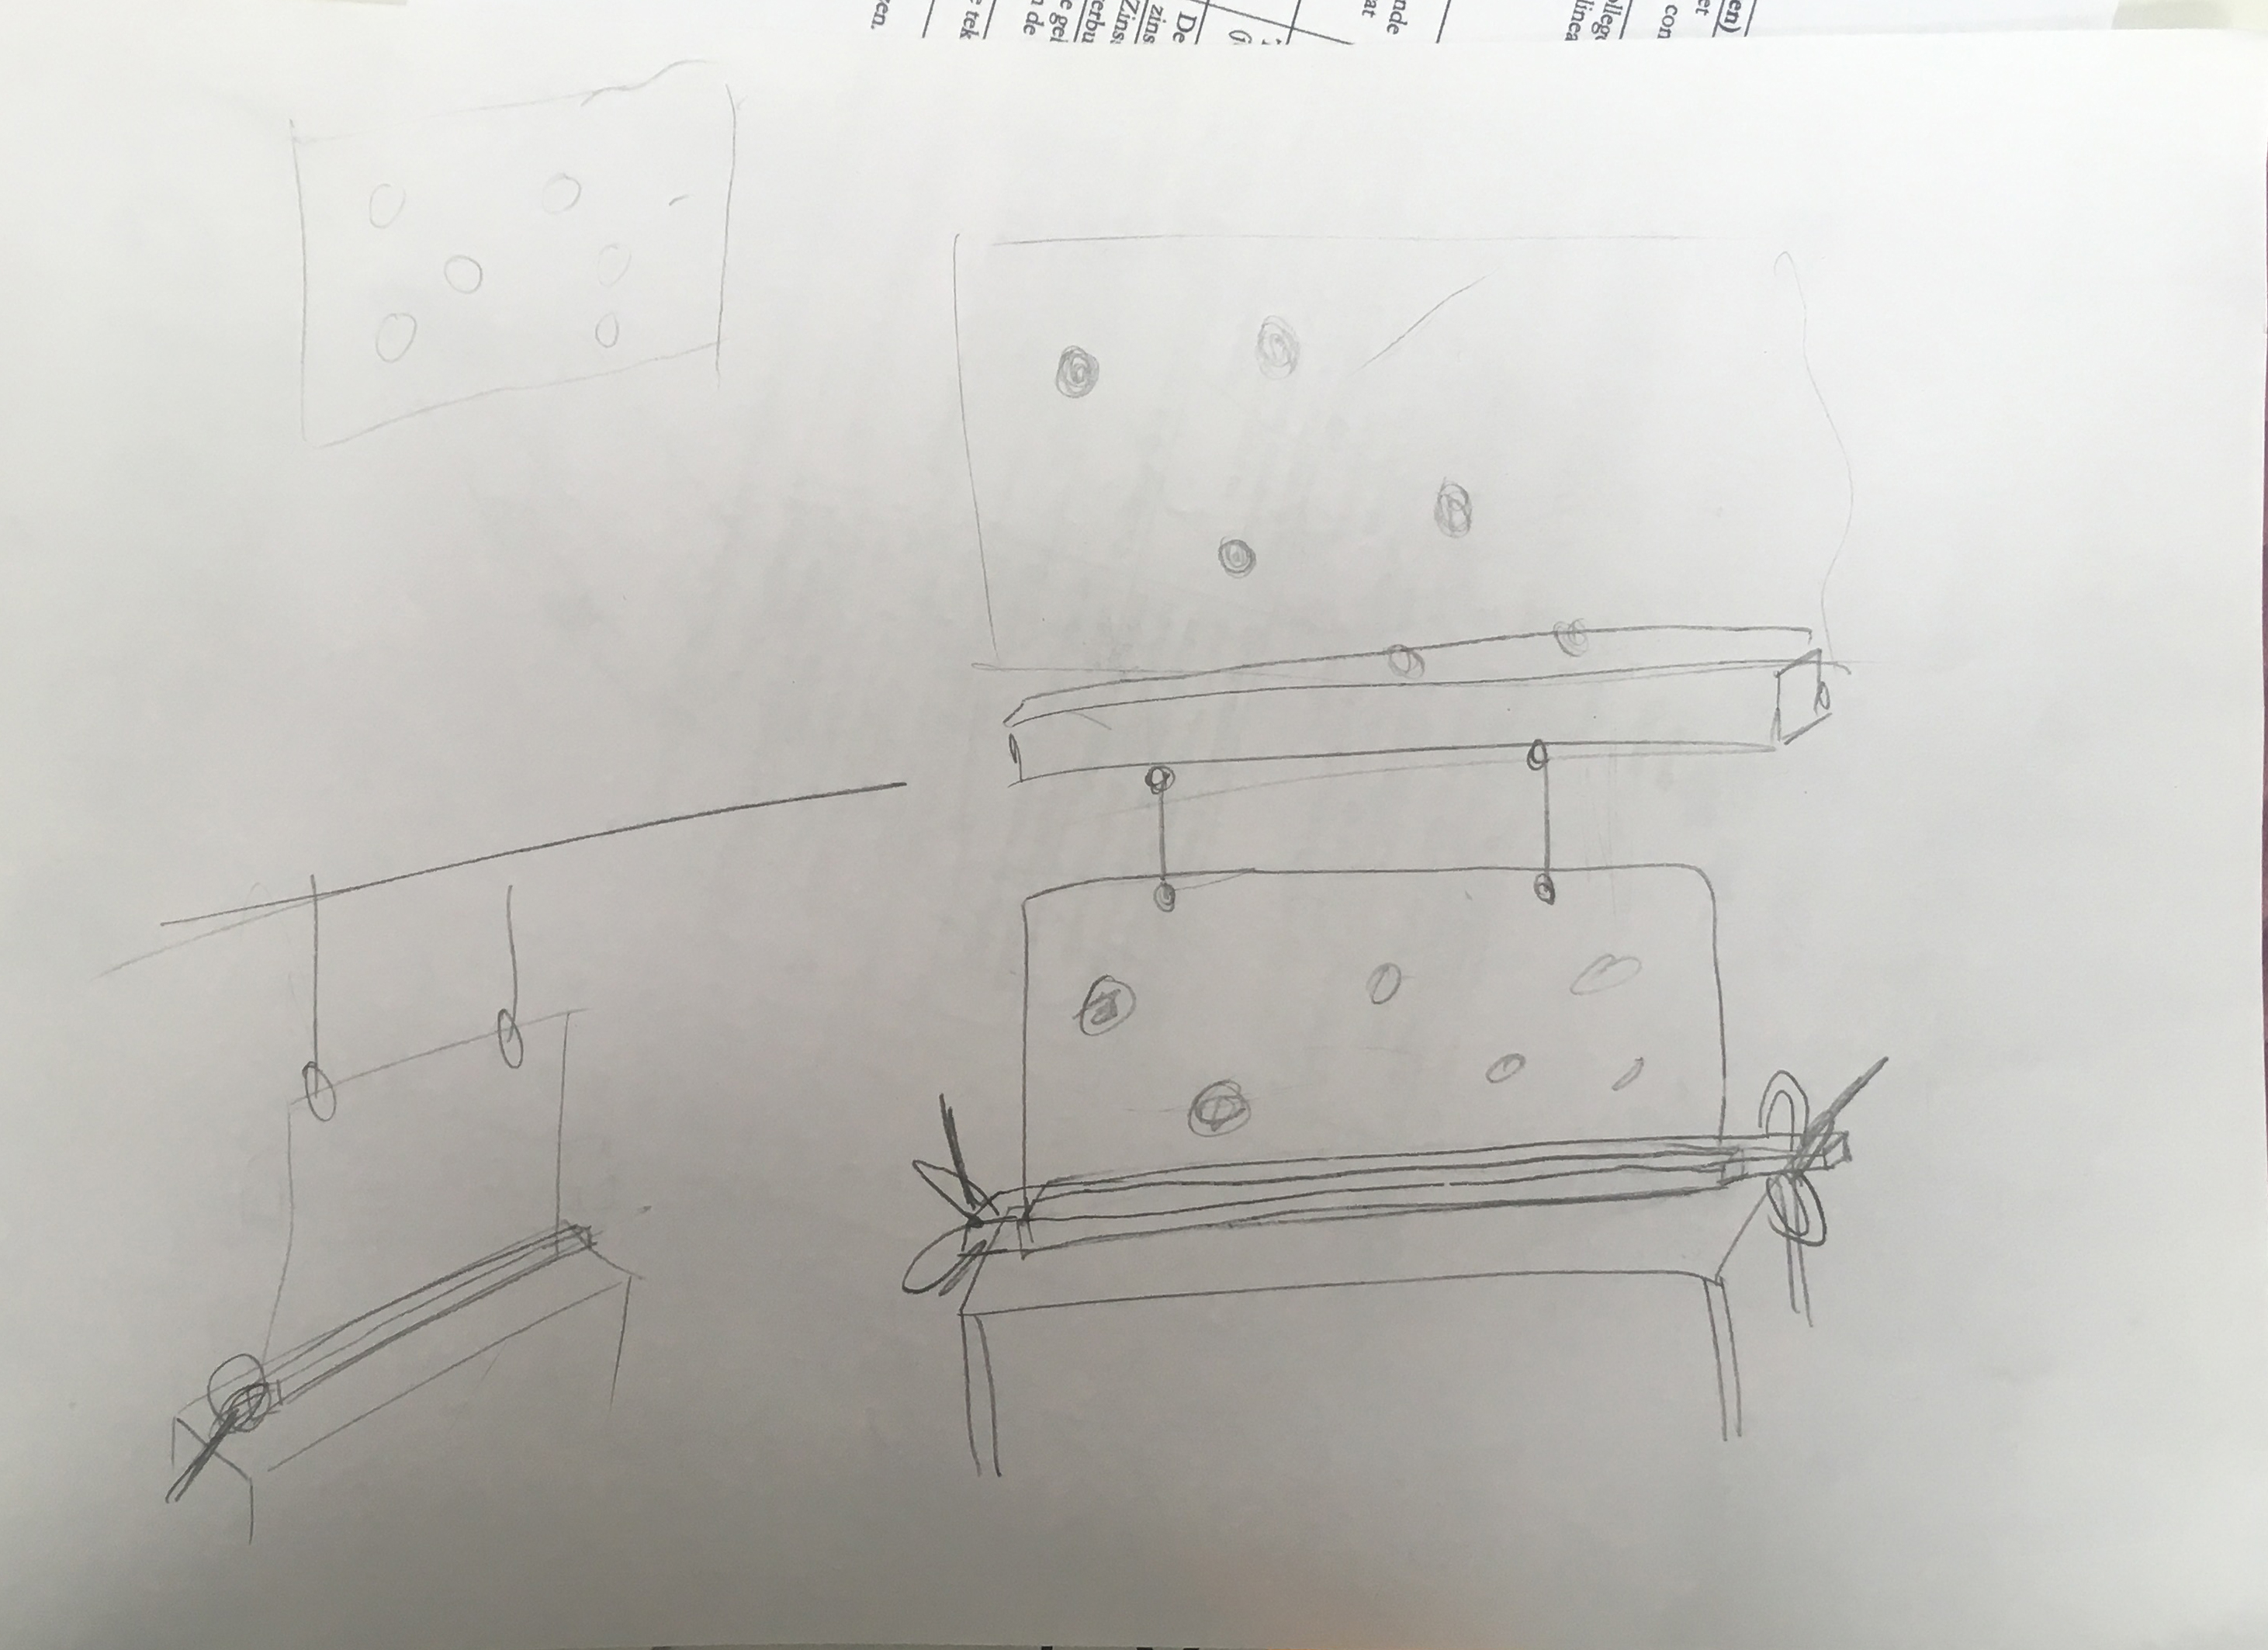
We draw some possible setup for our game which was with triangles or by hanging it with straps.
I came up with triangles that you can attach on the wall that will make it stand but we were afraid that it was going to fall to the front since there is no support in the front.
For that I also came with an idea to use clamps to clamp the triangle that are attached on the wall to the table or to make the clamps if we have enough planks.
We used the rest of the wood from our wall to make triangles and bought wooden planks to attach it to the triangles.
We needed the planks to support the triangles that going to support the wall.
The triangles on itself wasn't enough and not thick enough to screw it on the our wall.
Day 6
Multiple sensors
We got our flex sensors and now we can get start working towards our end product.
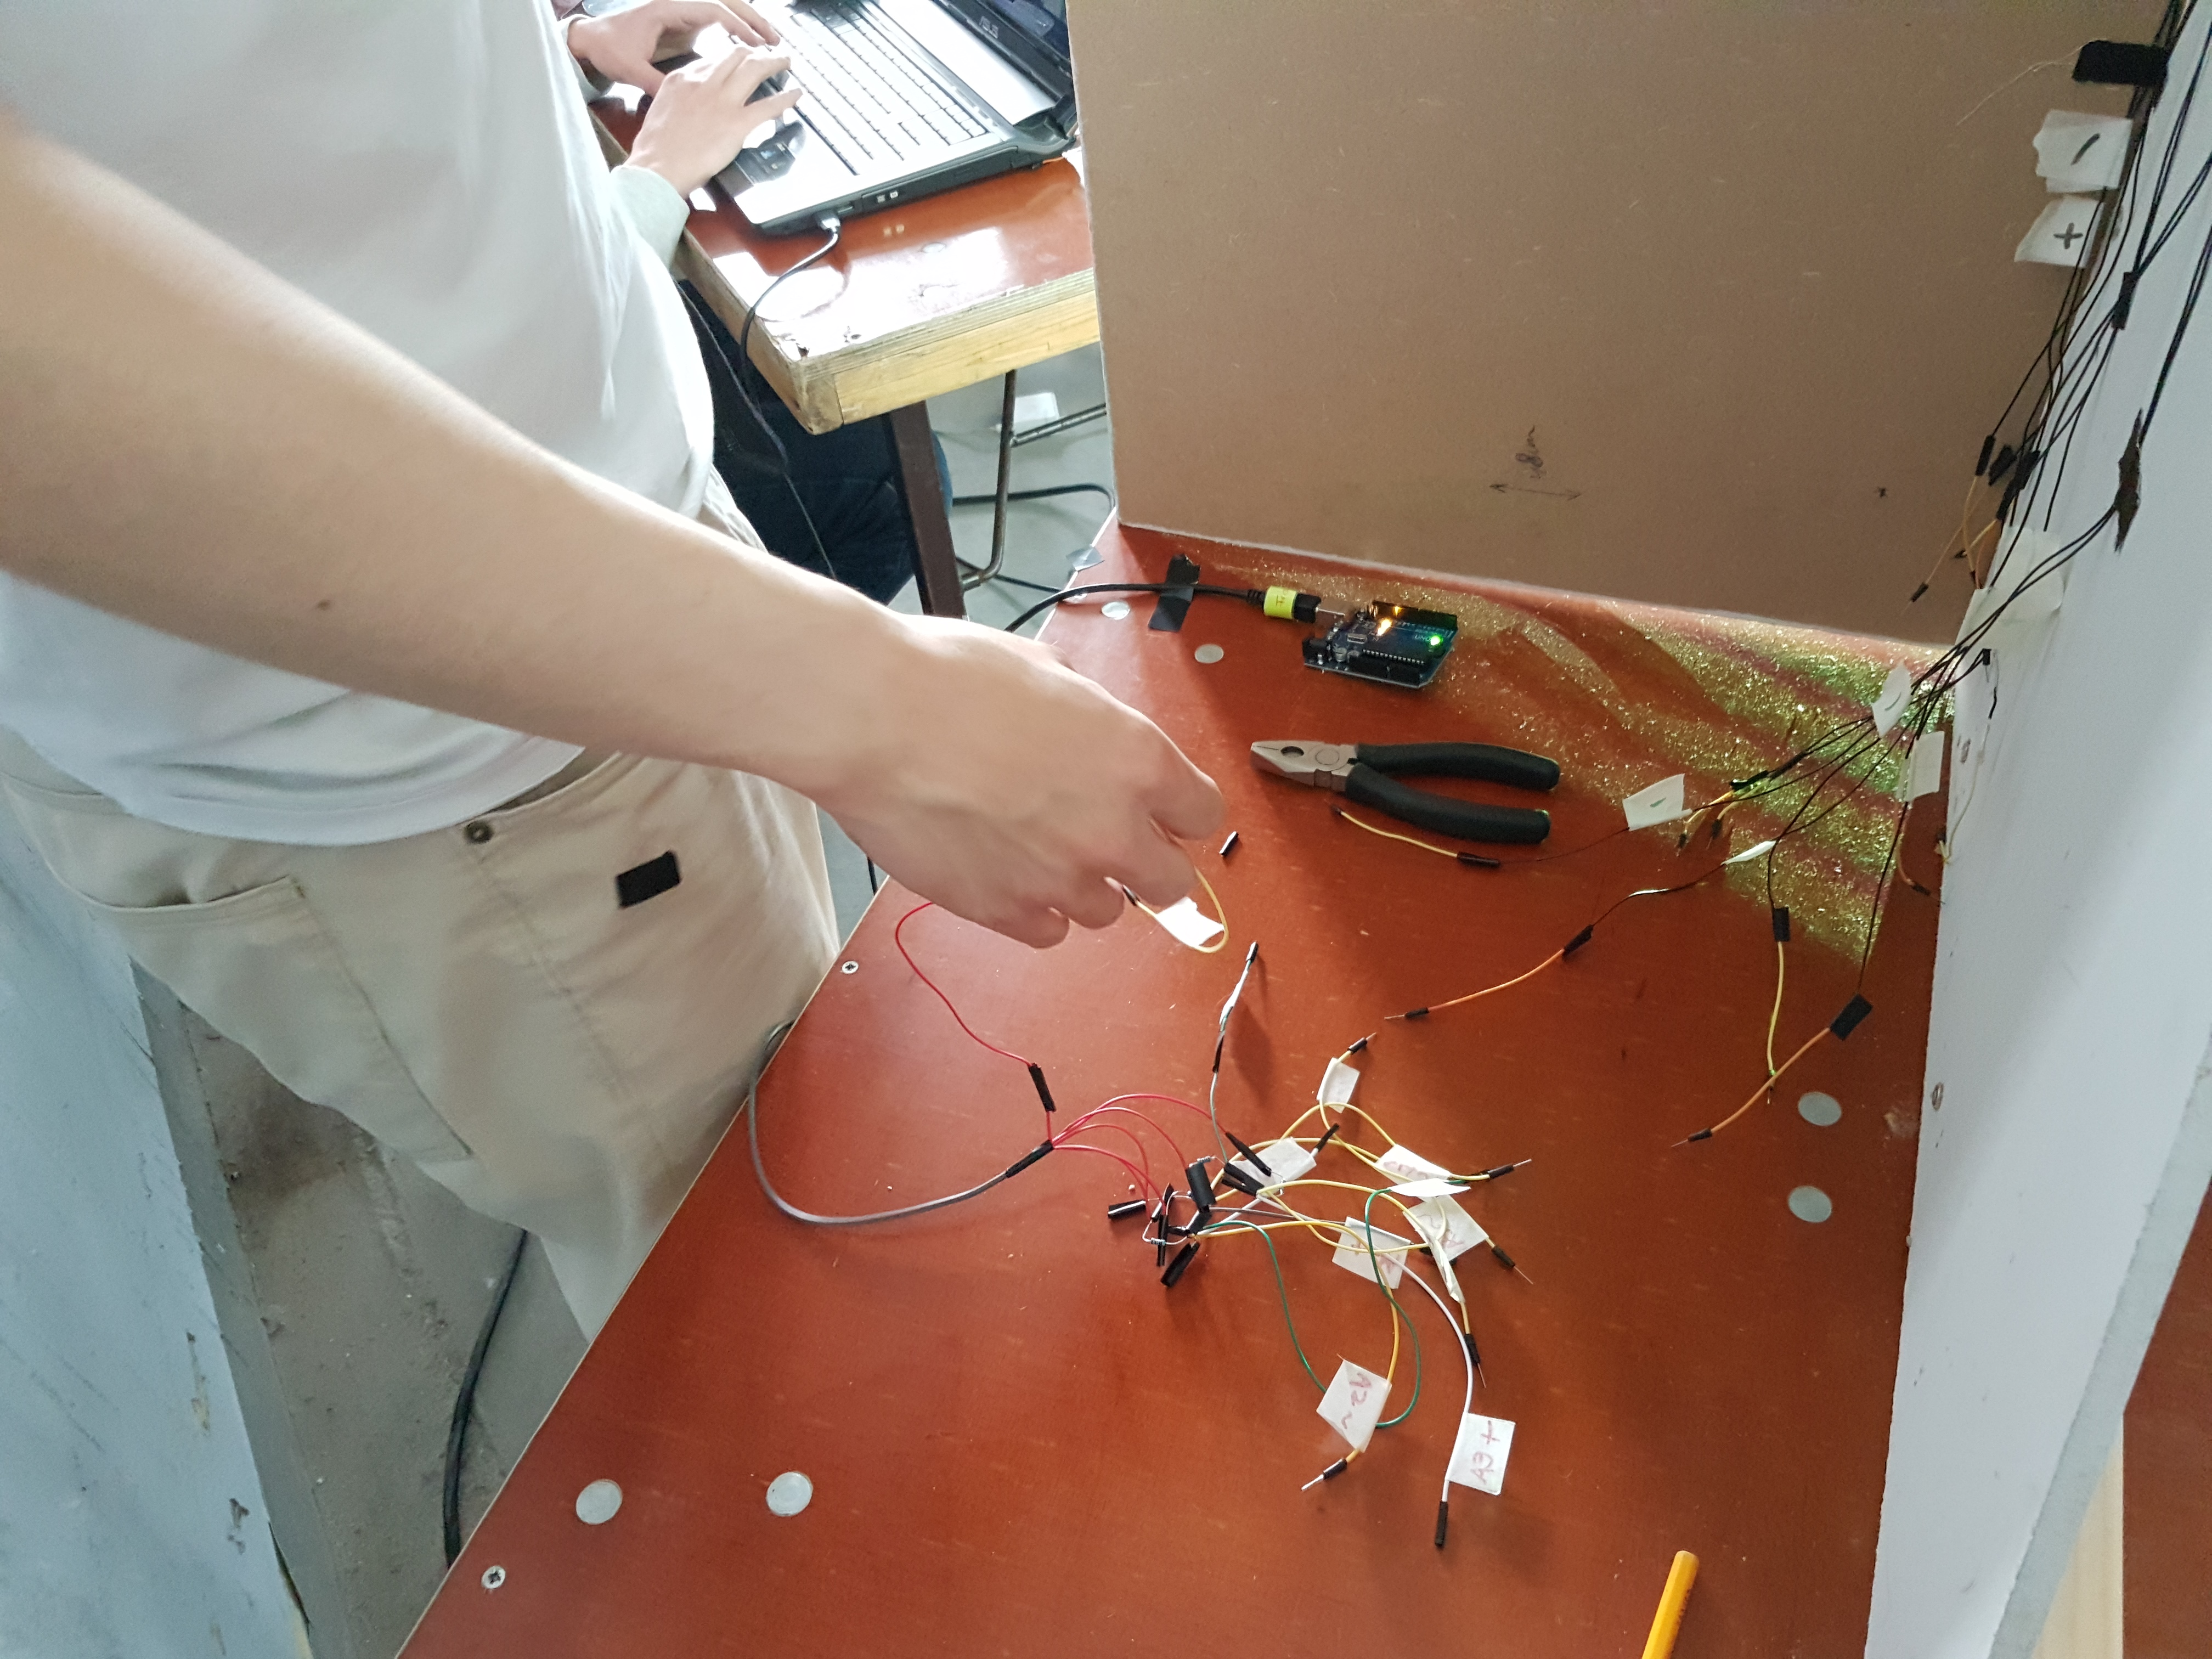
I soldered extended cables to the flex sensors, one for the plus and one for the minus.
This is will make it easy for me later to attach on our wall.
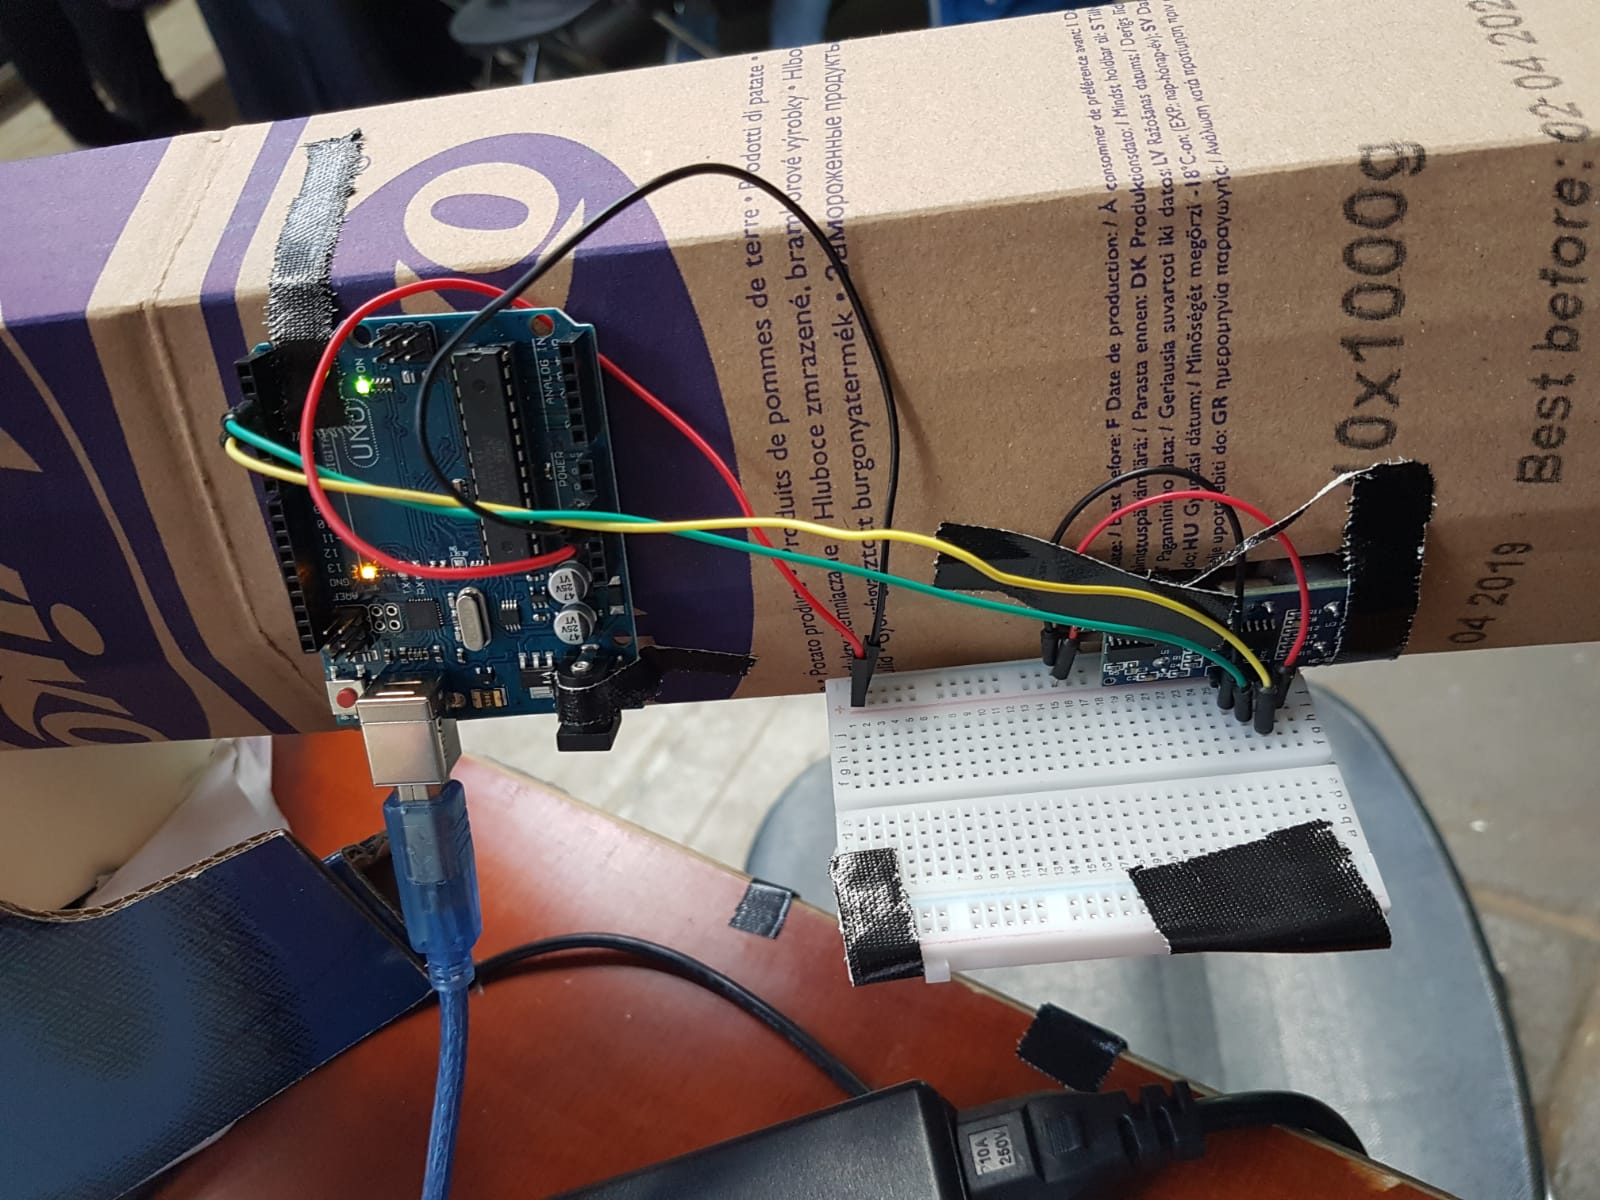
After that I connected all the sensors on a Arduino to test them. All our sensors were working.
I also measured the distance between the holes and where the Arduino will be located. This will be used as length for the cables.
The triangle is going to be placed between the holes so I had to make holes in the them for cable management and easy access to the Arduino.
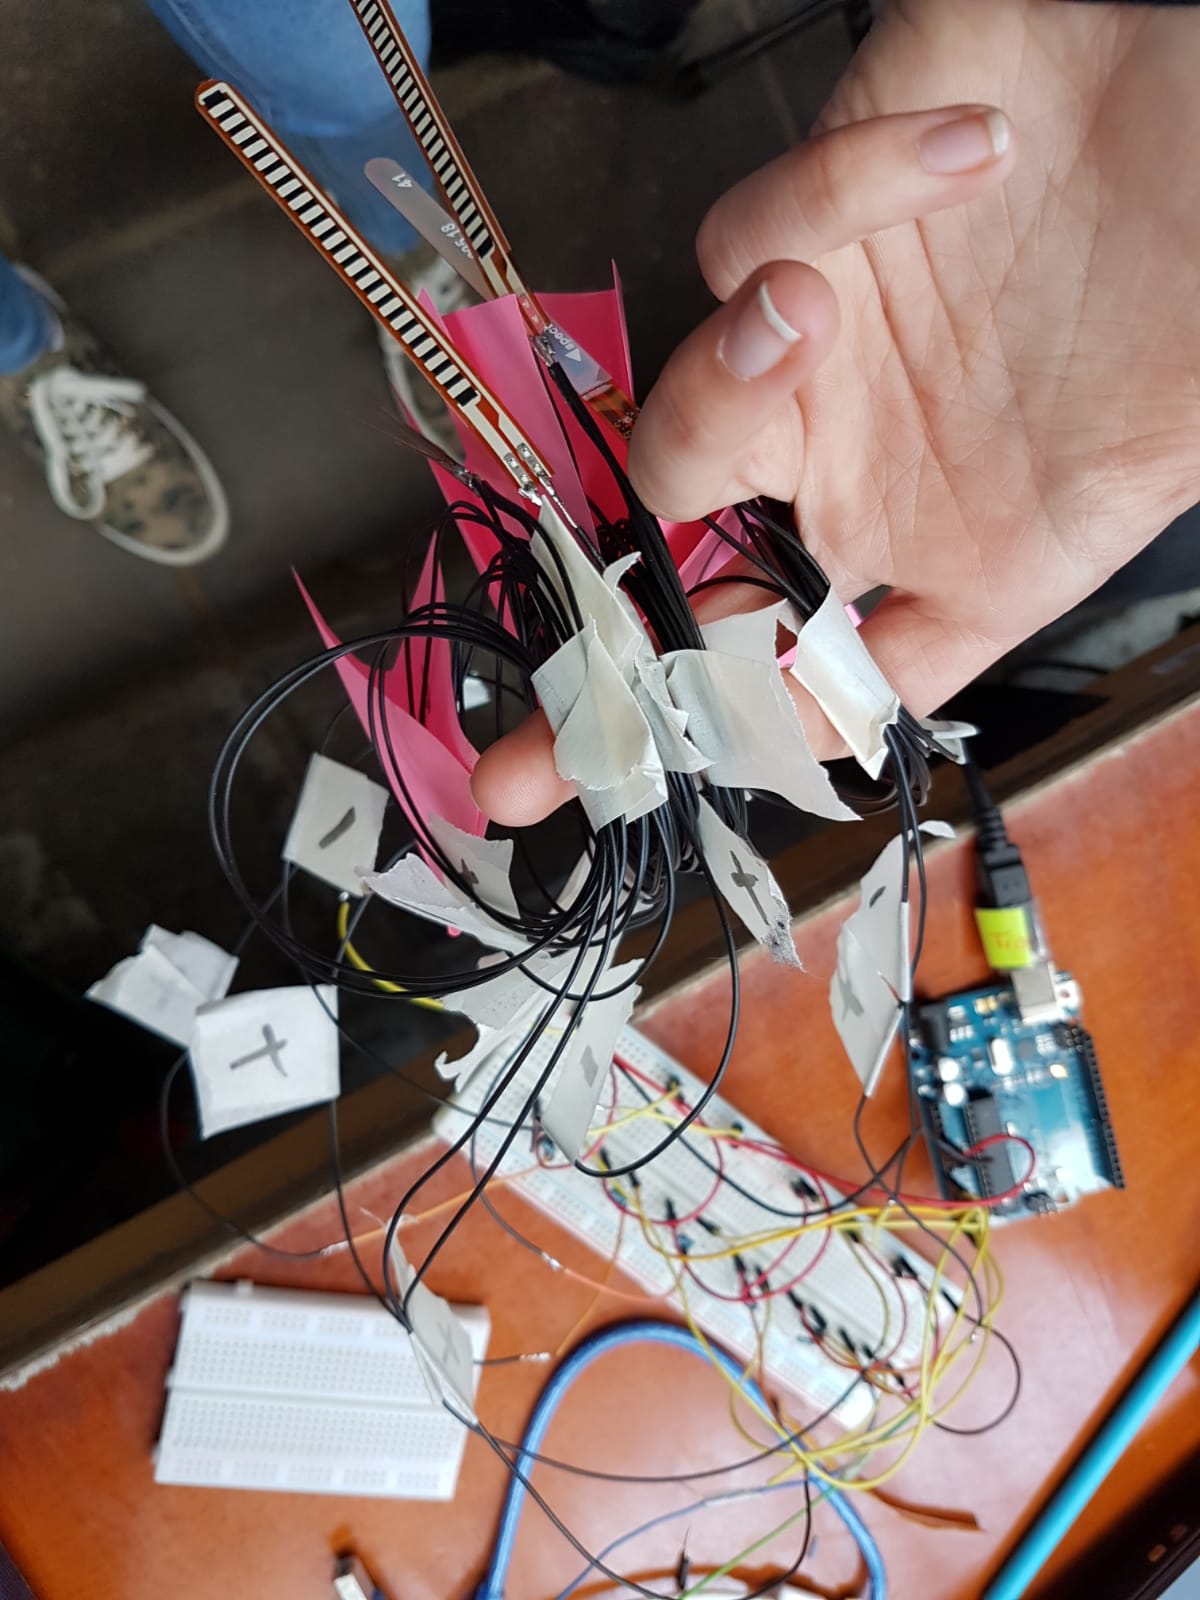
I labelled all the cables so it will be easier to assemble on the board.
I gave each sensor their own number and mark the plus with plus and minus with minus.
We needed to hand in a list of requirements for our exposition.
So we discussed that real quick with each other what we needed.
We need a projector to project the game on our wall, we need 2 tables one for the projector and one for the board.
We also a place with a physical wall because when people throw the food in our mouths, we don't want it to go everywhere.
Me and Lotte went out again and bought the food that we are going to use to throw with. The toys we bought had a shape of a burger, donut and oreo.
Day 7
Installation
All our sensors are still attached to a breadboard. We heard using a breadboard was not allowed.
Everything connected on a breadboard can get loose very easily.
The solution is to solder everything together.
I removed all the cables from the breadboard and started to connect everthing together. After that I solder everthing together.
That includes a plus cable(5v) and a minus cable(GRND), resistor and the measuring cable which will show the data in Arduino.
I attached the triangle to the board.
First I had to make pilots hole into triangles for the screws, it makes it easier for the screw to get into the wood.
Sophia and Konstantin helped with holding the board when was driving crews into the wood.
To keep everything nice and consistent I measured the distance and made sure every screws had the same distance.
Day 8
Building the game
First thing what I did was attaching planks on the bottom of the triangles for support from the back.
This wil prevent the board falling from the front side. Lotte helped me with holding the board.
Sophia brought the clamps and they clamped the triangles on the table.
I also had to resolder all the cables that came loose during day 8.
I cut of the broken pieces and made to sure to follow the flow of the cables and resolder them.
This will decrease the chance of the cables breaking during the installation.
Since that are going in the same way, before I solder the easiest way which was just tying two cables together.
Day 8
Installing Sensors
All the sensors were just attached on the board but not installed yet.
The cables of sensors were just hanging there and were not in order.
I had to extend some of the cables because they weren't long enough to reach the main circuitry.
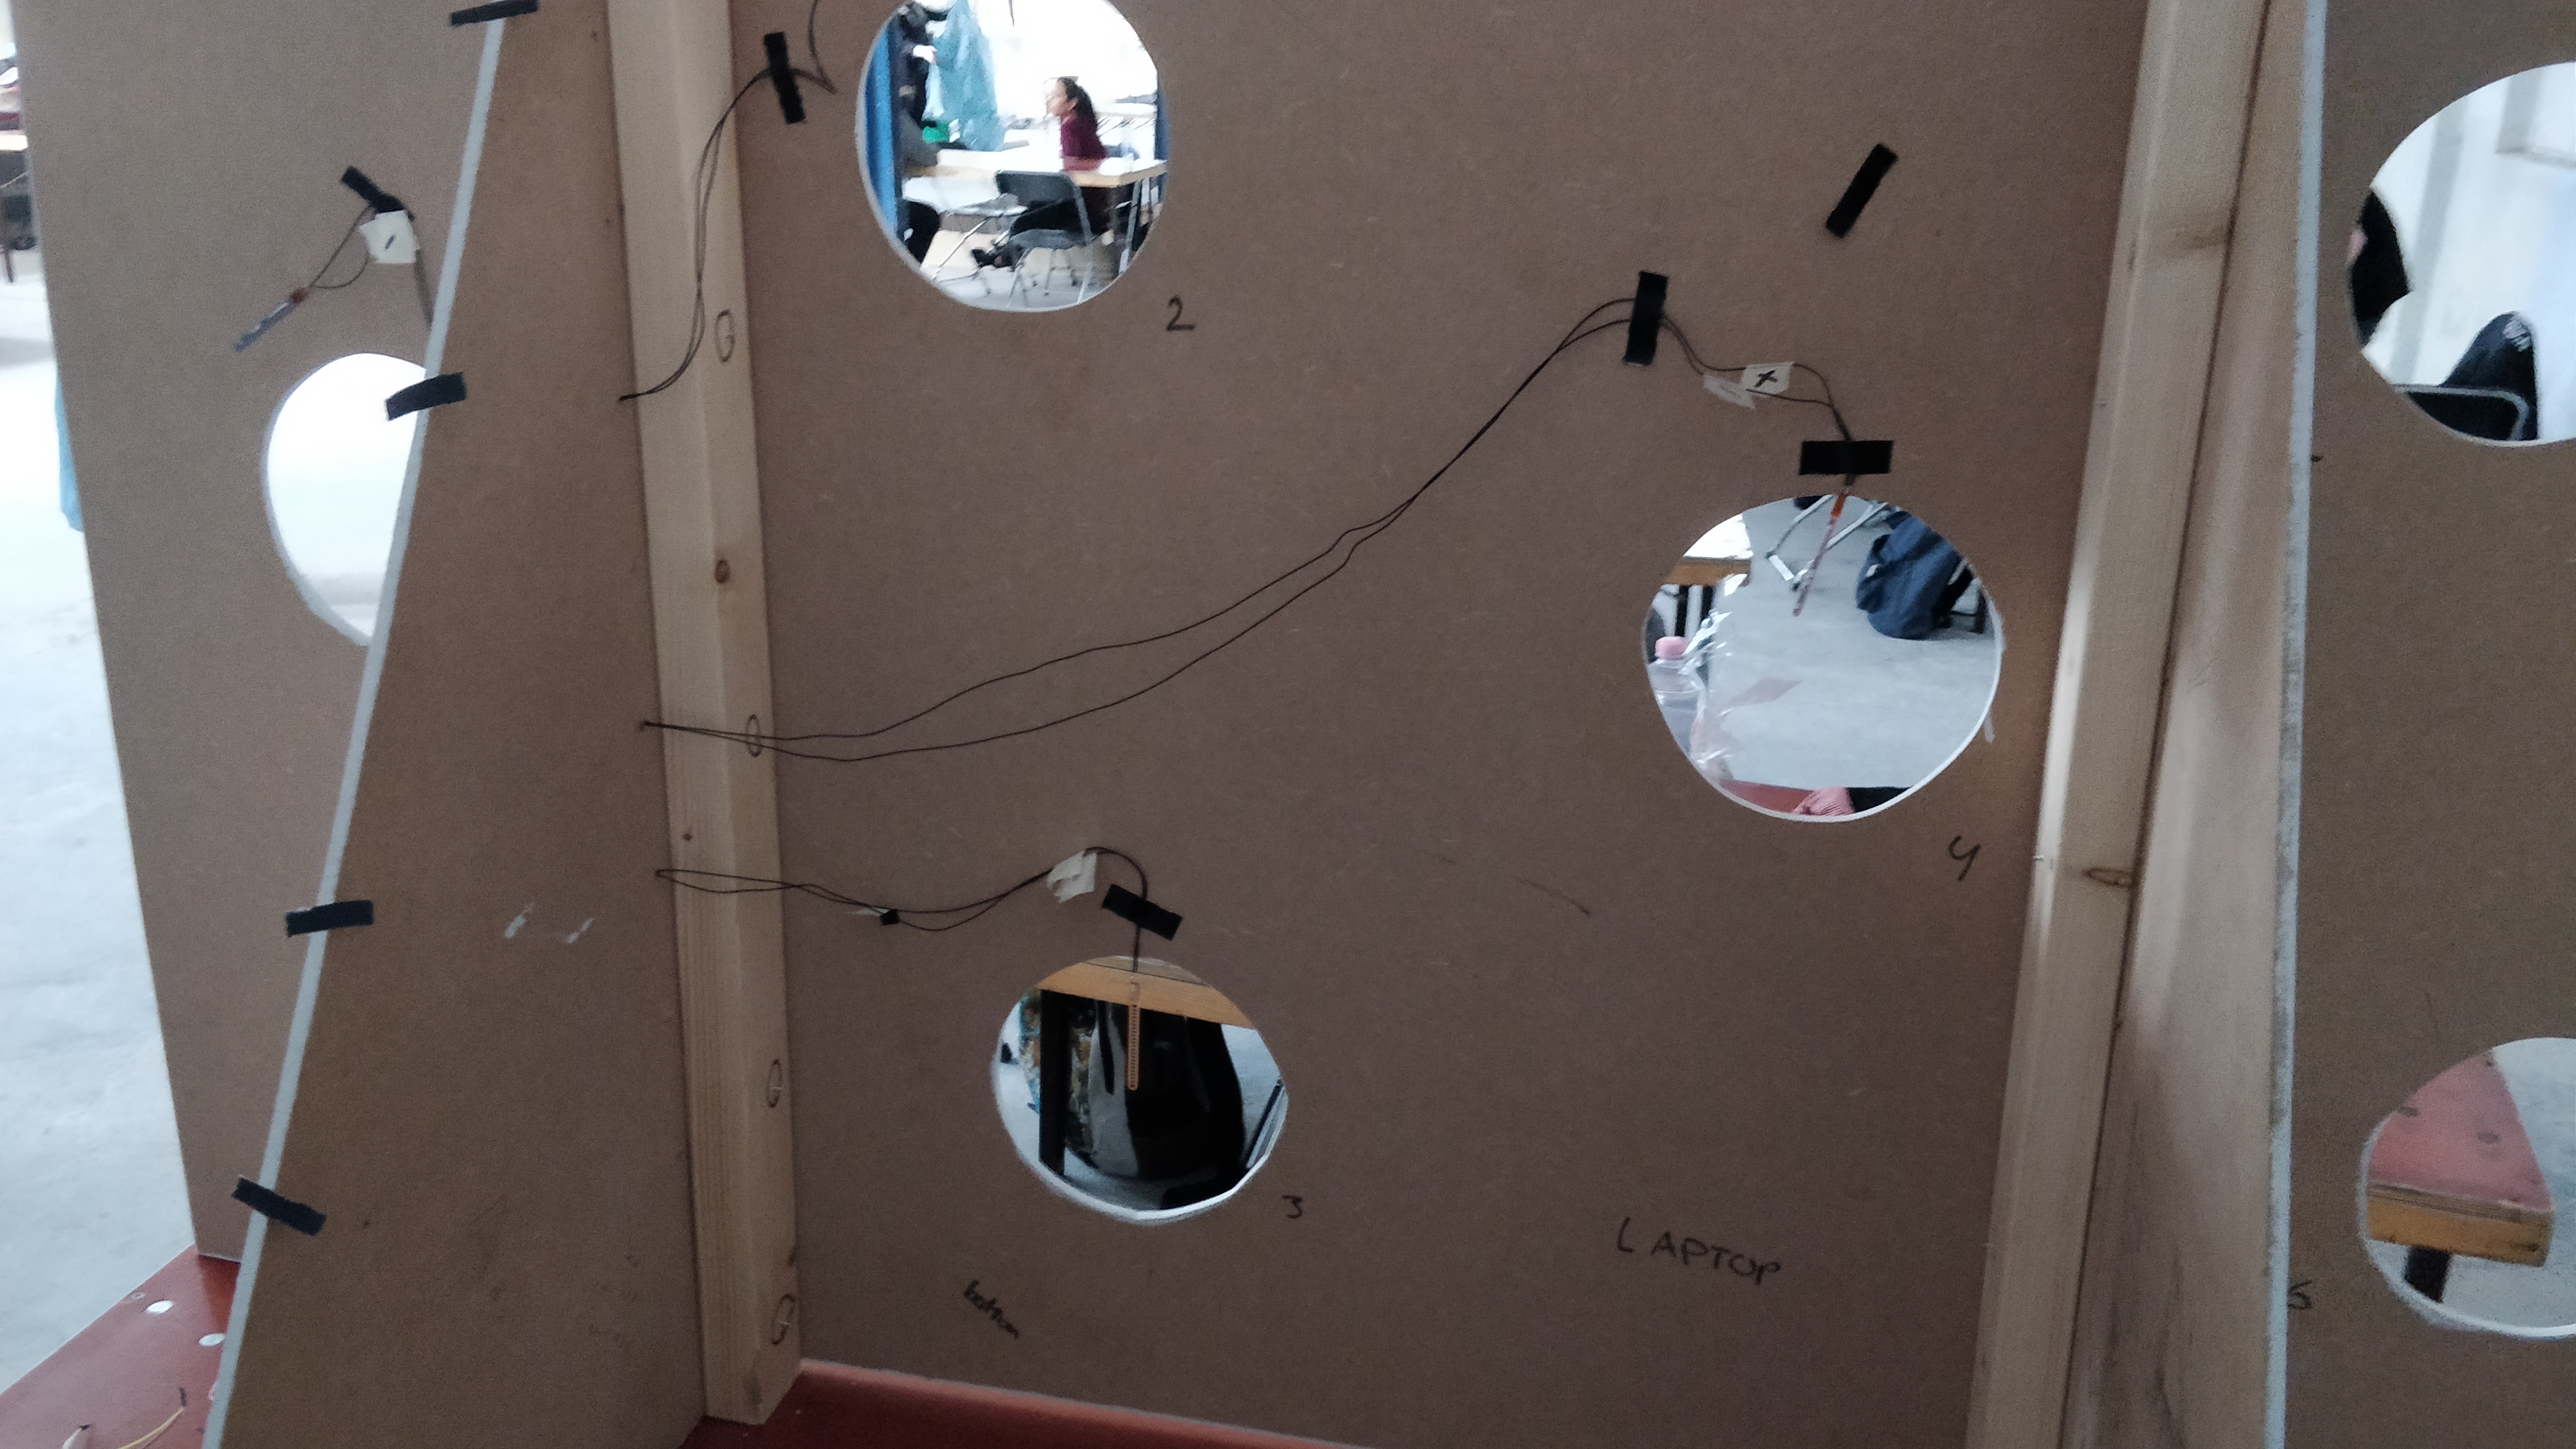
I reattached the main circuitry on the back of the board and attached the sensors to the circuitry and made sure every pin is connected.
Me and Lotte tapped the paper on the back of the holes and after we attached the flex sensors on the papers.
I tapped all the loose cables tight on the back of board so the chance of a ball them is very small.
I also did a little cable management so everthing is clean and easy to follow. It also makes it easy debug when we encounter a problem.

Day 8
Protecting the circuitry
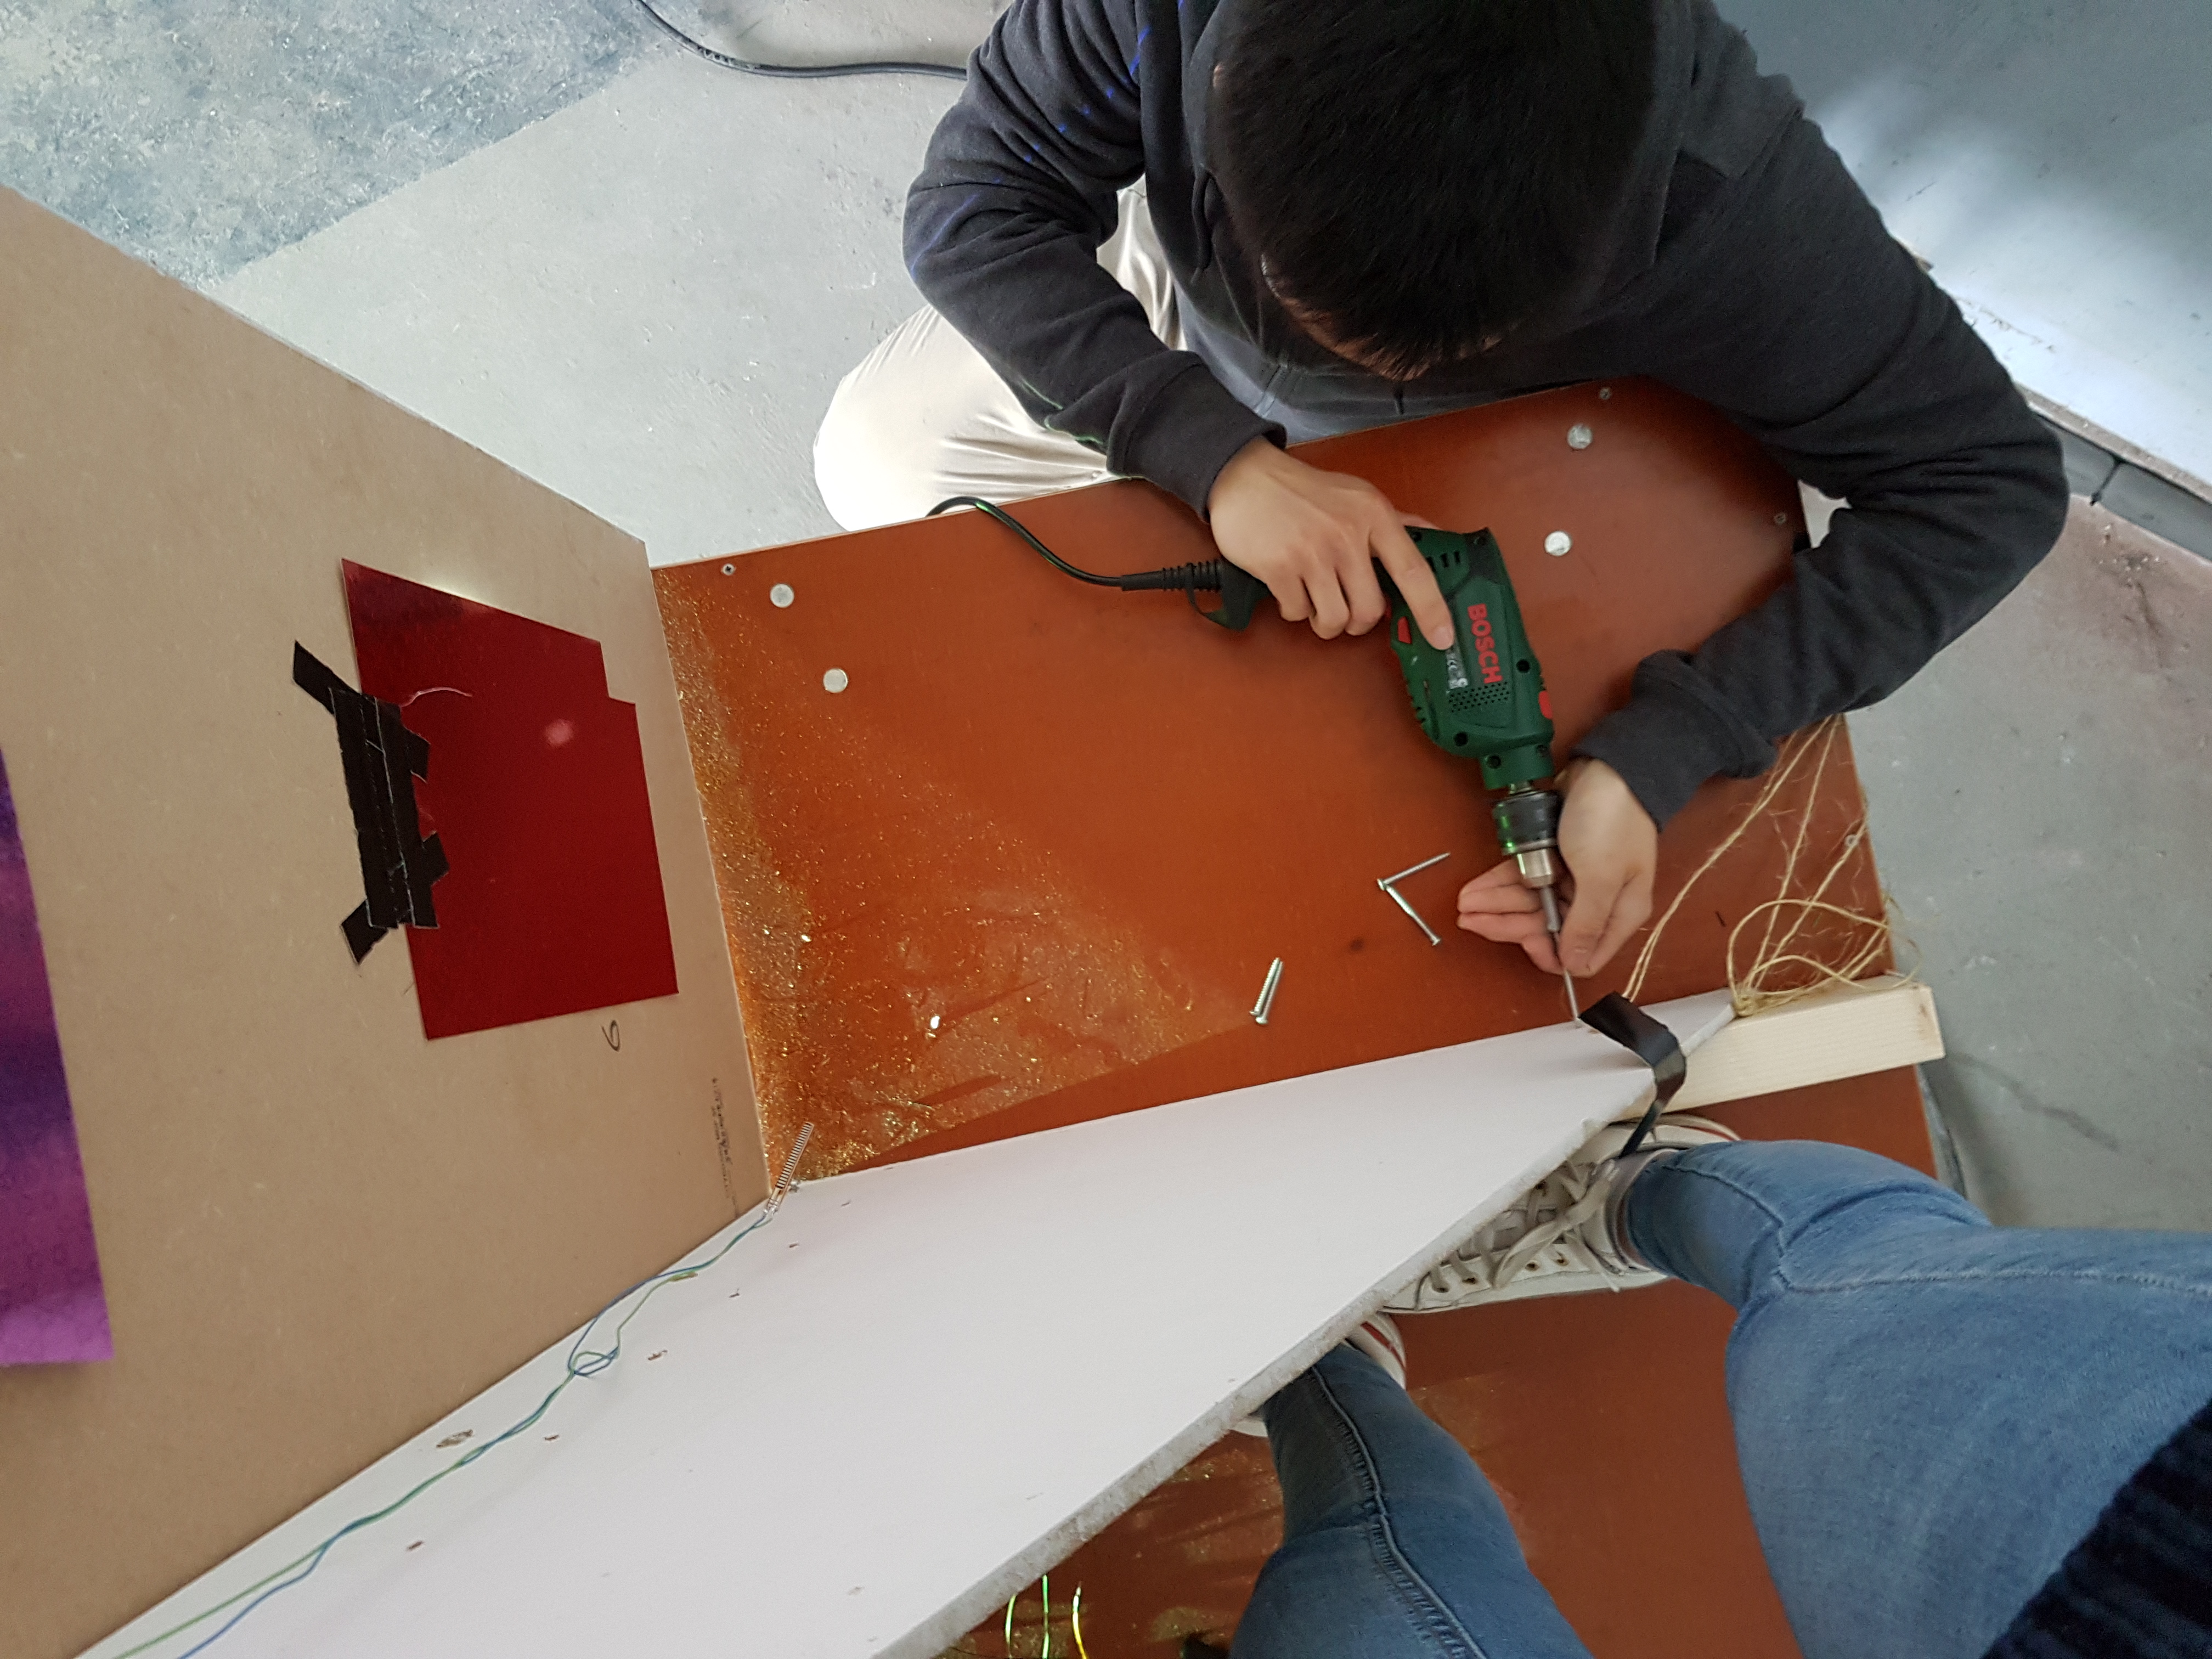
One of the hole is just above the main circuitry so I had to make a protection box for the circuitry.
I brought some cardboard with me and used it to make the box.
I also made a t-shape stand for the box so that stuff can fall on top box without going through it.
We decided that we will be putting the laptop on another table and use a long cable to connect the Arduino with the laptop.
It makes it easier for us to access if we have to make some changes in the code.
Day 9
Finishing touches
We are almost done with everything. Today we want to focus on small details like design and placements.
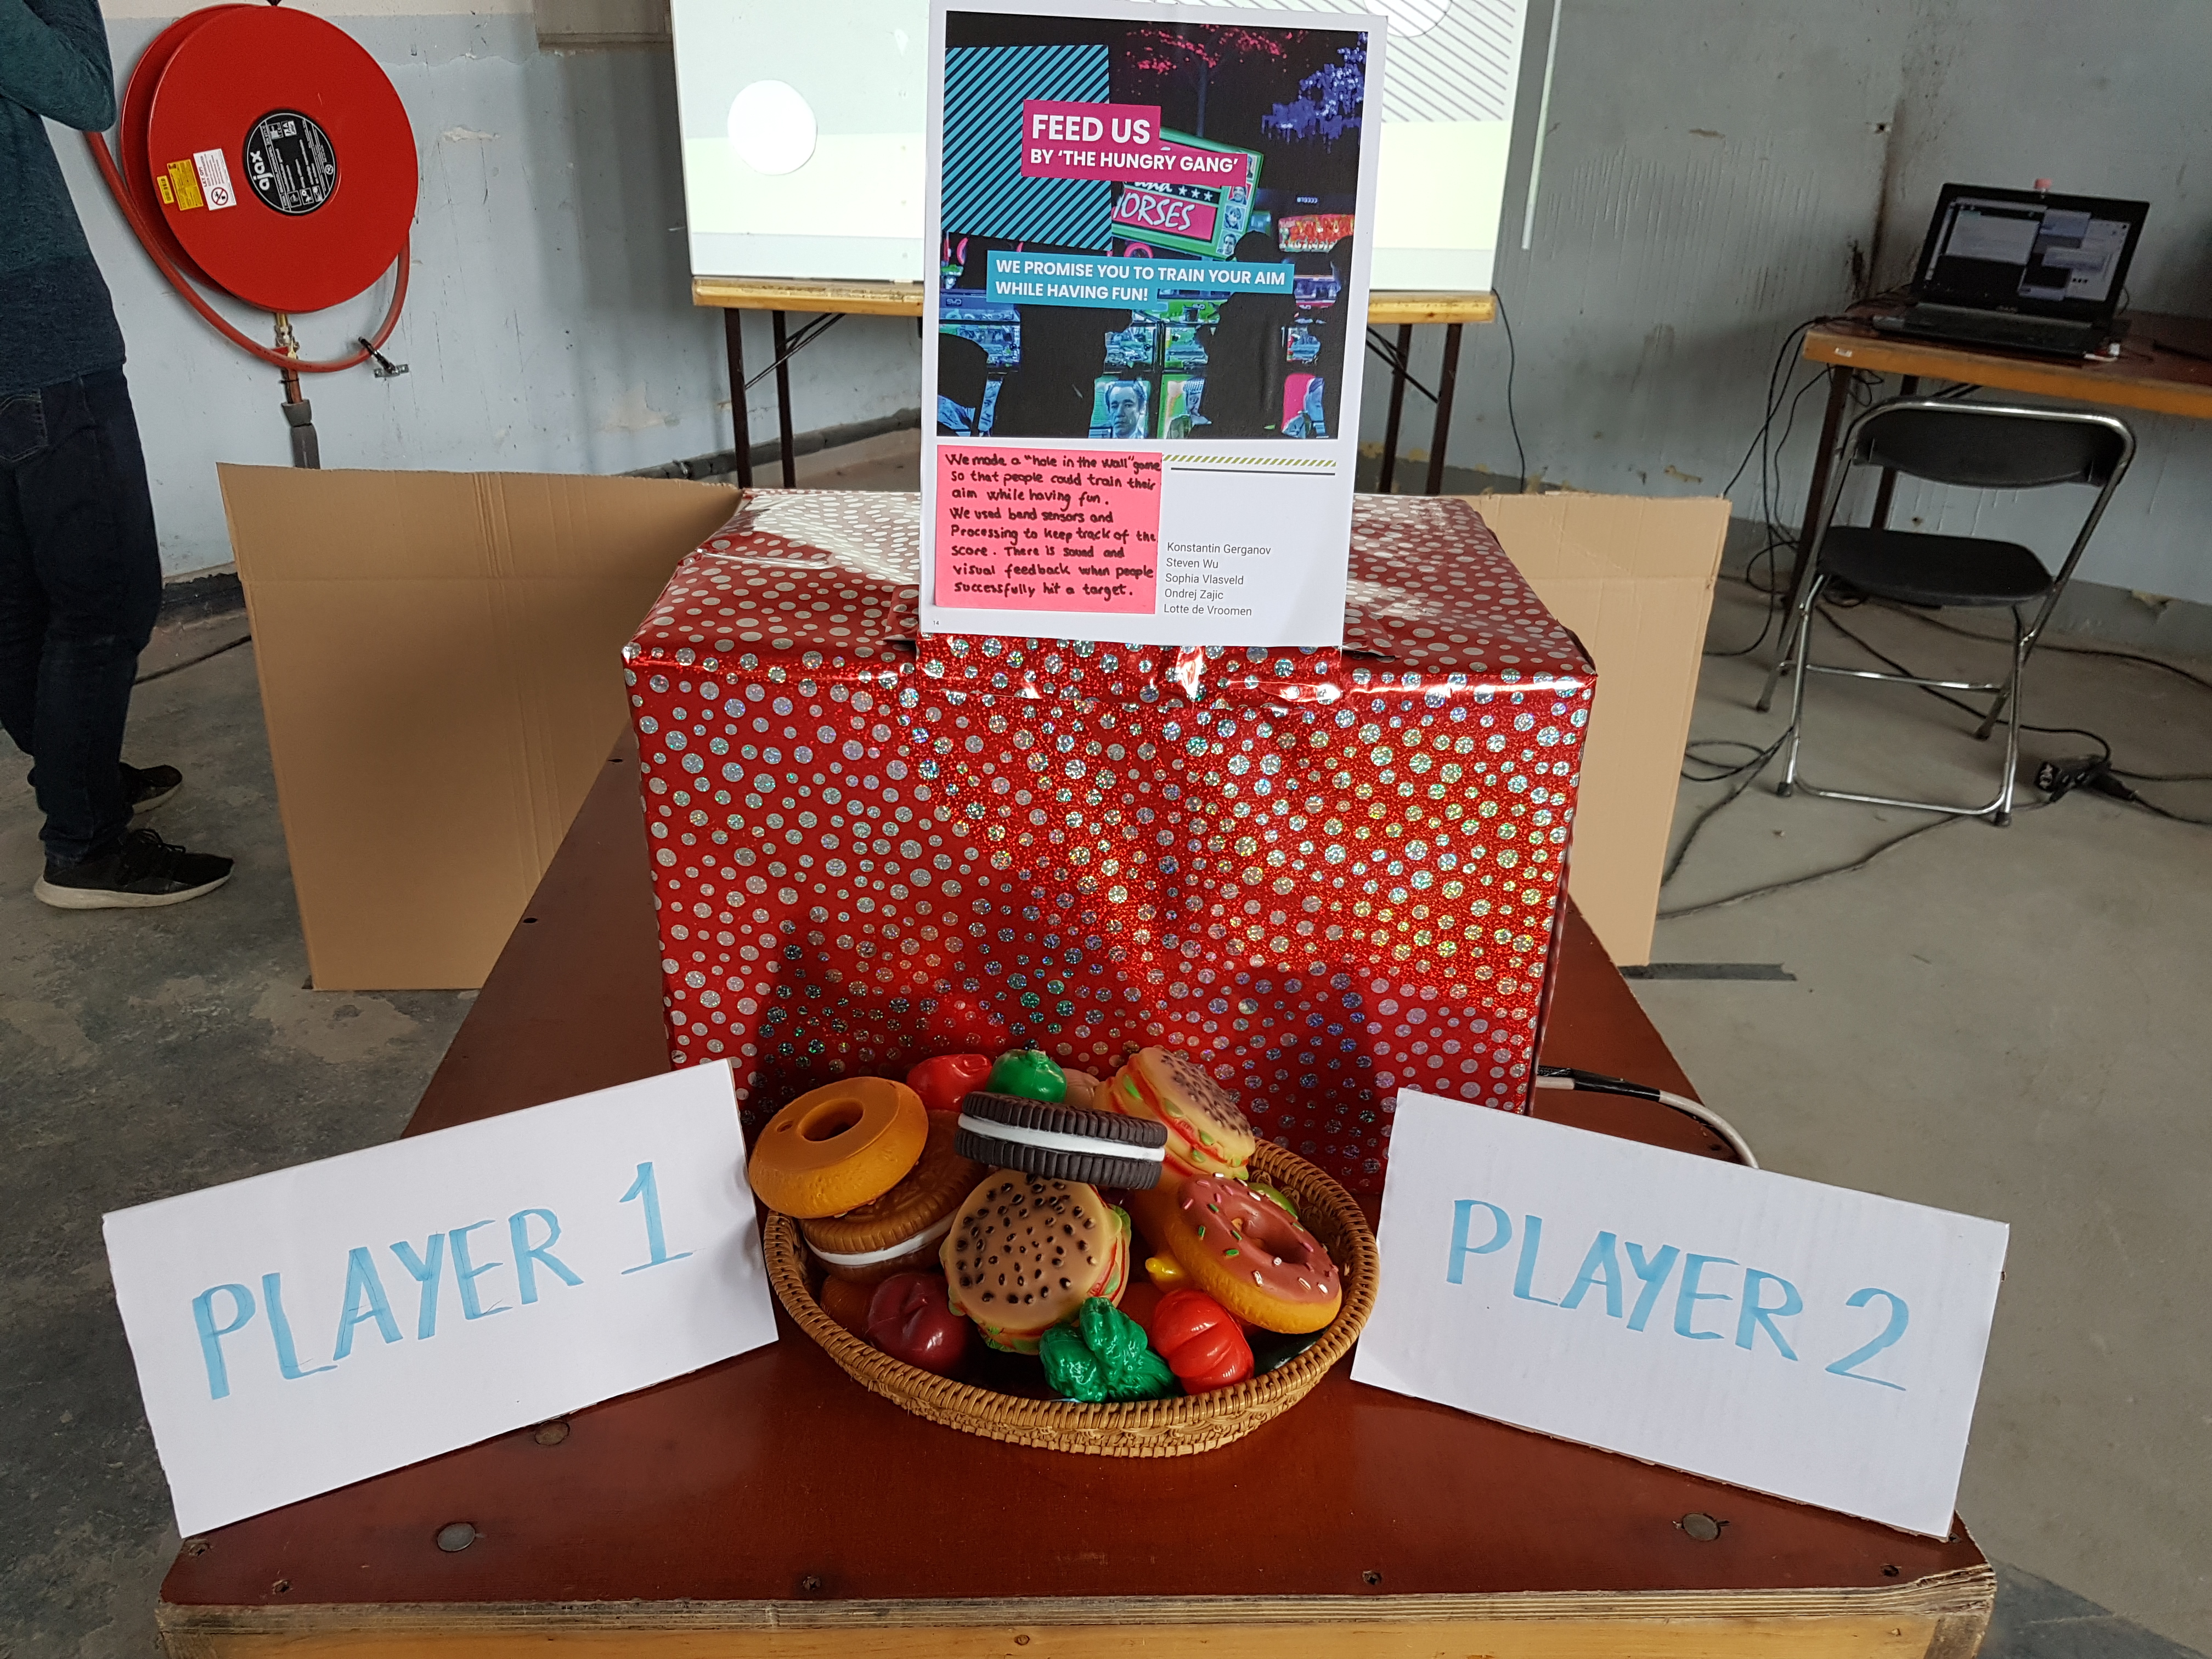
I made 2 signs for each player so people which side is player 1 and player 2.
I went behind the board to check if everything is still place.
I added some extra tape on the cables just to make sure everything will still stay in place.
I also tywrapped all the cables from the projector to the laptop and also the cables for electricity. I wanted everything to look clean and nice.
Lasty I helped Konstantin set up a barricade so people won't go in front of the projector.
We did that with a piece of cardboard.

Day 9
Testing
Ondřej was very busy coding the final for our code.
We wanted to use gifs in our game but that wasn't working.
So I deciced to look up the code to include gifs in Processing.
First I had to convert all gifs in video because Processing doesn't support gifs.
I debugged the code found out why the videos weren't working.
I went back to Ondřej and told him that he forgot to give the x and y of the video in Processing. We fixed it and now it works.
When Ondřej was done with the code, we tested it and works even stand alone meaning that we dont have to do anything. The will function on itself, we were done.
So I went to around and ask people if they need help with anything. I helped a group attach a wall on behind a stair.

Day 9
Expo time
Before the exposition we cleaned the tables and threw stuff that we didn't need away.
We hid every unnecessary things and made sure that only thing that a visitor can see is our game.
We don't them to be distracted by bags or random chairs.
The exposition started. We started the game ourself first to get people to come to our station.
People started pilling up in front of our station. People were enjoying the game and having a great time.
We didn't have a shift schedule for our exposition so we kinda freestyle it.
So we all stayed behind to explain what our game is and later on we rotated so I can visit other stations too.
During the last part of our expo a lady approach me behind our game and ask me if it's possible to use to at her event.
I discussed it with my group and had a small meeting.
We wanted to do it but it will cost us a lot of work and I dont't know if I can be present that day but for me it was fine.
If we wanted to do it we had to change the papers, get a projector, probably change a lot of code so we kinf of have to be their.
After the expo we removed the clamps and moved the board in front for the lady.
I disassembled the main circuitry and made sure everthing was still good in place.
We returned our tables and projector and called it a day.
At the end I also helped other people disassemble stuff since I had my drill with me. You know no man left behind.
The following page you can see people interacting with our game
Product
Feed us
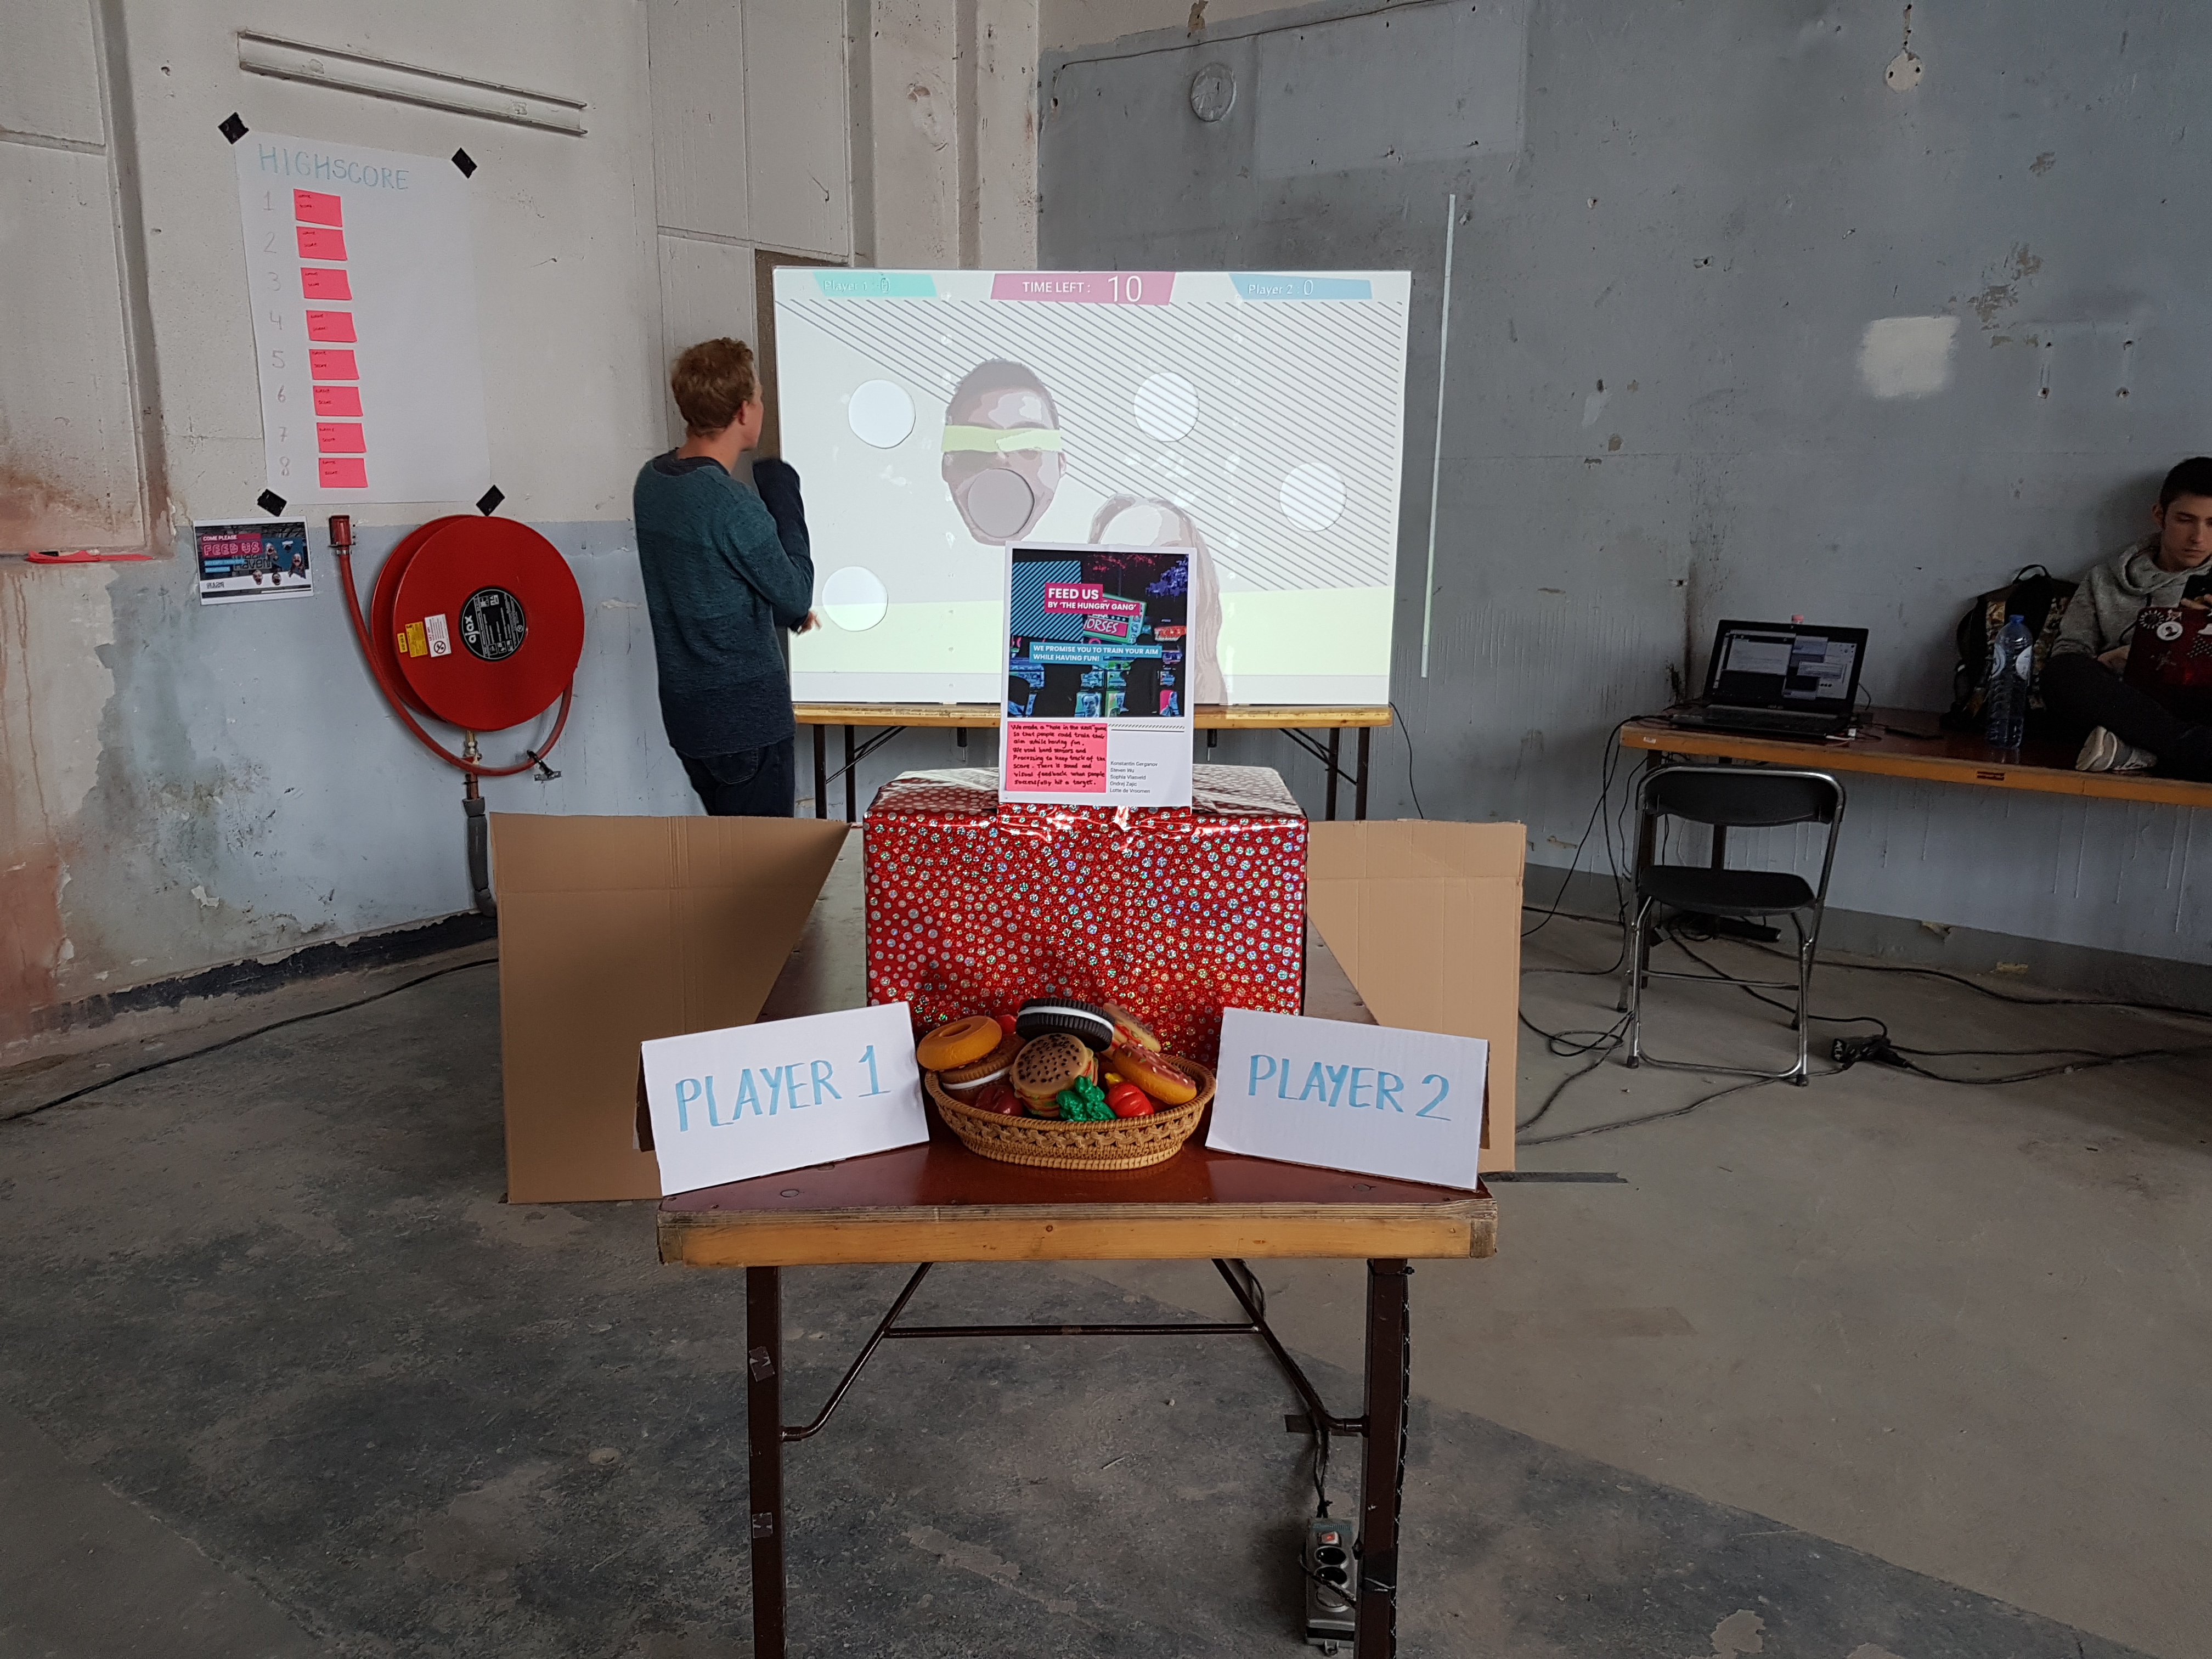
Feed us is a competitive multiplayer game that is based on scoring points against each other.
The goal of the game is to feed us as fast and accurate as possible.
How do feed us you ask? Simple, in the beginning of the game you have to chose one of us to feed.
After that you as player have to throw food in our mouth.
Our faces will be switching from holes to holes.
When you correctly feed your character, you'll get a point.
At the end of game the player with the most points win.
Our topic chosen was playful interaction. Our game was based on our previous concept of throwing trash in the right with a goal for people to recycle more.
We wanted to make a game that is easy and fun to play. By making it game where you have to throw thing makes the concept more engaging with the audience.
By putting a scoring system we want to make it competitive which will also makes it more engaging.
You're not playing because you have to, you're playing to win against your best friends.
We wanted to connect more with people and that's why we used our faces and it's also funny at the same time.
Most of the playful interaction products we had as an exmaple had a goal like to use the stairs more, recycling things more, watch your speed and etc.
We just wanted to make something to train your aim and while having fun at the same time.
Product
How does it work
First of all its a 2 player game, where you have to go against each other by throwing food in our mouth.
Each time you successfully feed one of us you will get a point. At the end of game the player with the most points win.
As a player your first step to choose a character by throwing food in their mouth.
When both player have selected a character the game will count down and the will start.
There is a timer on top, when the time is up the game is over. On the board there 6 holes where the faces will be placed.
After a couple seconds the face will change to a random hole. So as a player you have to react fast and accurate.
Each time you throw a food through a hole that has your character on it, you will get one point.
When the times is up the player with the most points wins
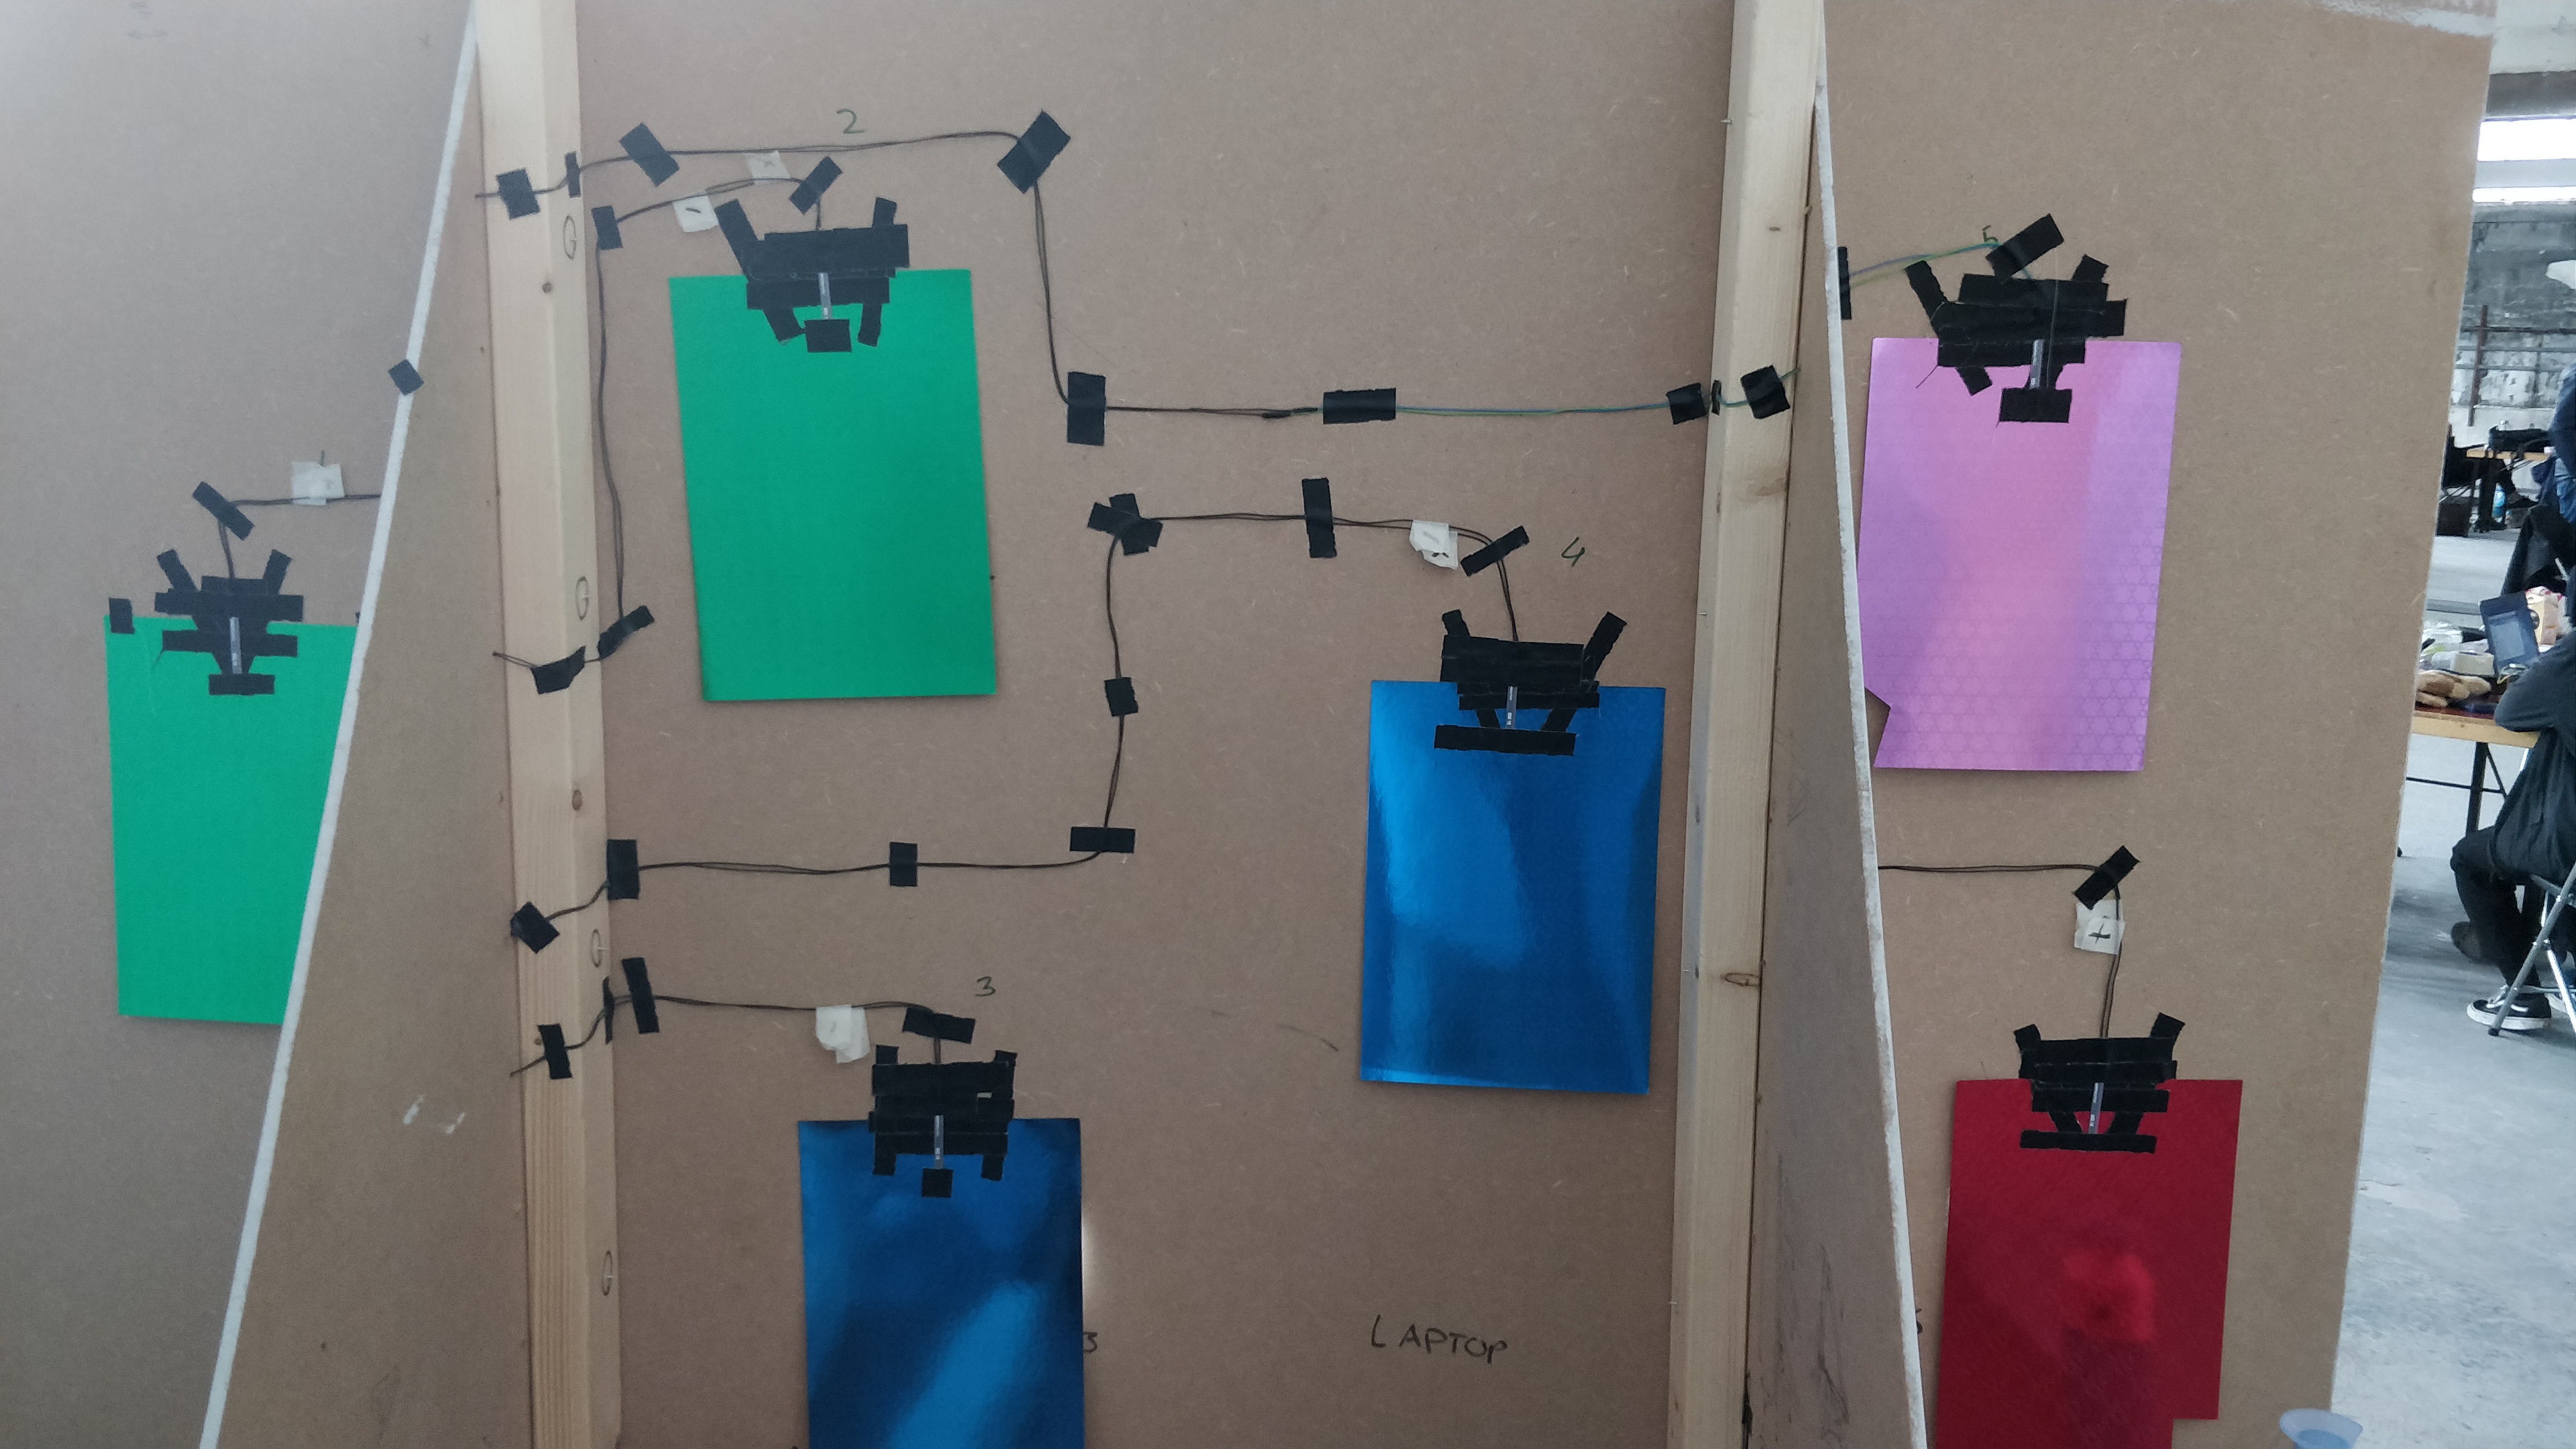
Behind each hole there is a paper attached. On the paper there is a flex sensor installed. A flex sensor has default value and when you bend the sensor that value will change.
When you throw an object through the hole it will hit the paper which will bend the sensor which will change the value of the resistor.
With this data we can code our game to detect when an object passes through a hole.
Each hole has a active state which is having to a character or not.
So when you throw an object through we just increase the point for that character and if you throw into a hole with no character nothing will happen.
Thats basically how the system works.
On the left you can see our process to our final/group product which is imporant and on the next page you can see people interacting with our game.
Reflection
Feed Us
I am very happy with our end product. It worked we wanted it to. I wanted to was to create something that people can use and enjoy.
At the end of the expo that happened, people were having and a lady came by us and offer us to showcase this product on her event.
The qualify of the product is still in prototype phase I would say. It's not perfect but the for the expo it was more than good enough. People liked it for sure.
We didn't detail everything out, I think that's because we didn't have enough time to that we just wanted to make it work.
I think we had to think about the collecting the food back, it was actually very exhausting picking up food for 4 hours.
I think raising the printer a little bit high was better since people were putting the food in front of the projector.
Some part of screen were not shown but nothing important though.
If I think back to the two weeks, I think learned a lot especially during the experimenting phase where I tried different technologies.
For me is always fun to try new stuff out especially in the area of technology.
My role in the group was to be involved everywhere, I helped with almost every part of the process like brainstorming, coding, building, designing, you name it I did it.
I was like a technician expert for the group I guess. I handle most of circuitry stuff.
I'm happy with my group and their effort they put during these 2 weeks.
Reflection
Continuation
Nobody was lacking behind or doing nothing, they were always asking if they can help with something which is very good.
We sometimes have arguments but nothing personal.
We got over it quickly and continue with our work.
I spent of my time building and trying stuff out.
I also served as a second eye on the coding part.
With my knowledge of coding me and Ondřej brainstormed how to approach certain problems.
I helped where is needed most of the time even outside our group.
I was super motivated to be part of this awesome project.
It's something different, getting our hand dirty and I liked it.
My expection is beyond met, the experience is unique and it feels good to take this course.
I learned a lot in sense of how things work and met a lot of awesome people.
I agree with what Chris said It's the best experience so far me in a school setting.